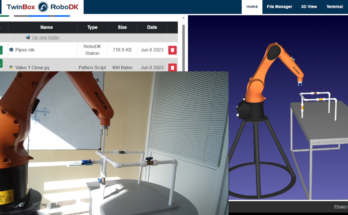
Every robot user has different tastes for programming. Here are 10 great ways to customize RoboDK’s interface to suit you.
Have you ever tried to make yourself breakfast in someone else’s kitchen?
It’s a nightmare, isn’t it!?
You don’t know where any of the cutlery is, the toaster has a confusing array of buttons, and the refrigerator looks harder to navigate than the mountains of Mordor.
This is exactly what it can feel like when you try to use a different programming software than you normally use. The interface just doesn’t look right and it can take a while to get used to it.
But, with RoboDK you don’t need to compromise. The interface is extremely customizable. There are options to alter an impressive array of different aspects to suit your needs.
Here are 10 ultra-helpful ways to customize RoboDK’s interface for your preferences.
1. Change to Dark Mode
Years ago, back when I was at university, one of my colleagues told me about the benefits of changing to “dark mode” when you’re programming.
Most software packages use a white background with black text. Dark mode inverts all the colors so that they are the opposite, i.e. bright text on a back background. Many people say that dark mode reduces eye strain (and there was some evidence that it reduced flicker in old CRT monitors).
There are conflicting theories about whether dark mode really is better for your eyes these days with modern screens — it’s much better to rest your eyes regularly when programming — but we can say one thing for sure: some people love dark mode.
If you are a fan of dark mode, RoboDK will now activate it automatically when you have set your OS to dark mode. You can also customize this in the Display options (select Tools > Options window > Display tab).
With OLED displays (though not LCD), dark mode can also reduce the power used by the screen, which is great if you’re using RoboDK with battery power.
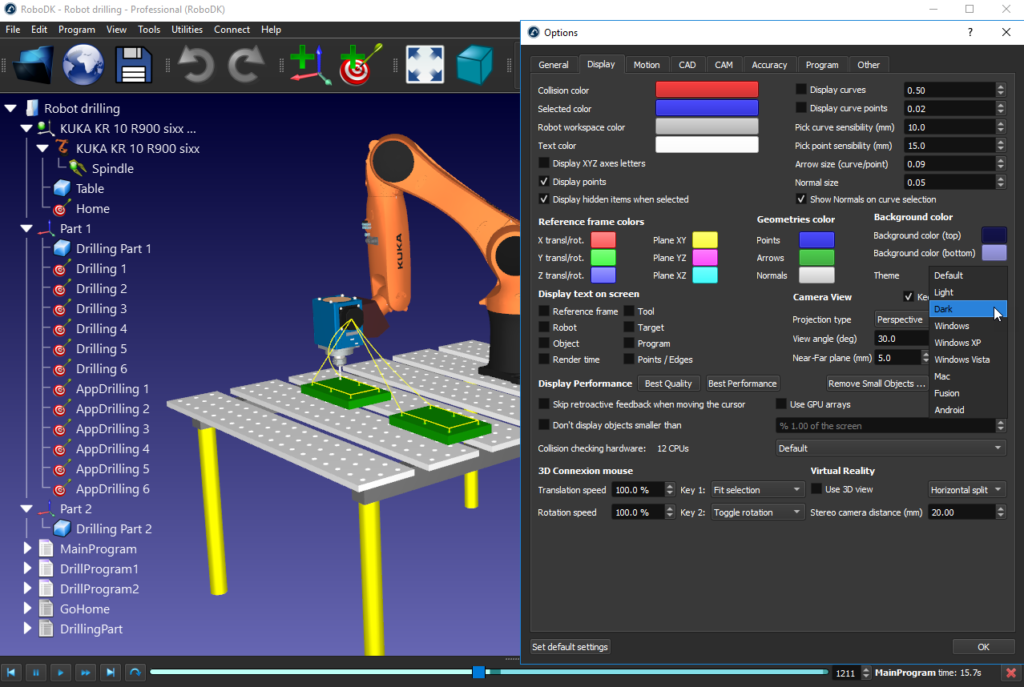
2. Choose All the Colors
Even if you’re not using dark mode, you can change almost all of the colors in RoboDK to suit your preferences.
Colors you can change include: collision color, text color, color of points, background color, reference frame colors, and the color of the selected item.
These can all be changed via Tools > Options window > Display tab.
3. Match Your Favorite Mouse Mode
As a user of various 3D graphics programs, I know how annoying it is when you switch to a new program and the mouse mode is different. Suddenly, up becomes down and down becomes up, the mouse wheel function changes, and the button functions flip around.
RoboDK allows you to change the mouse mode to whatever mode you prefer via Tools menu > Options window > General tab.
4. Match Your CAD/CAM Package Automatically
If you have integrated your favorite CAD/CAM package into RoboDK, using one of our plugins, you can get RoboDK to match the visual style and mouse mode for that program automatically.
For example, if you are using the SolidWorks plugin, you can set the “SolidWorks theme” thorough the plugin menu.
5. Change the Language
It’s always easier to navigate a new software if the menus are written in your native language.
In RoboDK, you can change the language easily through the Tools Menu > Language.
At the time of writing, it contains support for 16 of the most common languages. Not every language has been translated fully, but the key functionalities are represented.
6. Switch the Perspective
Programs that use 3D graphics suffer from an interesting problem. Sometimes you want to view the objects as you would in the real world (with a realistic perspective effect). Other times, you want the view to reflect the dimensions more accurately, even if the model looks less realistic.
You can switch between the two views (perspective and orthographic) via Tools menu > Options window > Display tab.
7. Switch Number Format
All the countries of the world can be split into two groups: those who use a point (.) to separate a decimal number and those who use a comma (,).
For example:
- In Japan, numbers are written in this form: 1,234,567.89 — This form is used by around 41% of the countries in the world.
- In Sweden, numbers are written in this form: 1.234.567,89 — This form is used by around 55% of the countries of the world.
- Finally, in Canada, numbers are written in both forms depending on the context. — This is the case in around 4% of the countries of the world.
You can change RoboDK’s number locale via Tools menu > Options window > General tab.
8. Set Tree Size and Style
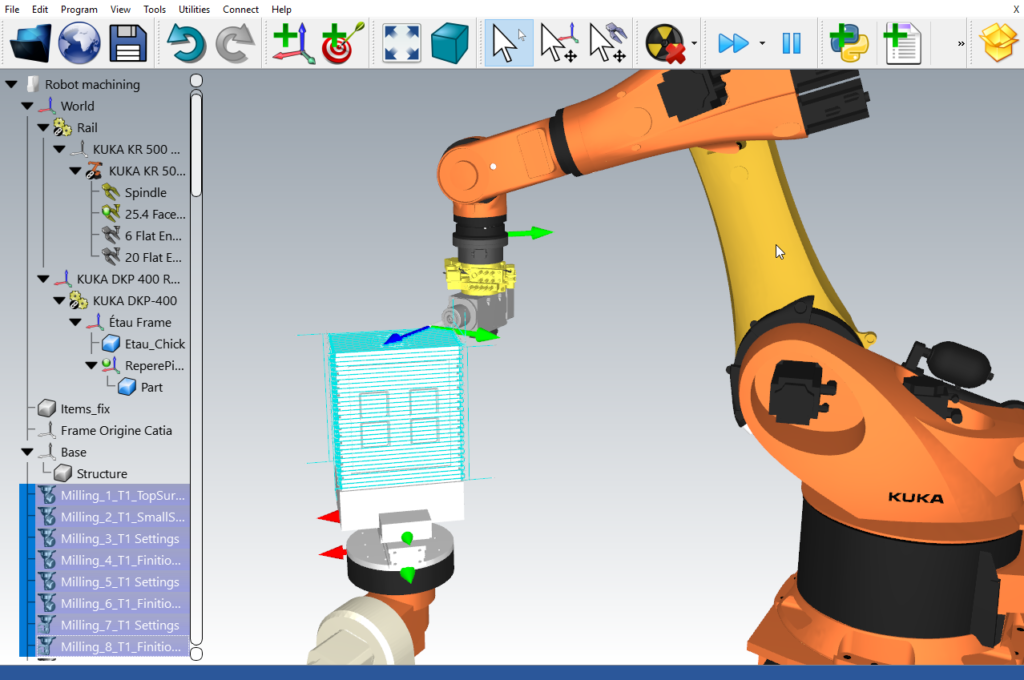
The program tree is visible on the left of the RoboDK window. It contains all of the objects and program instructions for the current simulation.
Sometimes, you will want to zoom out of the program tree to get a fuller view of all the items within it. Other times, you will want to zoom back in again.
You can change the size of the program tree by holding down the Ctrl key and spinning your mouse wheel.
You can also change the background of the tree from transparent to docked and vice versa via View menu > Show Tree Inside the Window.
9. Optimize for Speed or Performance
RoboDK works quite well on lower-performance computers. However, you might want to change some display settings to reduce the computational load.
There are 3 options involving display performance which you can find via Tools menu > Options window > Display tab. These allow you to customize the display for Best Quality or Best Performance. Or, you can use Simplify Object to reduce the number of vertices in a 3D model.
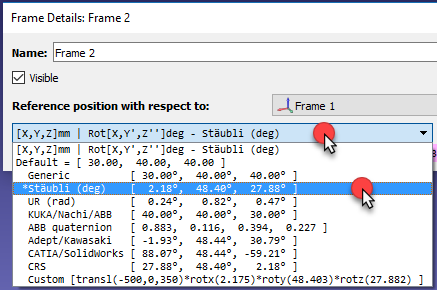
10. Choose Euler Angle Mode
Euler angles are the method used in robotics to represent locations and orientations in space. Infuriatingly, every robot manufacturer and CAD/CAM package uses a slightly different convention for Euler angles to represent the location of a coordinate system (also known as pose) with respect to another coordinate system.
RoboDK supports the Euler angle conventions of all of the major robot manufacturers. You can change the convention of each used via the settings of each coordinate system or the default settings in Tools menu > Options window > General tab.
For a complete introduction to Euler angles, check out our article Robot Euler Angles: The Essential Primer.
Whatever your preferences, RoboDK has an option for you!
How would you like to customize RoboDK? Tell us in the comments below or join the discussion on LinkedIn, Twitter, Facebook, Instagram or in the RoboDK Forum.