Optimizing the Probing Project
The Add-in detects the geometry under each surface you click and best-fits it as a datum: a point, a line, a plane, a cylinder or a sphere. Every type needs a minimum number of contact points before its geometry can be resolved: 1 for a point, 2 for a line, 3 for a plane, 4 for a sphere and 5 for a cylinder. A reference frame needs three datums, taken in the order they appear in the feature list. These are the combinations RoboDK can turn into a frame:
1.Plane, Line, Point: 3 points on a face, 2 points along an edge and 1 point to set the origin. This is the classic 3-2-1 alignment and the quickest one to probe.
2.Plane, Plane, Plane: 3 points on each of three faces that are not parallel to one another.
3.Plane, Plane, Point: 3 points on each of two faces, plus 1 point for the remaining origin component.
4.Plane, Cylinder, Cylinder: 3 points on a face and 5 points inside each of two bores.
5.Sphere, Sphere, Sphere: 4 points on each of three calibration spheres.
Feature Controls
Simply click on the surface of the object to add new points. You can also:
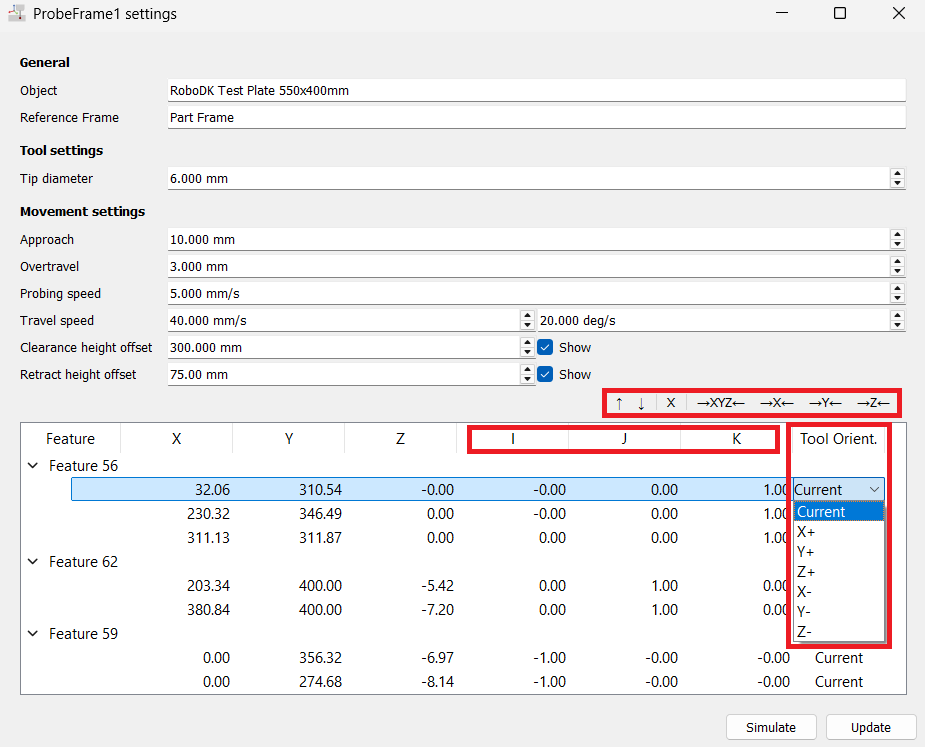
1.Re-order points using the Up/Down arrows. This modifies the probing sequence and can help the robot take the most efficient path.
2.Delete an existing point or feature from the list using the X button.
3.Center the point on the surface along X, Y, Z, or all three axes.
4.Adjust direction vectors (IJK).
5.Set the tool orientation used to approach each point, in the Tool Orient. column. Current is the default and keeps the orientation the robot has when the program is generated; X+, X-, Y+, Y-, Z+ and Z- align that tool axis with the probing direction, which is what you need for points on a side face.
Visual Feedback
As you click around your 3D model to add points, RoboDK provides real-time visual feedback by changing the color of the surfaces:
1.Red: the surface has been detected as a feature but does not yet have enough contact points to resolve its geometry. Keep adding points.
2.Green: the feature is resolved. RoboDK was able to best-fit its geometry from your points, so it is a valid datum. Move on to the next feature.
3.Cyan: the feature is one of the three datums RoboDK is actually using to build the reference frame. Once three features are cyan the sequence is valid and you can simulate it and generate the program.
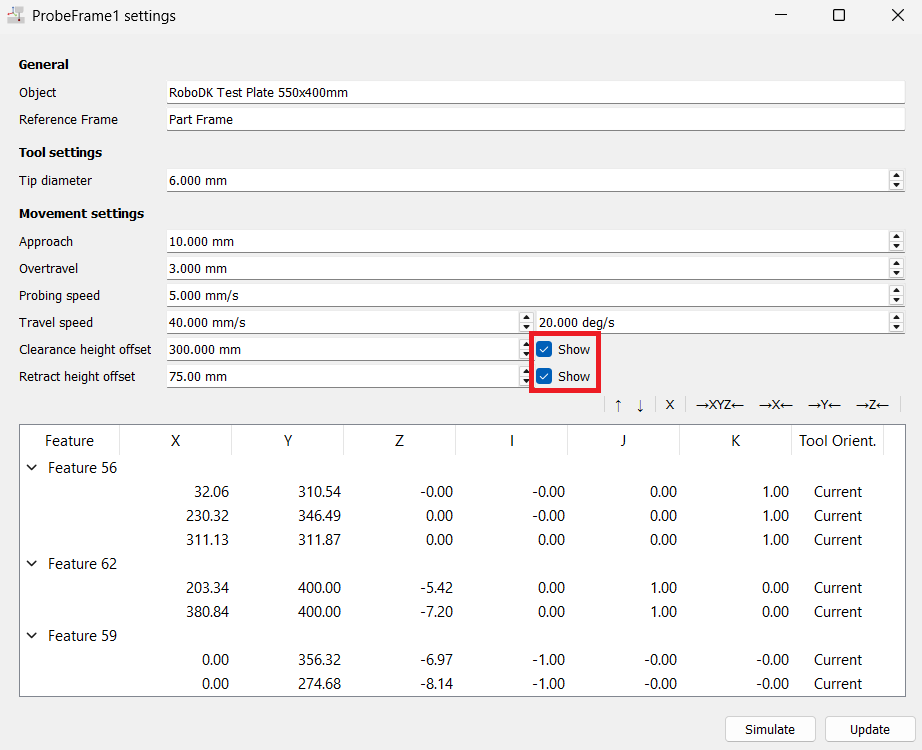
Select the Show checkbox next to Clearance height offset or Retract height offset to draw the corresponding plane in the 3D view. It is the quickest way to confirm that the robot travels above every clamp and fixture on the part.
Once the program has run — on the real robot through the driver, or in simulation with the option above enabled — RoboDK marks every Search Linear (SearchL) instruction that recorded a contact with a green dot. The green dot means the instruction holds a contact point, so you can display those points in the 3D view or read the joint values the robot stopped at. A Search Linear instruction without a green dot never registered a touch, which is what the No contact point/target unreachable error reports.
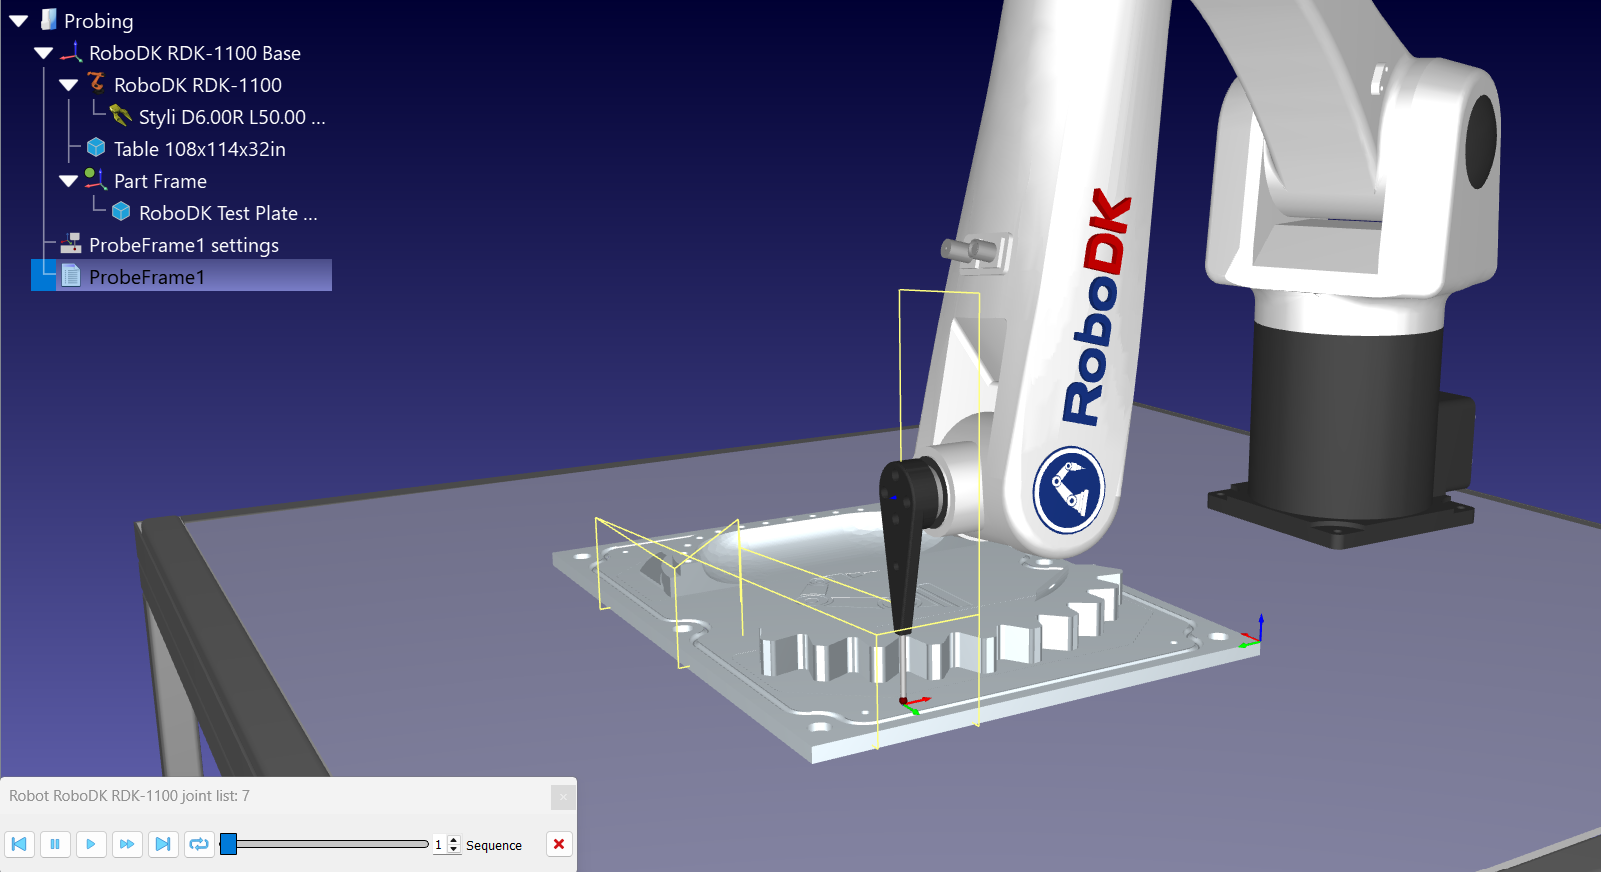
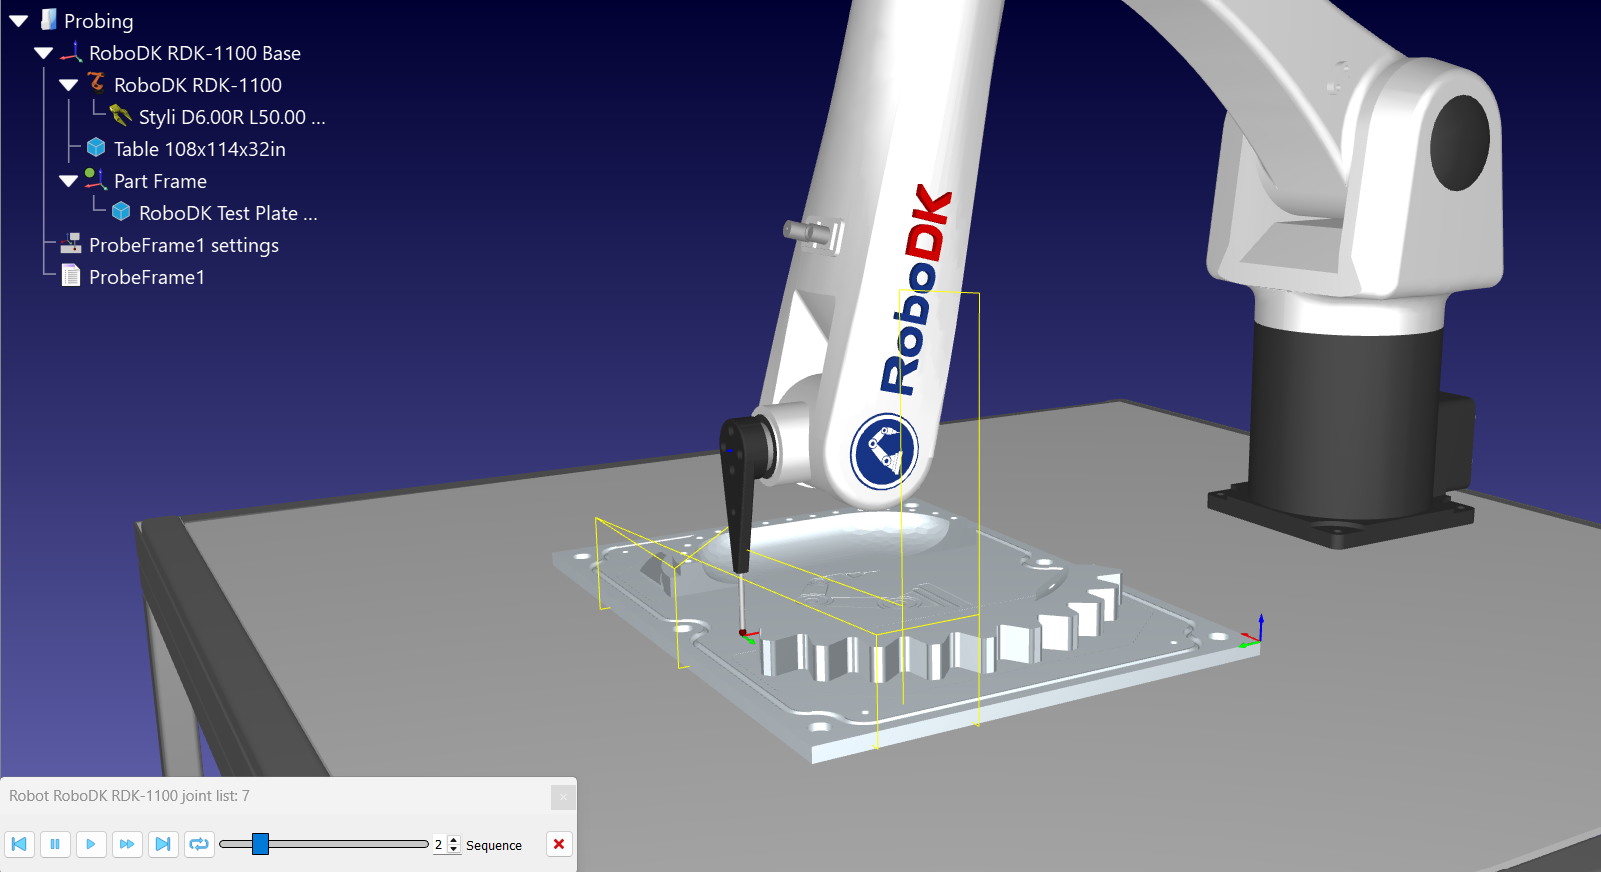
When you review the generated program you may want to check exactly where the probe touches the part, without reopening the editor. Right-click the ProbeFrame1 program and select Show Program Contact Points. The option is only useful after a run, because it replays the contact positions that were actually recorded.
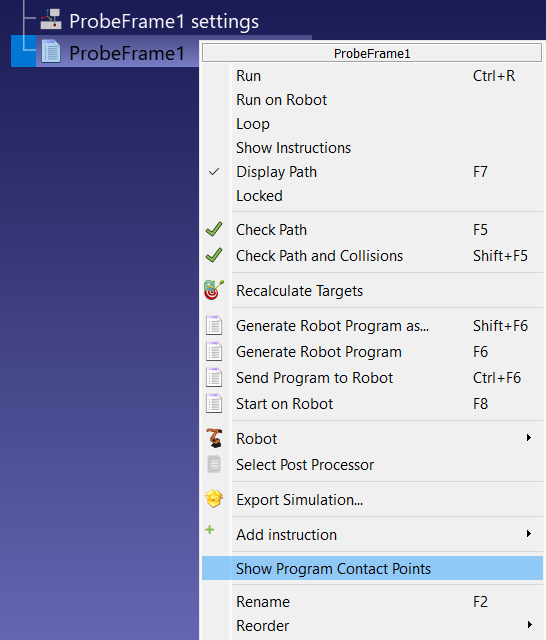
This option displays a slider in the RoboDK window, which you can use to verify each point’s spacing and alignment one by one.