Record
The Record Add-In is a cinematic tool that adds screen capturing and camera-tracking capabilities to RoboDK.
Instead of using basic screen-capture software that captures outside window frames and menus, the Record Add-in can lock onto the 3D view of a RoboDK station directly. It allows users to attach the viewpoint onto moving robot joints and export smooth, clean videos or transparent image sequences of cell simulations.
This Add-in acts as a helpful assistant when creating presentation materials, building engineering portfolios, or saving step-by-step assembly sequences for customer reviews.
You can install the Record Add-in from the RoboDK Online Library of Add-ins. Another way to do this from RoboDK software itself is by going to Tools ➔ Add-in Manager (or press Shift+A) and Enable the Record Add-in.
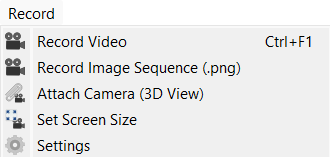
After installation, you can find a separate Record menu for the Add-in.
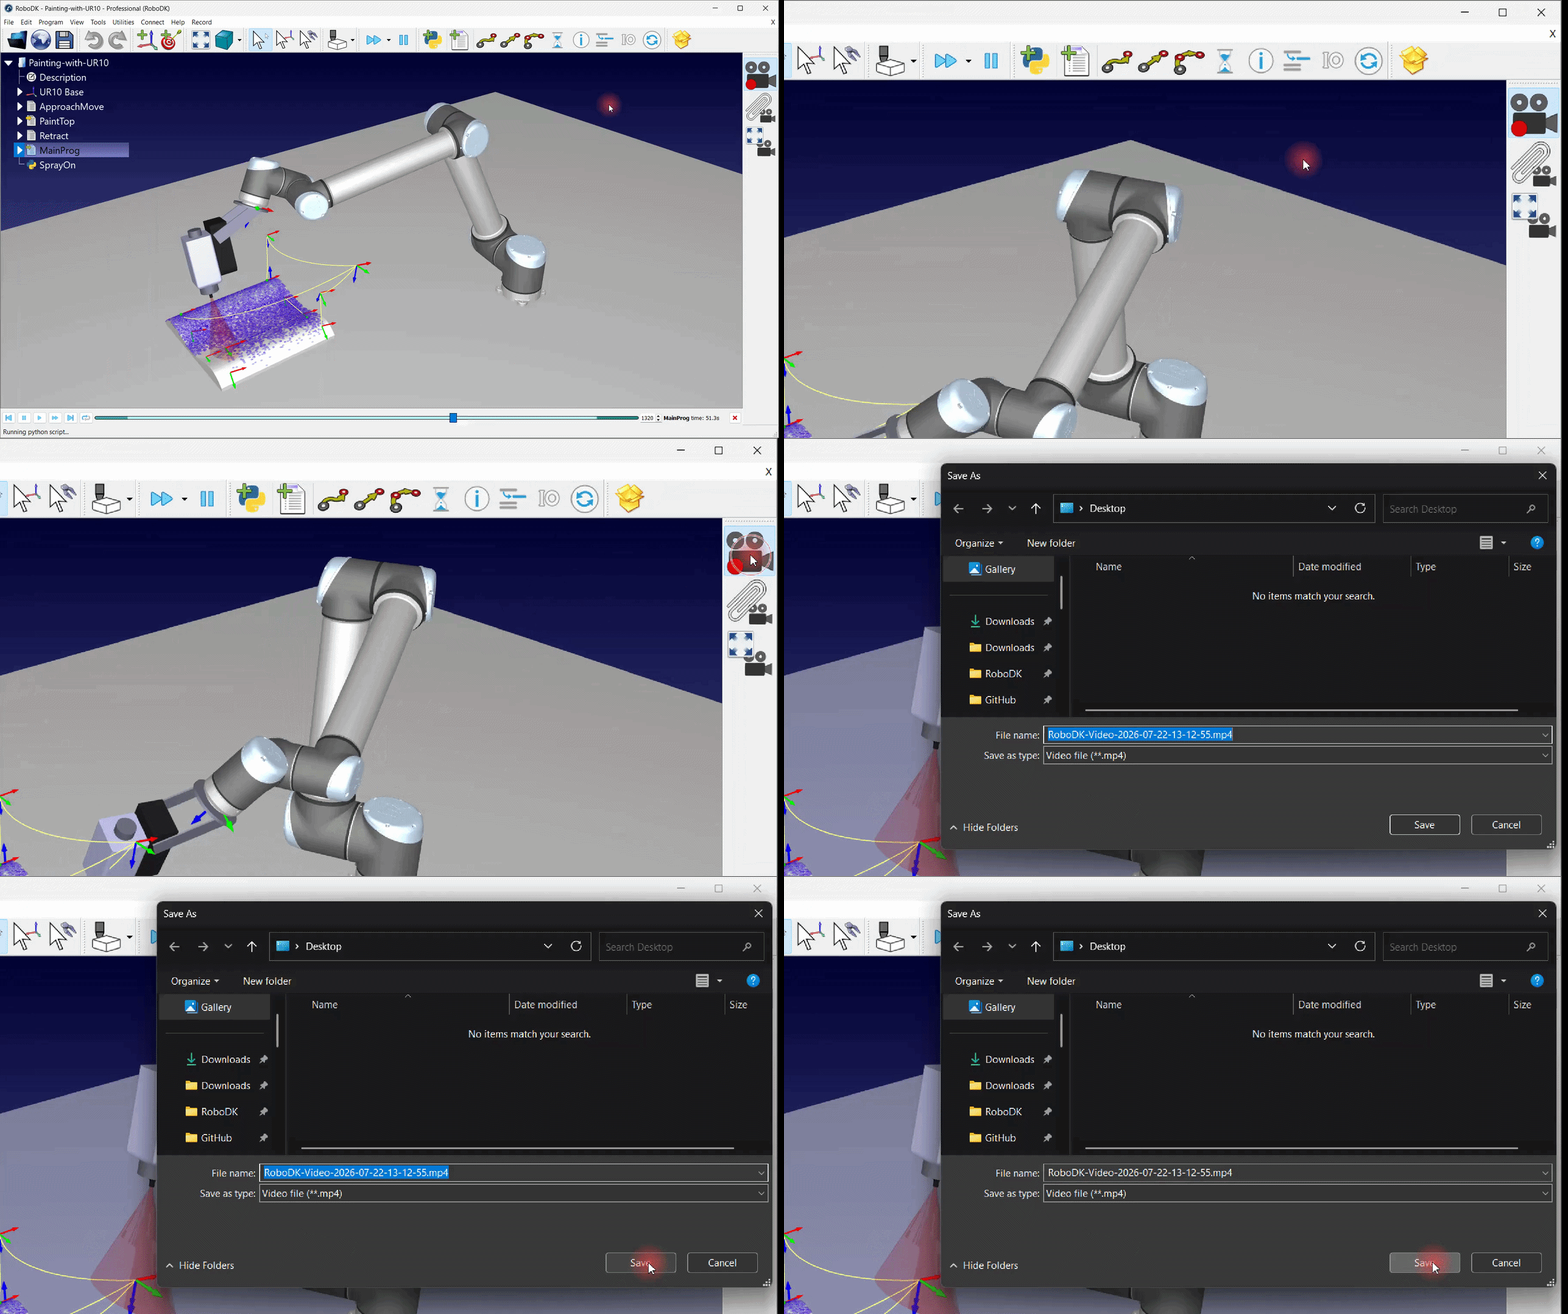
A dedicated toolbar is also available for quick access.
Main Options
The Record Add-in features options that focus on giving users total control over how simulations are recorded, helping to create presentation-ready visuals.
Record Video
This feature captures the live motion of the station and saves it as a standard video file. It strips away all external side panels and toolbars, outputting a clean video containing only the active 3D environment and the station tree.
Record the path simulation by following these steps:
1.Click on the Record Video option present in the Record menu (or press Ctrl+F1) to start recording. An icon is also available in the toolbar for the same. A red dot near the icon represents that the screen is being recorded.
2.Click on the same option again to stop recording. When you do this, a file save window pops up automatically, suggesting a filename with the current date and time, also allowing you to pick exactly where to save the file on disk.
Attach Camera (3D View)
This utility of the Add-in attaches the main 3D perspective straight onto a moving component in the cell. As a result, the view is glued to the selected item.
If a moving robot link, a welding tool, or a part sliding down a conveyor belt is selected before using the Attach Camera (3D View) option, the camera will ride along with that item.
This creates a first-person view, keeping the tool tip perfectly centered on the screen while the rest of the station environment moves smoothly around it. This eliminates the need to manually pan or rotate the screen while trying to follow a moving robot tool path.
Set Screen Size
This option changes the dimensions of the RoboDK window layout. It can be used to lock the screen proportions into specific, standard sizes (such as 960 x 720 pixels) before hitting record. This guarantees that exported videos maintain a uniform shape, preventing unwanted stretching or cropping.
Settings
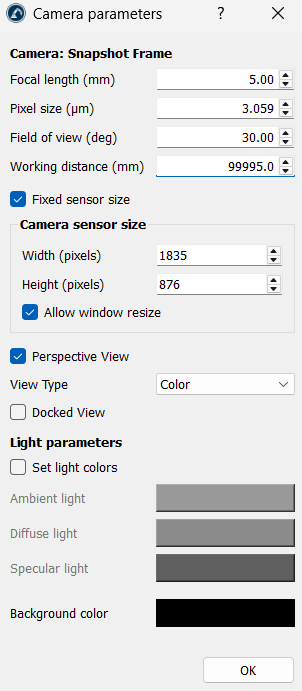
The Settings window controls how the tracking camera behaves, the default size of the recording window, and the format of the exported media files.
Camera
When the Keep relative position when attaching the camera option is turned on, the camera preserves the exact current viewing angle and distance. As the object moves or rotates, the camera moves with it as if it is attached to it at that exact offset distance. When turned off, the camera snaps to a strict, pre-set directional view alignment relative to the object.
Input
The Default screen size option hard-locks the pixel resolution width and height of the 3D window for recording. Standardizing this layout ensures the videos look consistent and professional.
Output
The Frame per seconds option controls how many individual picture snapshots the Add-in captures every second. Higher values (like 24 or 30) create smooth, cinematic playback for moving robot arms.
The Format option sets the file format for the recordings. The following formats can be set for the Record Add-in's output:
1..mp4: Uses a standard compression format that balances great visual quality with low file size. This is considered ideal for sharing.
2..avi: Uses an uncompressed format that preserves high geometric clarity. This is preferred for video editing.


