Set up the simulated camera
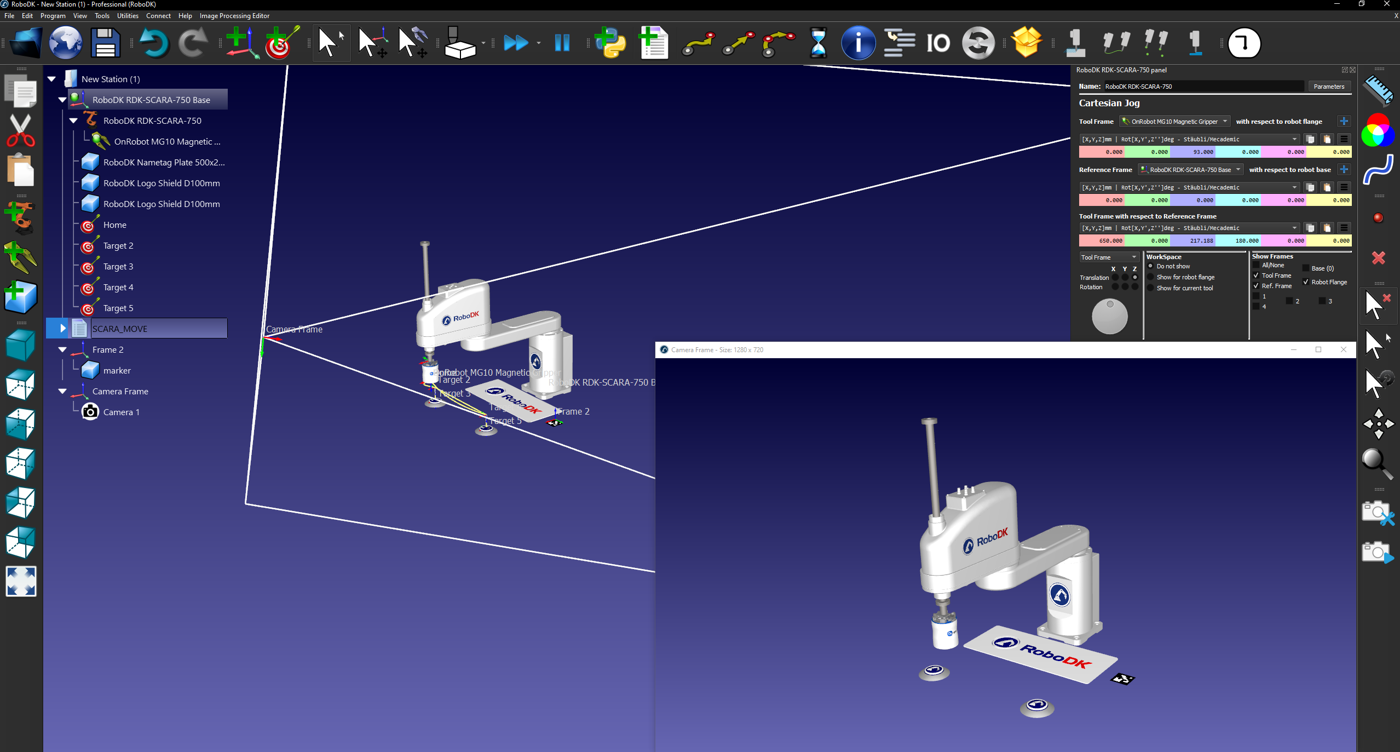
To accurately overlay the station assets over the video feed, a simulated camera must be created. This simulated camera uses the camera pose and trajectory calculated using the fiducial markers to record the RoboDK station from the same angle, distance, and trajectory as the input video feed.
This simulated camera resolution needs to match the input video for the marker scaling to be accurate. The steps to add a virtual camera to the station are outlined below:
1.Add a camera to your station by selecting Image Processing Editor ➔ Add a RoboDK Camera in the toolbar.
2.Right-Click on the camera or camera feed and select “Camera Settings”.
3.Adjust the virtual camera settings to match the resolution of the input video feed.
4.Align the reference frame so that the simulated camera can see the virtual Aruco marker.
For the best results, the physical input video should be recorded with the following considerations:
1.Place the marker on a flat surface in a well-lit environment. For optimal results, consider the size and distance of the objects in the virtual station respective to the marker and recording environment.
2.Consistent Camera Settings (Real and Simulated Cameras must have matching resolution settings).
3.Legible Aruco ID’s (Camera must keep ID’s legible. Things to avoid: Fast/Blurry Footage, Low camera resolution, High marker distance from camera).
4.Ensure the video is in .mp4 or .avi format