Manual Install
These are manual steps to setup the RoboDK Add-in for FreeCAD. You should follow these steps if the RoboDK add-in for FreeCAD was not automatically installed by default using the RoboDK installer:
1.Make sure you are using the latest version of RoboDK: https://robodk.com/download.
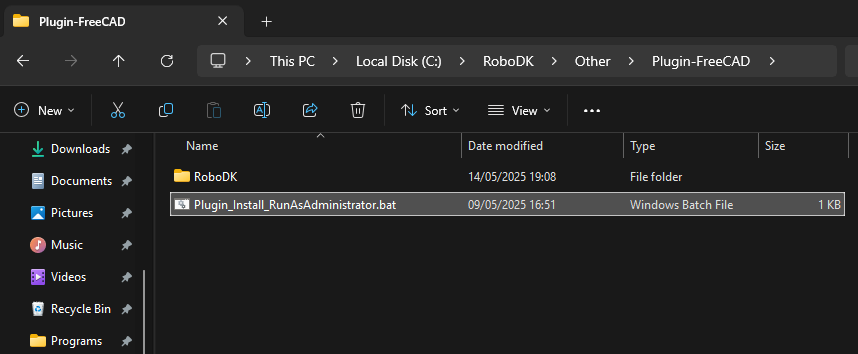
2.You’ll find the required files to install the RoboDK Add-in for FreeCAD in the folder: C:\RoboDK\Other\Plugin-FreeCAD\.
3.Right-click on the Plugin_Install_RunAsAdministrator.bat file and select Run as administrator.
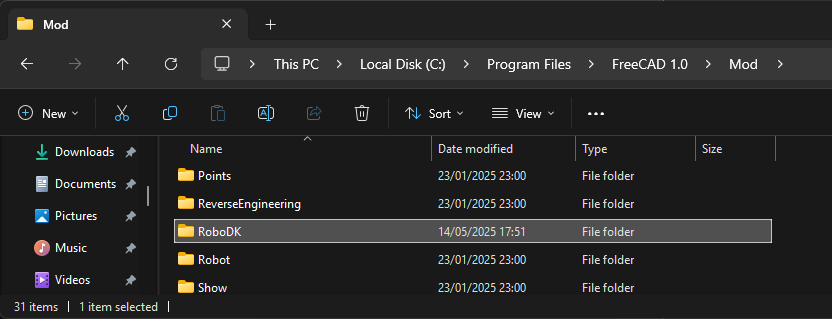
If this process fails, you can copy the RoboDK folder to the FreeCAD Mod folder (C:\Program Files\FreeCAD 1.0\Mod):