Examples
The following sections show a 3-axis machining example and a 5-axis robot cutting example, respectively.
3-Axis Robot Machining
This example shows how to create a 3-axis robot machining project using the Mastercam plugin.
1.Load the part in Mastercam.
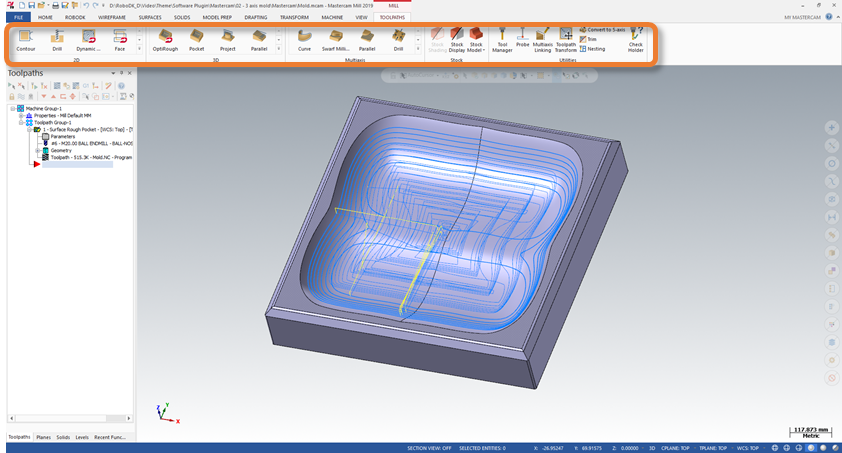
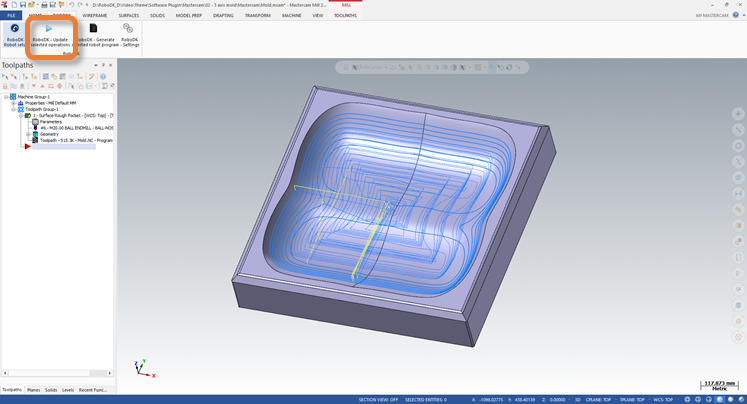
2.Create the toolpath using Mastercam Mill tools.
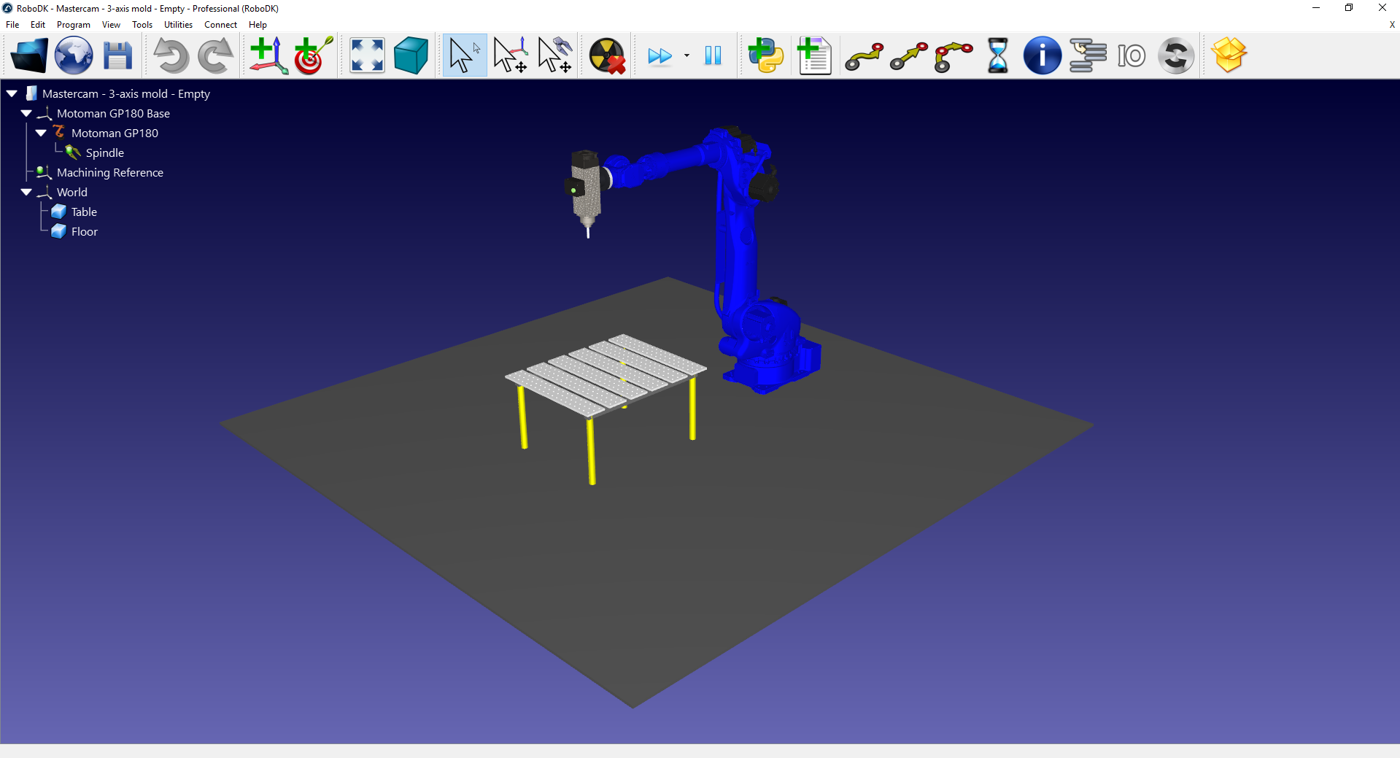
3.Create a station in RoboDK with your robot, your spindle and any other required objects.
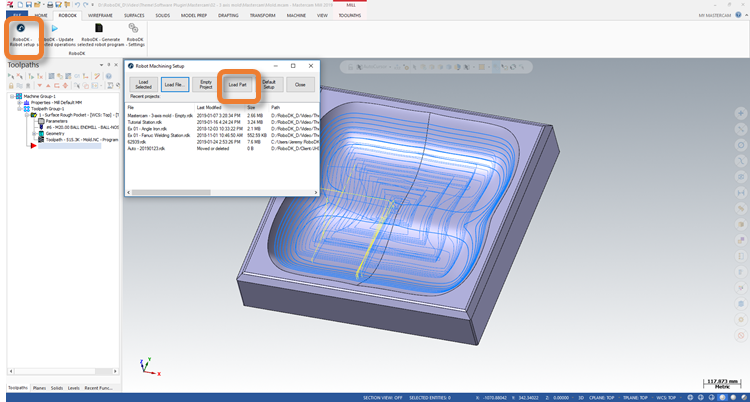
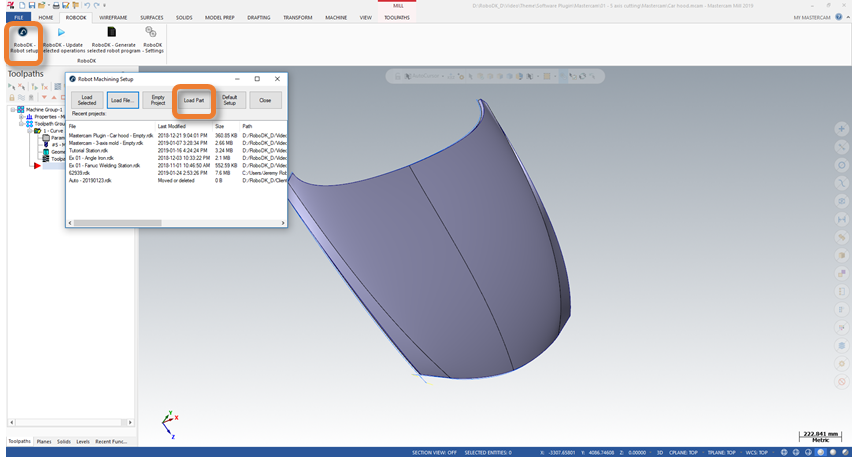
4.In the RoboDK plugin tab, select RoboDK ➔ Robot setup.
5.In the Robot Machining Setup window, select Load Part.
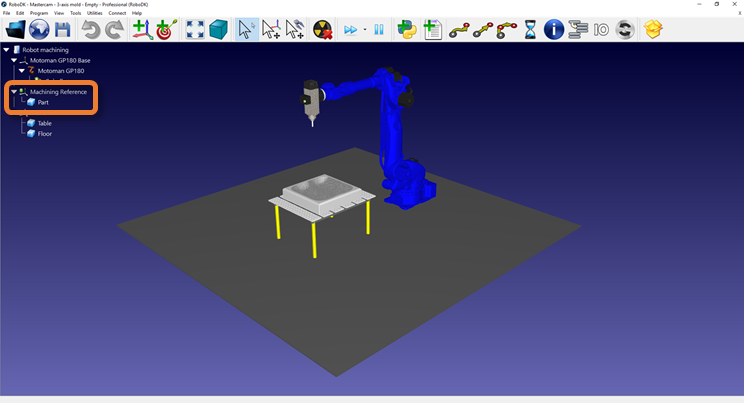
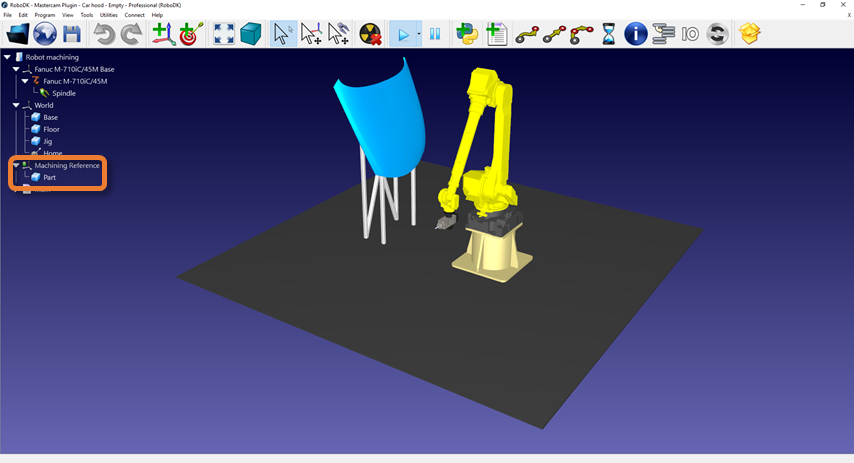
6.In RoboDK, adjust the position of the Machining Reference reference frame if needed. Hold the Alt key and move the reference with its arrows using the cursor to reposition the part in front of the robot.
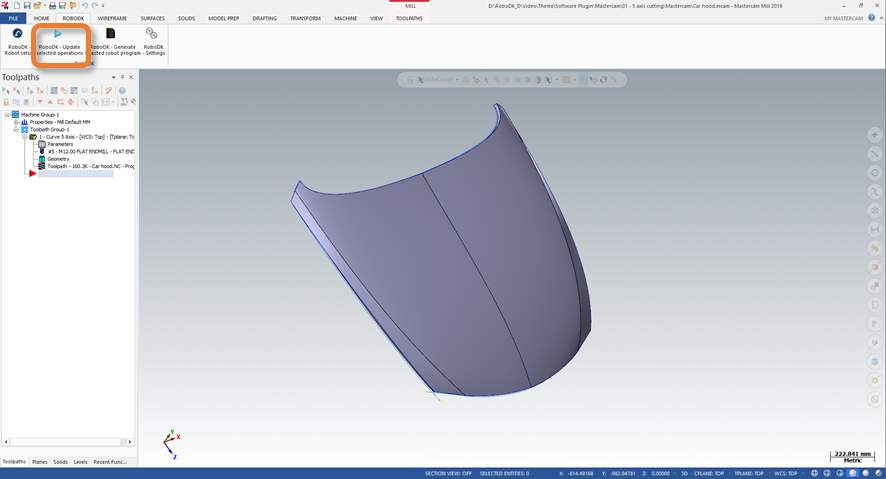
7.In the RoboDK plugin tab, select RoboDK ➔ Update selected operations.
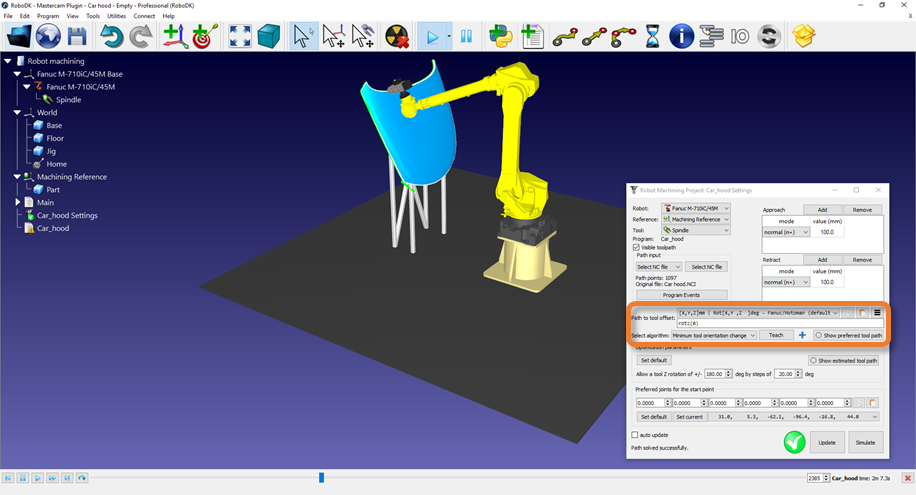
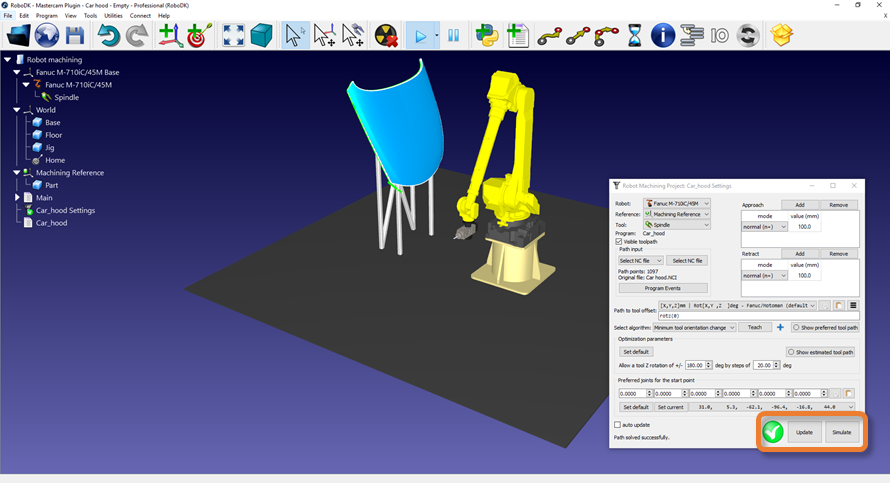
8.In RoboDK, select Update and Simulate in the Robot Machining Project window.
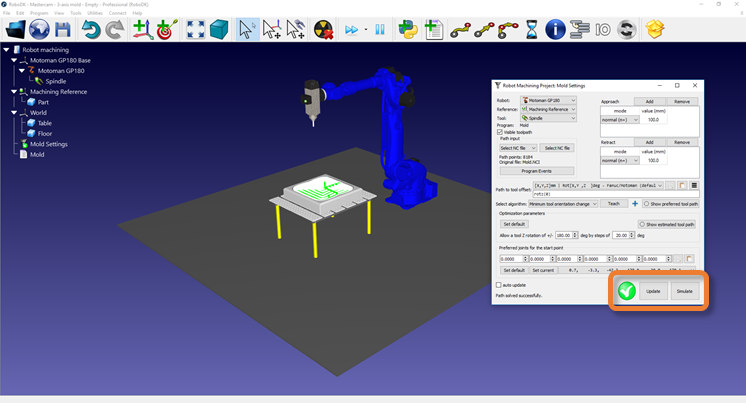
9.Modify the orientation of the tool along the path if needed. Hold the Alt key and orient the tool around its Z axis arrows using the cursor. Select the Teach button to set the desired pose for the path. Select Update to recalculate the path using this new pose. Select Simulate to simulate the modified path.

5-Axis Robot Cutting
This example shows how to create a 5-axis robot cutting project using the Mastercam plugin.
1.Load the part in Mastercam.
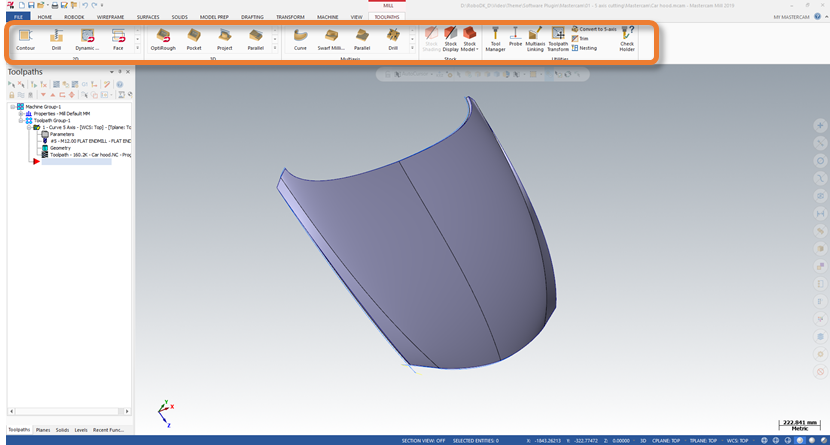
2.Create the toolpath using Mastercam Mill tools.
3.Create a station in RoboDK with your robot, your spindle and any other required objects.

4.In the RoboDK plugin tab, select RoboDK ➔ Robot setup.
5.In the Robot Machining Setup window, select Load Part.
6.In RoboDK, adjust the position of the Machining Reference reference frame if needed. Hold the Alt key and move the reference with its arrows using the cursor to reposition the part in front of the robot.
7.In the RoboDK plugin tab, select RoboDK➔Update selected operations.
8.In RoboDK, select Update and Simulate in the Robot Machining Project window.
9.Modify the orientation of the tool along the path, if needed. Hold the Alt key and orient the tool around its Z axis arrows using the cursor. Select the Teach button to set the desired pose for the path. Select Update to recalculate the path using this new pose. Select Simulate to simulate the modified path.