Troubleshoot
Setting up the robot driver might not be as simple as generating programs offline (Offline Programming). If the connection doesn’t work, this section provides some tips to help you find the source of the problems.
1.Make sure the IP of the robot is correct and reachable: Select the ping button from the robot connection menu (or ping the robot through the command line) to make sure the robot and the computer are in the same network.
2.Set a static IP for the computer if the robot and the computer are not in the same network.
3.If you are using Windows: Make sure that Windows Firewall is turned Off to prevent blocking any connections.
4.Make sure the communication port is appropriate and available on the robot side.
5.Make sure appropriate instructions are followed on the robot controller depending on the controller model.
6.Double click Disconnect on the Robot connection window to force the driver to stop, then, select connect again to try a new connection.
Ping test
A ping test will test the reachability of a robot on an Internet Protocol (IP) network.
Follow these steps to perform a ping test on Windows:
1.Open a new console window by selecting 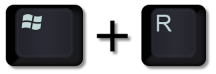
2.Type cmd and select OK
3.Type ping IP, where the IP should be the IP of your robot). Example:
ping 192.168.125.2
We should see a response similar to the image with a 0% signal loss
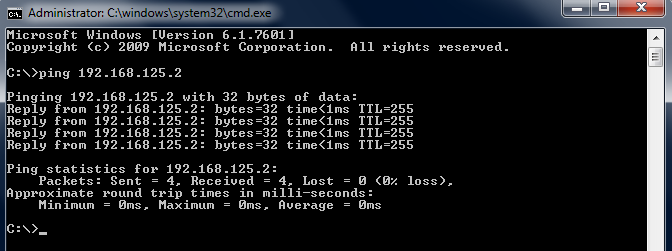
If there is no communication we should verify that the IP of the robot and the PC are in the same local area network (LAN). It might be required to turn off the Windows Firewall or add a rule to allow the communication.
Set a Static IP
Follow these steps to change the IP of a computer:
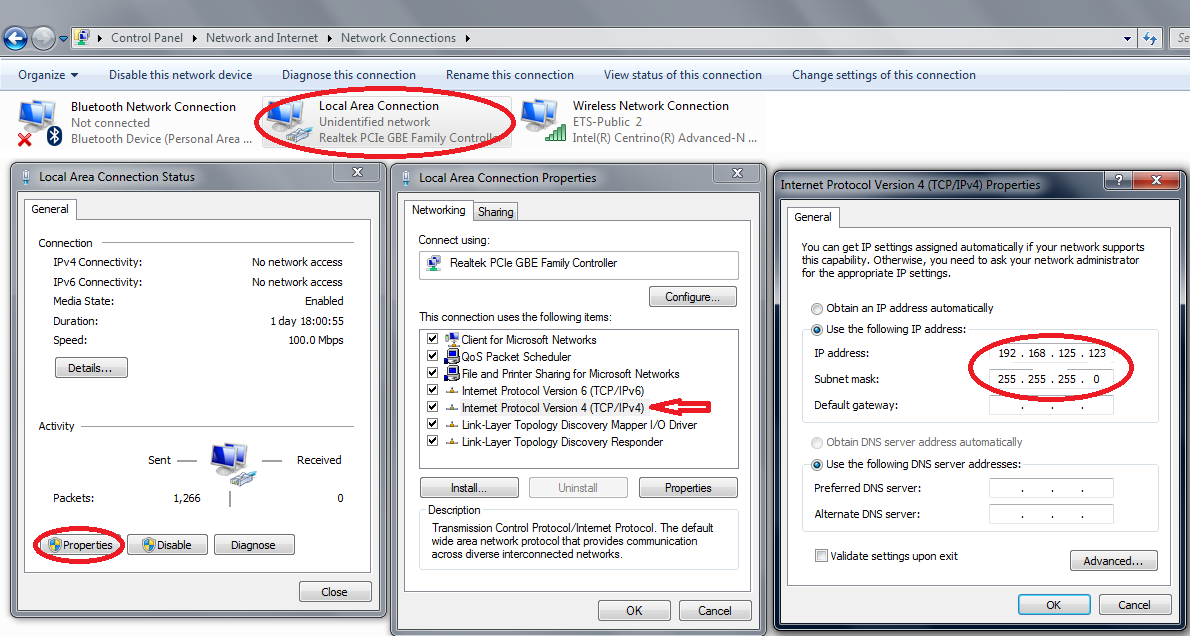
1.Select Windows Start➔Control Panel➔Network and Internet➔Network Connections
2.Double click the local area connection card
3.Select Properties.
4.Select Internet Protocol Version 4 (TCP/IPv4)
5.Select Properties
6.Enter the IP of the computer according to the robot IP and a subnet mask.