Point Follow Project
You can easily simulate a robot to follow points with RoboDK. Points in RoboDK can be extracted from objects, curves or imported as a list of points in CSV files. This option is useful for spot welding or drilling applications for example. The following video shows an example to set up a spot welding application: watch video.
Select Utilities➔Point Follow Project to open the point follow settings. These settings are the same as a Robot Machining Project, the only difference is that the Path input is preset to Select points.
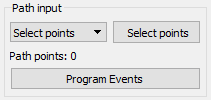
Select Select points to select the point(s) on the screen.
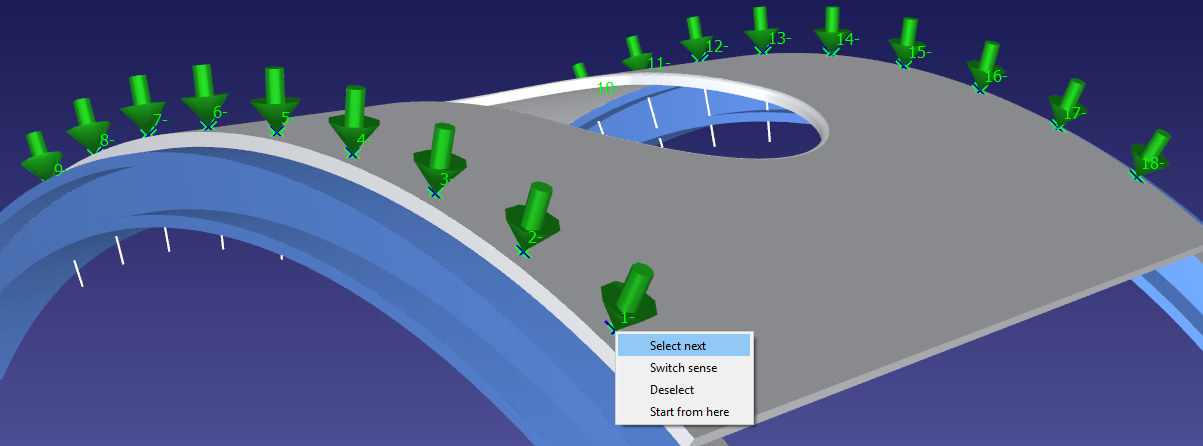
Select the points with a mouse left click. Selecting the same point twice will switch the approach direction. Also, right clicking a point allows selecting the points that follow by selecting Select next.

Right click the screen and select Done or press the Esc key to go back to the settings menu. The green path will display the robot motion with respect to the object.
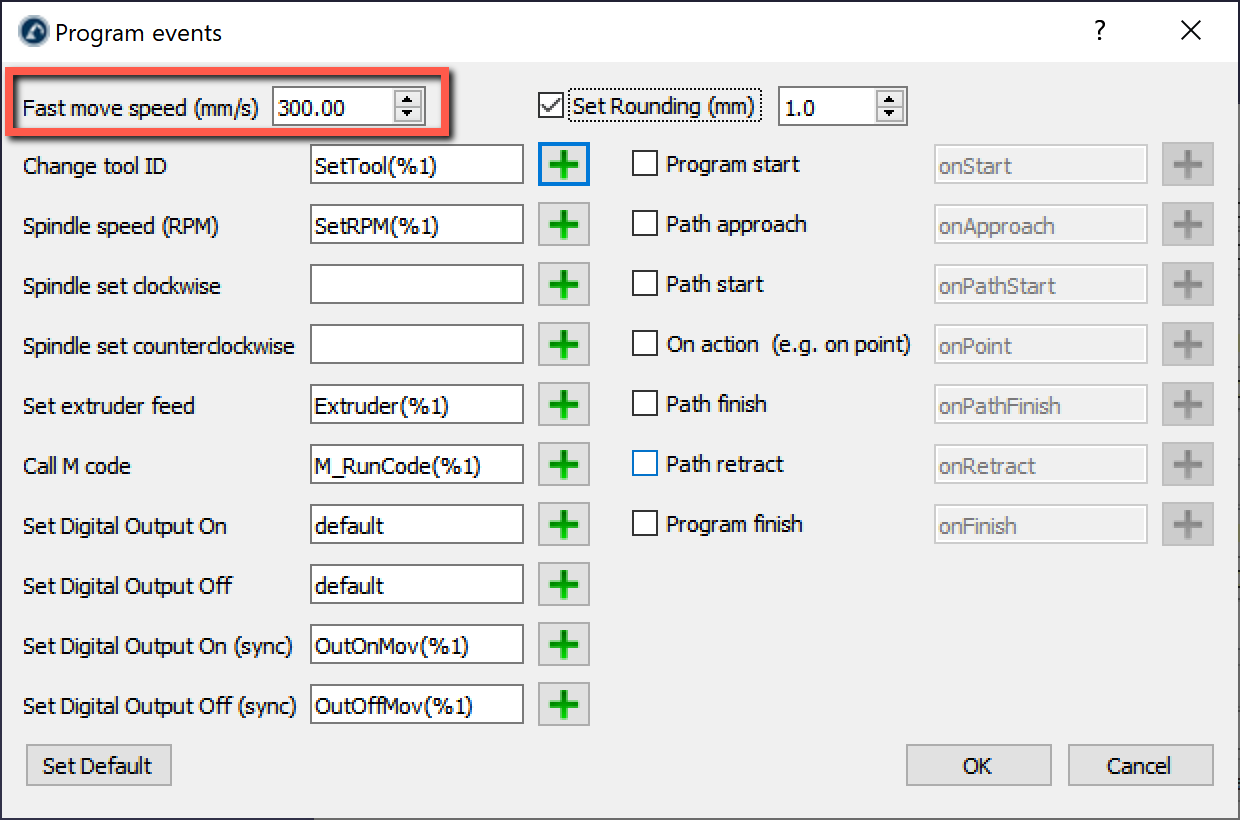
Some additional options are available at the top right of the settings, such as the tool speed and the approach distance. The default settings are shown in the next image:
Import Points
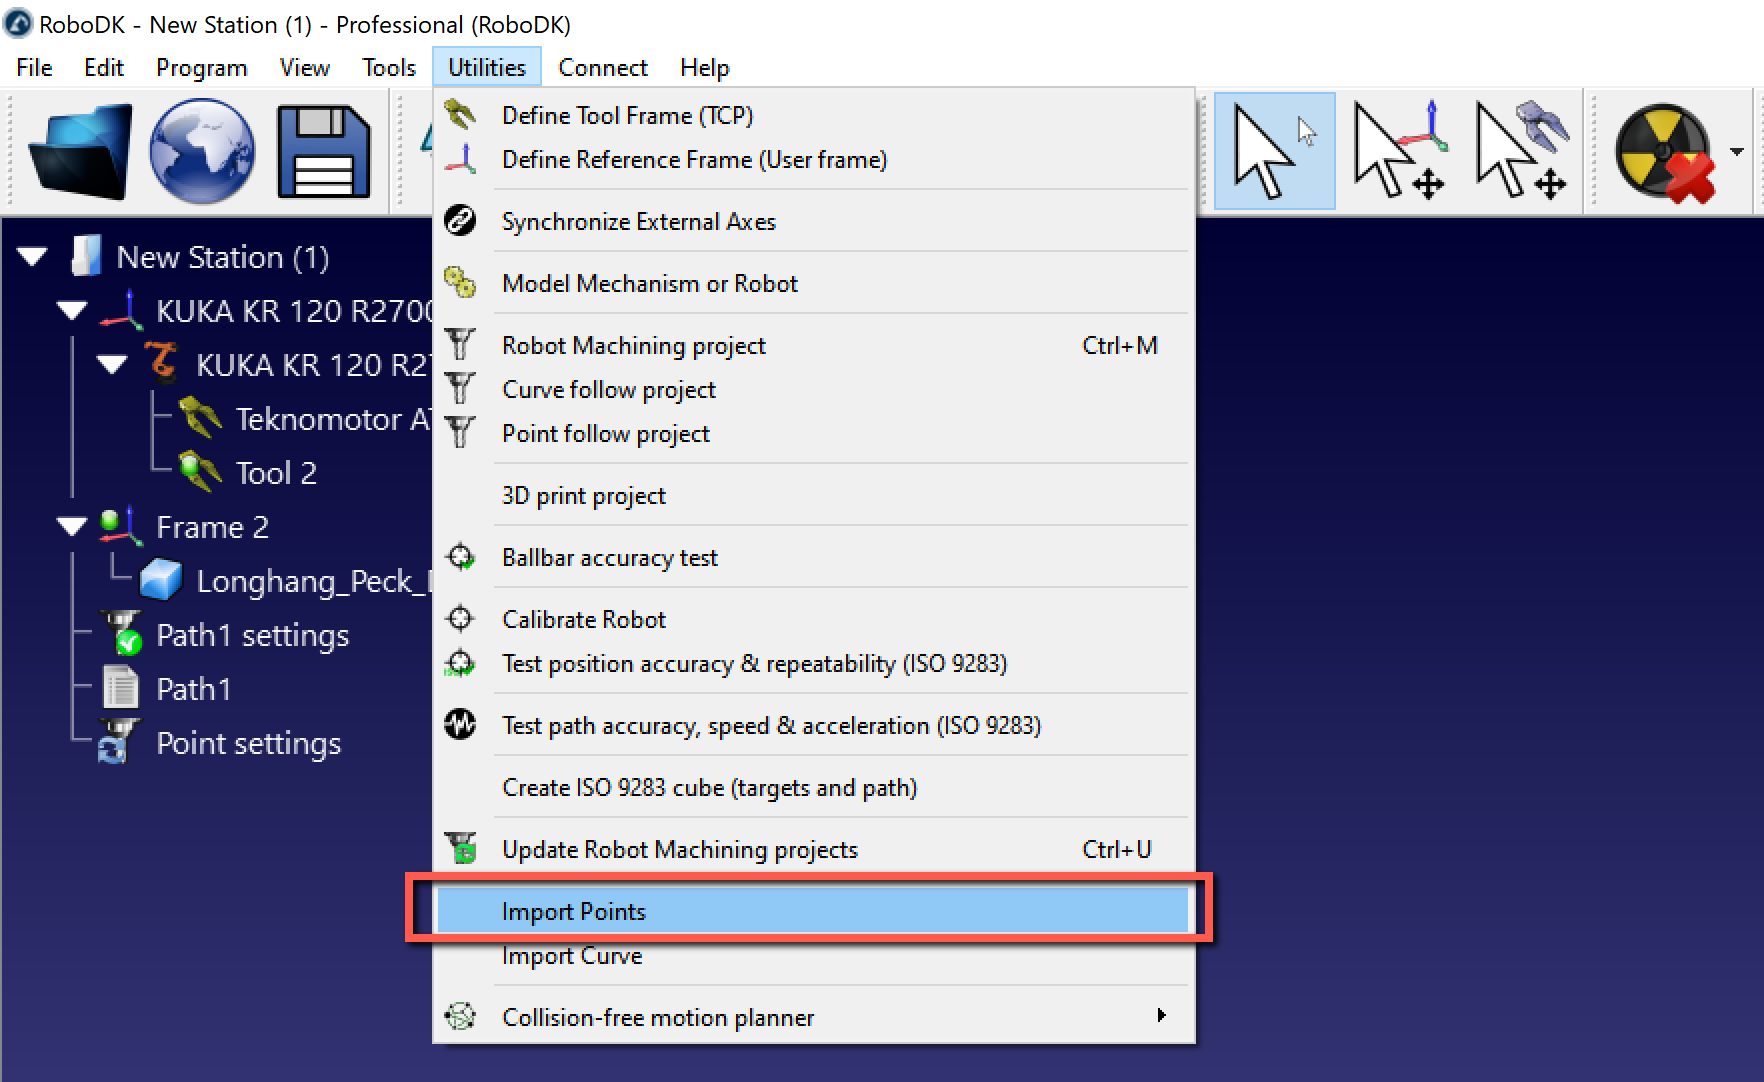
A list of points can be imported from a text file or a CSV file by selecting Utilities➔Import Points. A new item will appear in the station showing the points as an object.
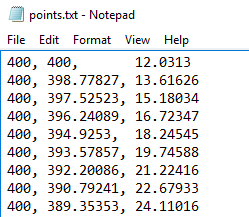
The file can be a text file with the 3D coordinates of each point of the curve. Optionally, the orientation of the Z axis of the tool can be provided as an i,j,k vector.
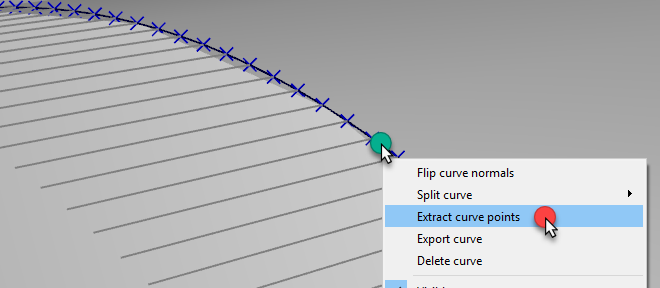
Optionally, existing curves of an object can be converted into points by right clicking a curve, then, selecting Extract curve points.
