Using the Smart Motion Add-in
To create a safe path using Smart Motion, select the targets where the robot needs to go and click Generate Path. The Add-in does the calculation for you.
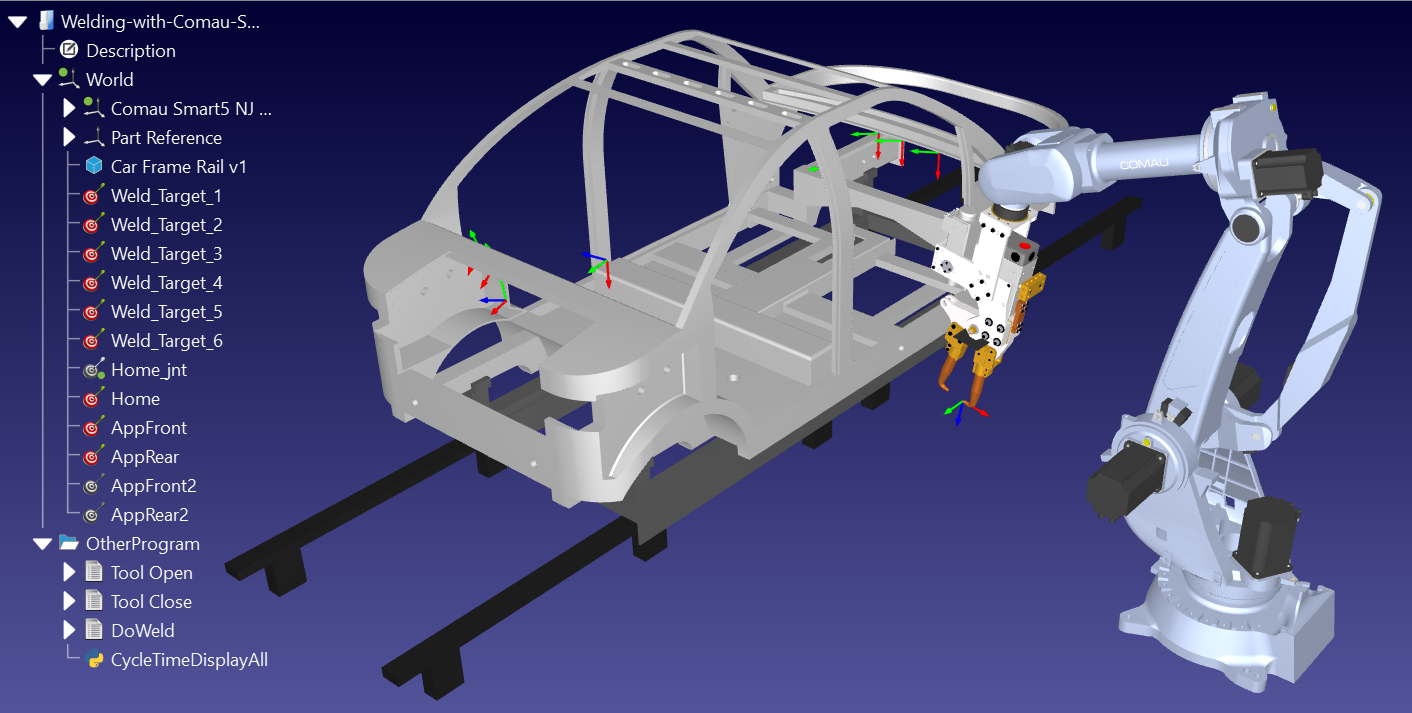
We’ll be using the following spot-welding example to demonstrate the Smart Motion Add-in: Spot-welding with Comau. This example includes the 4 components we described earlier.
This project also includes collision-free paths in the form of scripts created using the PRM Plug-in. For the purpose of demonstrating the Smart Motion Add-in, we are removing these programs that were created automatically using the PRM Plug-in:
●AppFrontPg
●AppRearPg
●HomePg
●HomeToAppFront
●AppRearToHome
●AppFrontToAppRear
●AppRearToAppFront
●Main
General steps
To use the Add-in, follow these steps:
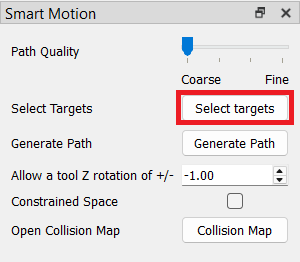
1.Open the Target selector: Click the Select Targets button in the Smart Motion menu to open the selection window. These targets define the path you want to generate.
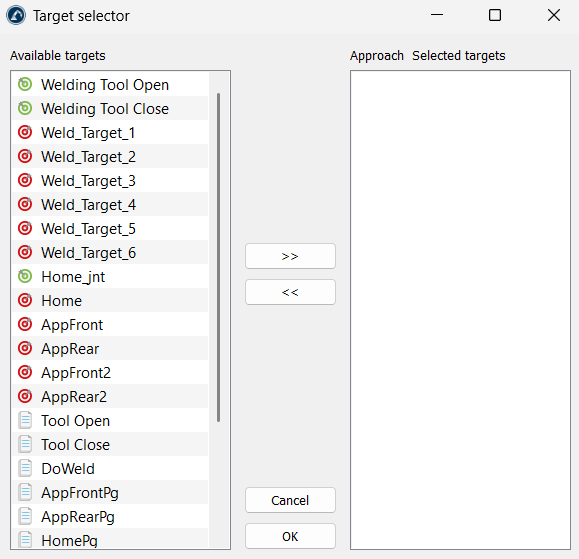
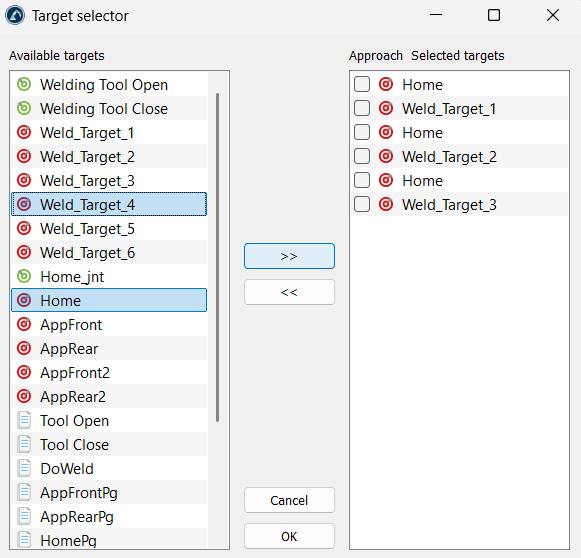
2.Choose and order the points: Select the points you want to use from the Available targets section on the left side and click the >> button to move them to the Selected targets section on the right side. You can change their order on the right side (by using drag-and-drop) to decide where the robot goes first. Once the targets are selected, you can confirm the selection with the OK button.
3.Pick the path quality: Move the Path Quality slider. Use Coarse for quick checks, or move it toward Fine to make sure the robot checks close spaces safely.
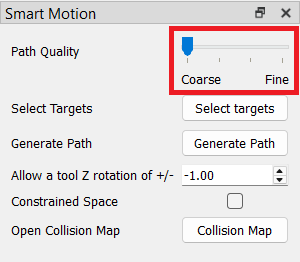
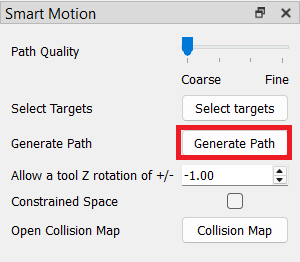
4.Create the path: Click the Generate Path button. The tool will create a safe movement between every pair of points in your list.
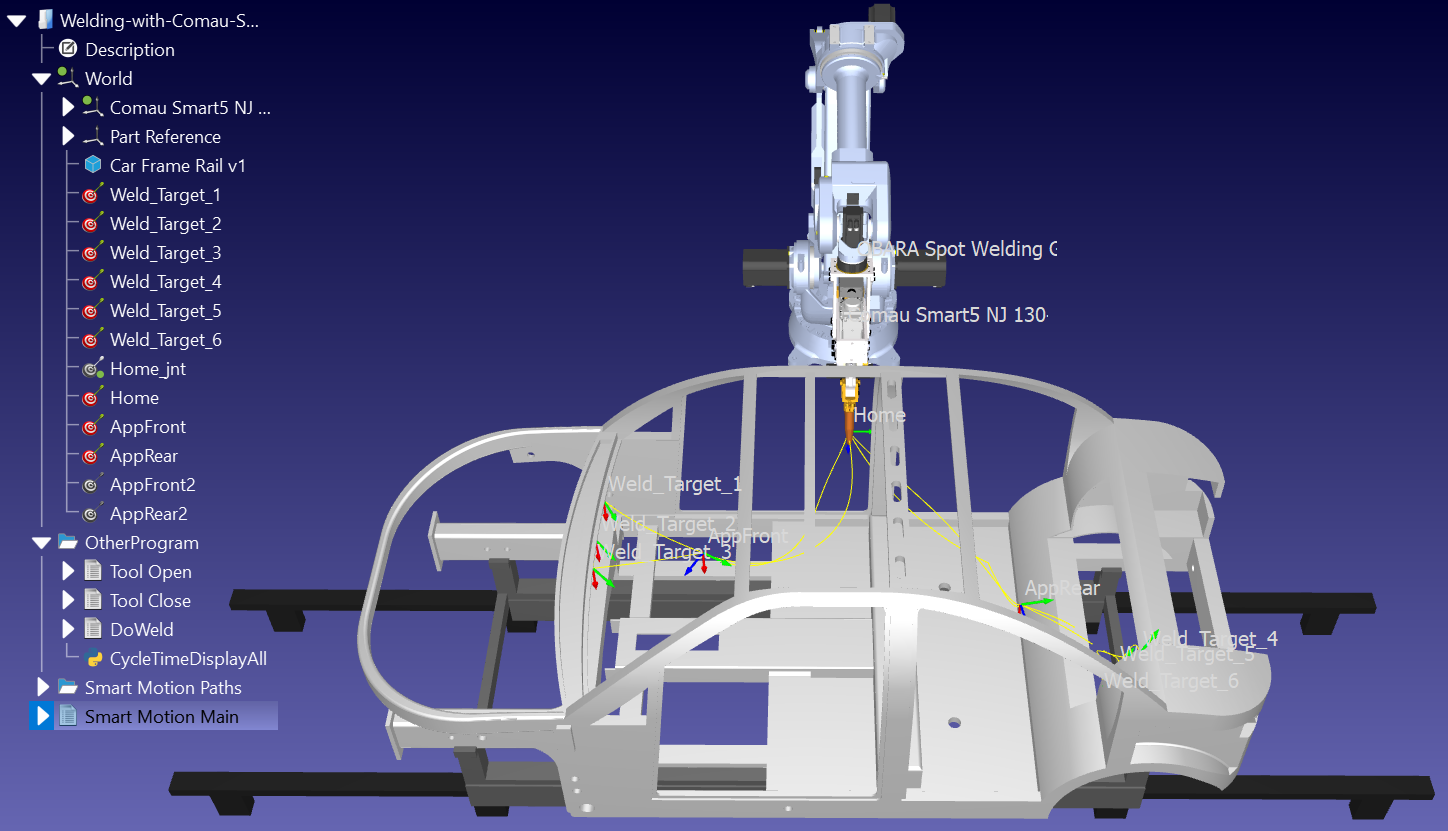
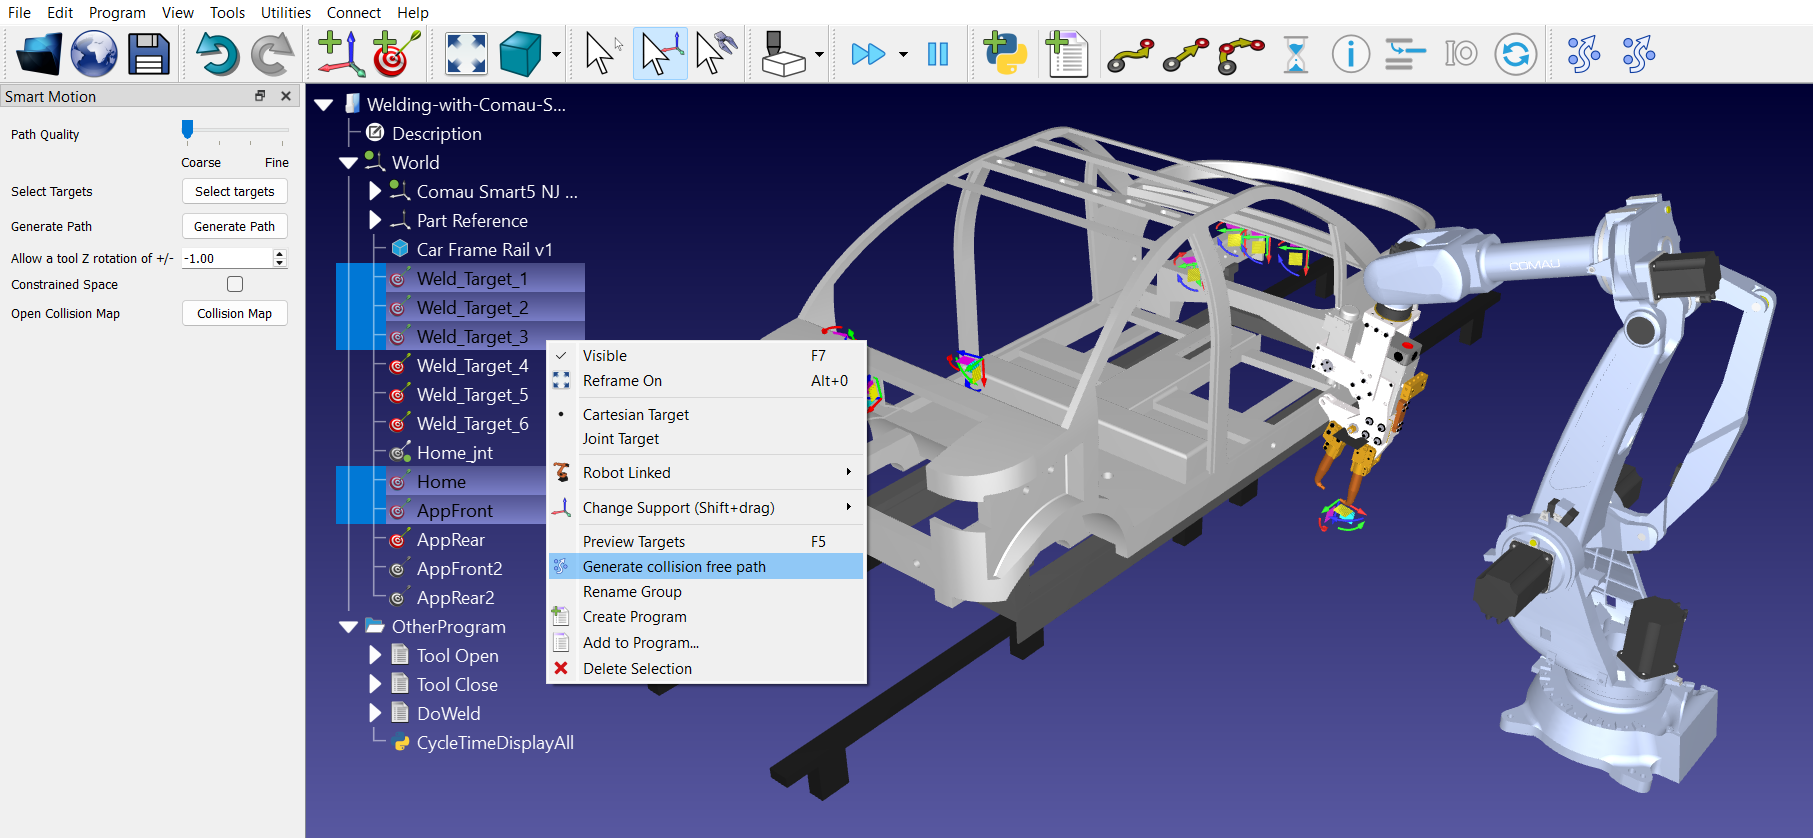
You can also "link items" by selecting multiple targets in the station tree (in required order) and clicking on the Link selected items icon in the toolbar (the second or rightmost icon of Smart Motion).
Checkboxes in target selector
When setting up a movement path through the target selector menu, a list of available points is moved over to the Selected Targets list. Next to some of these selected items, a checkbox labelled Approach can be toggled.
These checkboxes act as smart hints for the path-planning solver.
●When Unchecked (Standard Stop): The robot treats the target as a strict destination. It will plan a complete path from Point A to Point B, and then plan a brand-new path from Point B to Point C. The robot will fully commit to arriving exactly at Point B before thinking about the next step.
●When Checked (Pass-By or Approach Point): Checking the box tells the solver that this point is just a temporary "stepping stone" or an entry gate on the way to the real destination. Instead of splitting the movement into separate, rigid chunks (A to B, then B to C), the solver evaluates the entire chain (A ➔ B ➔ C) as a single fluid sequence.
Marking an approach target completely changes how the Simplify Program tool optimizes the path:
●Fluid Cornering: Because the solver knows the robot does not need to stop completely at the approach point, it smoothly blends the motion. The robot travels toward the approach point and gracefully swings into the final destination without "stuttering" or jerking to a sudden halt.
●Aggressive Cleaning: When the simplification tool runs over a multi-point path, it can trim away unnecessary, bulky movements much better if it can look ahead across the entire sequence rather than stopping its calculations at every single intermediate target. This results in fewer lines of code, constant robot velocity, and faster overall production times.


