Connecting a Meta Quest Headset
The Meta Quest headsets do not use SteamVR by default, this section outlines the steps required to connect a Quest 2 or Quest 3 to SteamVR using Quest Link so you can use the Quest Headset with RoboDK.
Quest Link is Meta’s solution to connecting your headset to a PC. This has the advantage of being easy to set up, free, and included with every headset. You can use a high-quality data + power USB-C cable to connect the headset to the PC or simply use Air Link for a wireless experience.
1.Install the Oculus Desktop App and follow the instructions to connect your headset. You can find the Oculus Desktop App here: Setup Your Quest: Quest, Quest 2, Link, Rift S & Rift | Meta Quest | Meta Store.
2.Connect your headset to your PC with a supported USB-C cable, or follow the instructions below to enable Air Link:
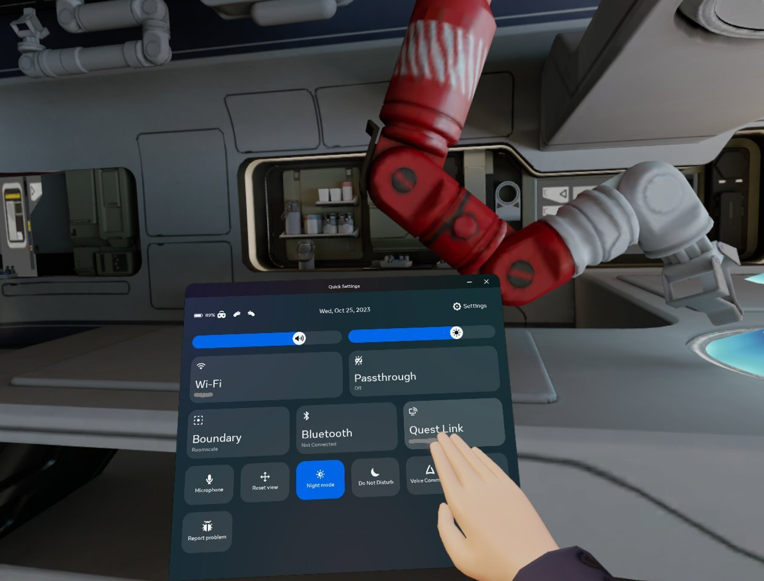
a.Navigate to the Quest Quick Settings Menu.
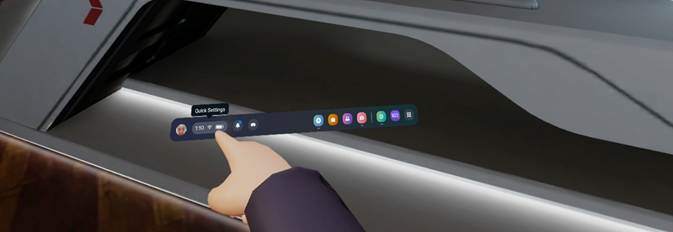
b.In the top-right of the quick settings, select “Settings”.
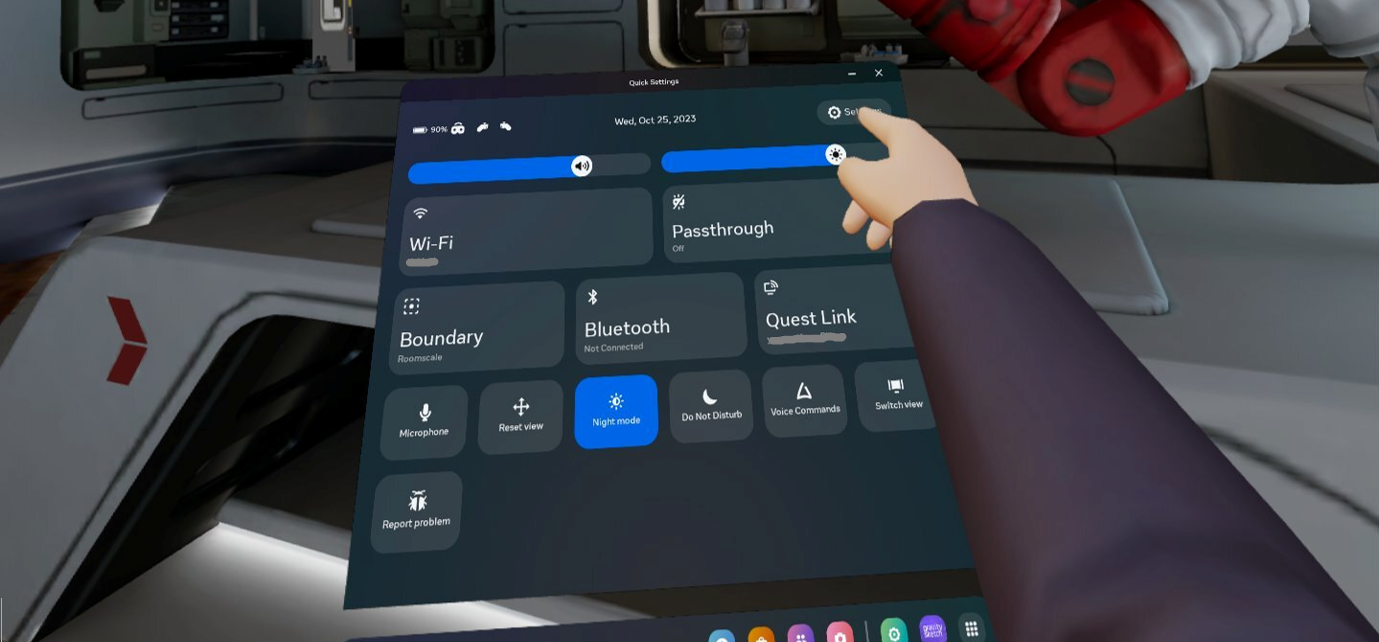
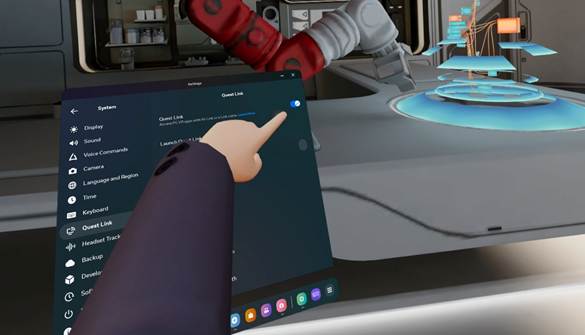
c.Navigate to System Settings.
d.Navigate to the Quest Link submenu.
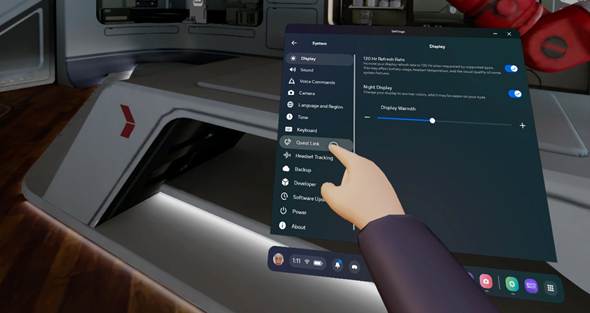
e.Enable Quest link by toggling the “Quest Link” option.
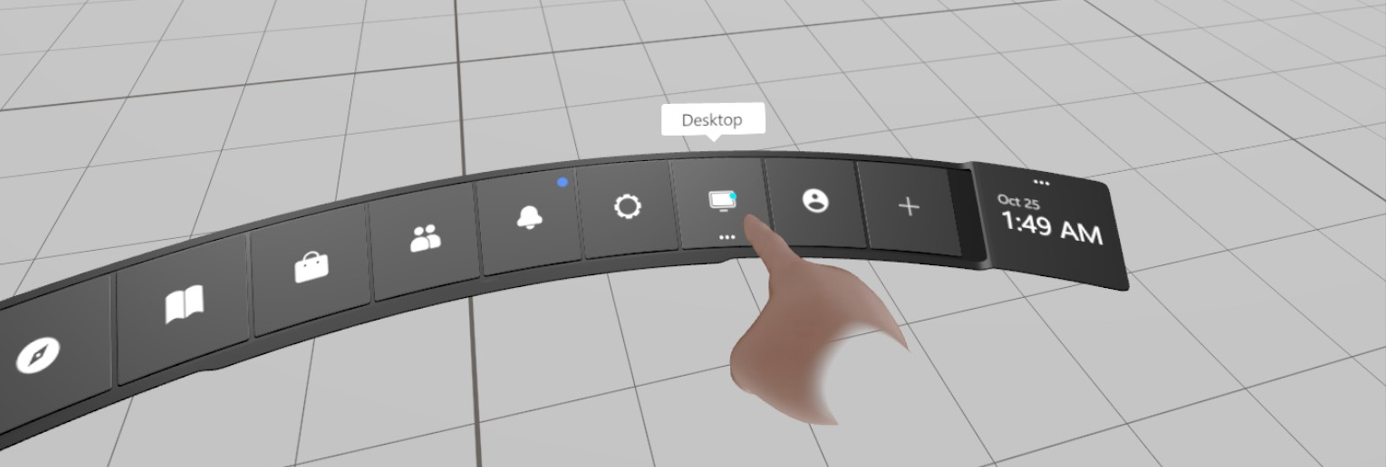
3.Launch Quest Link through the submenu or quick menu as shown below.
4.In the Quest Link Menu, select the desktop tab to open your PC desktop.
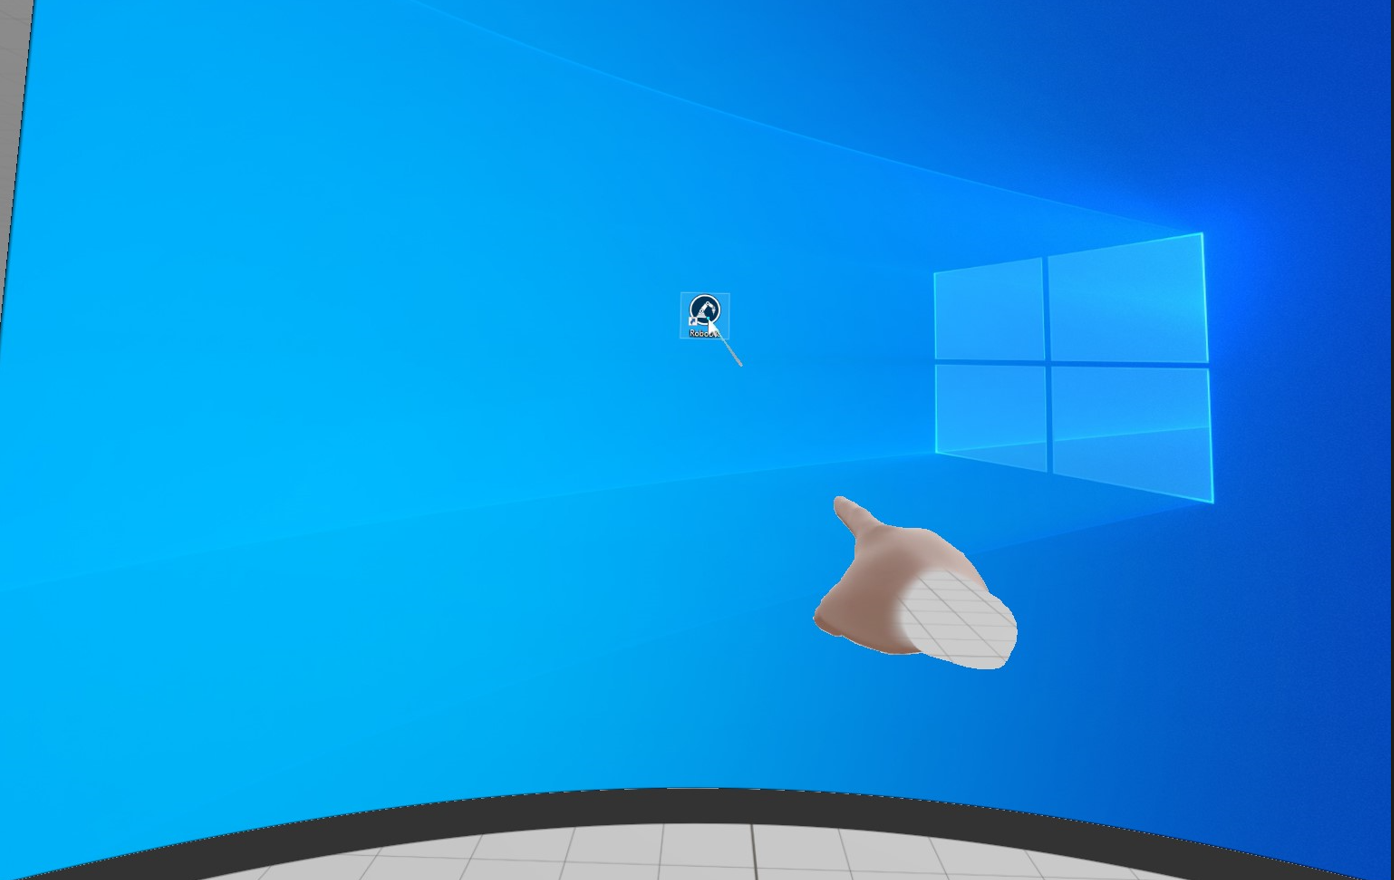
5.Locate and launch RoboDK. Open the station you would like to view in VR.
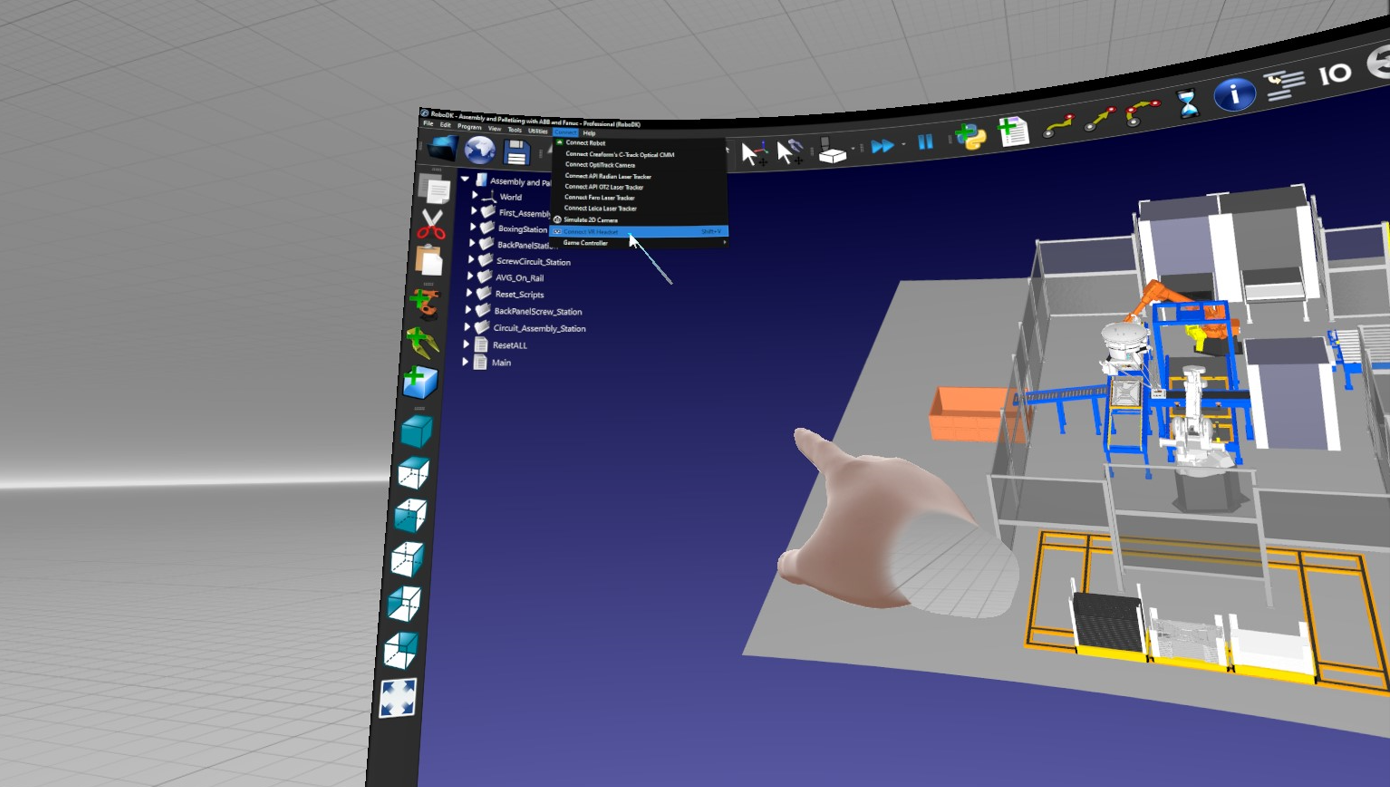
6.Finally, under “Connect” in the RoboDK toolbar, select “Connect VR Headset”.
This will cause Quest Link to launch RoboDK through SteamVR, you can access the SteamVR menu by pressing the left-hand menu button and the Quest Link menu by pressing the right-hand menu button.