Select and create a fiducial marker
The augmented reality add-in requires using markers to estimate the camera pose and trajectory.
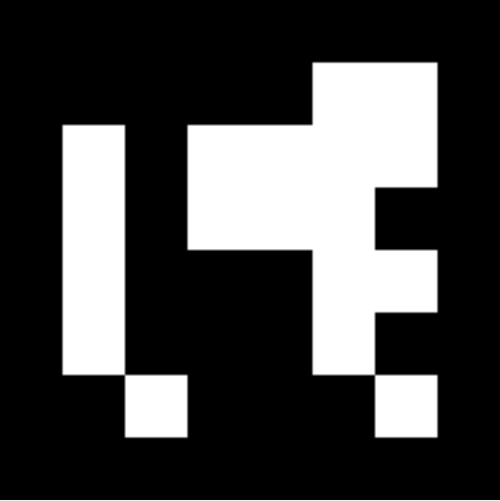
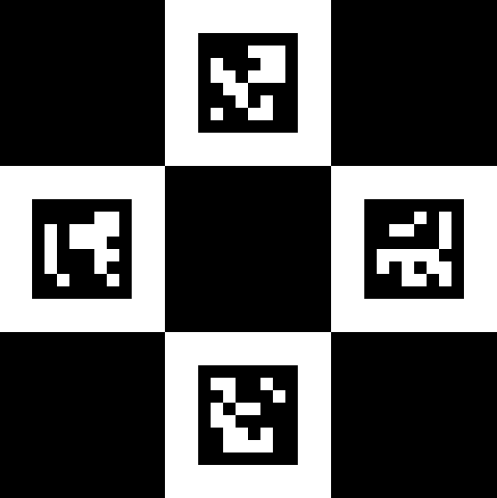
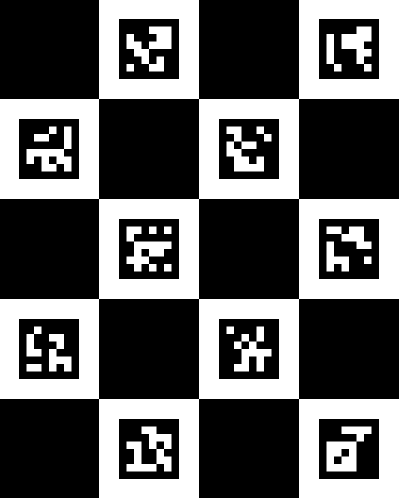
RoboDK supports 4 types of OpenCV markers: Aruco, Chessboard, Charuco Diamond, and Charucoboard respectively, as shown in the following images:

There are many factors to consider when selecting a marker. The size of the station, camera resolution, framerate, motion, lighting, and occlusion are important to consider. For example, a large station with a fixed, non-occluded camera will benefit greatly from using an Aruco marker as the single marker ID can be detected from much further than the 4 or more IDs on a Charuco Diamond or Charucoboard marker of the same size, and the lack of motion blur and occlusion can guarantee that the marker will be detected at all times. If the marker is occasionally partially occluded, the Charucoboard should be selected as it does not need all ID’s detected to determine the camera position. Below is a table assist in the selection of marker types:
Aruco | Charuco Diamond | Charucoboard | Chessboard | |
Pros | - Easier Set Up - Fastest Render Time | - Most Balanced Option (Accuracy/Render Time) | - Resistant to partial occlusion - Most Accurate | - Camera Calibration |
Cons
(Markers must remain in camera view at all times)
| - Loses tracking when occluded - Least Accurate Pose | - Loses tracking when occluded - Harder to Set-Up | - Long Render Times - Not good with Live AR | - Harder to detect - Cannot be occluded |
Suggested Applications | - High FPS / Low-res Live AR - Long Videos - Unobstructed Videos - Fixed Camera - Large Stations | - Better tracking for Live AR - High Resolution Videos - Slow Camera Motion | - Video containing partial occlusion of the marker - Videos with high pose accuracy requirements. | - Camera Calibration (The chessboard can be used to generate custom camera calibration files if the generic calibration is not sufficient) |
Once the appropriate marker has been selected, the marker ID’s, size and checkerboard layout and square size can be customized.
The marker must then be saved and printed. The “Save as…” function can be used to save a PNG of the marker on your computer, this can then be easily imported to RoboDK. To print the marker, the “Copy to clipboard” option can be used to quickly import the image into a text/image editor like Word or GIMP to be scaled to size and printed.