Constrain Joint Limits
It is unusual that a task will use all the robot's workspace. When creating a PRM map, it is often a good idea to constrain the robot's joint limits. This will speed up the process of generating the map and ensures that the points within that map are located in the best place.
For 6-axis robots, the two joints which are most often restricted are:
1.Joint 1 (the base joint): Restricting this joint stops the robot from moving too far to either side of the workspace.
2.Joint 3 (the elbow joint): Restricting this joint stops the robot from changing between elbow-up and elbow-down configurations.
Change the joint limits using the following process:
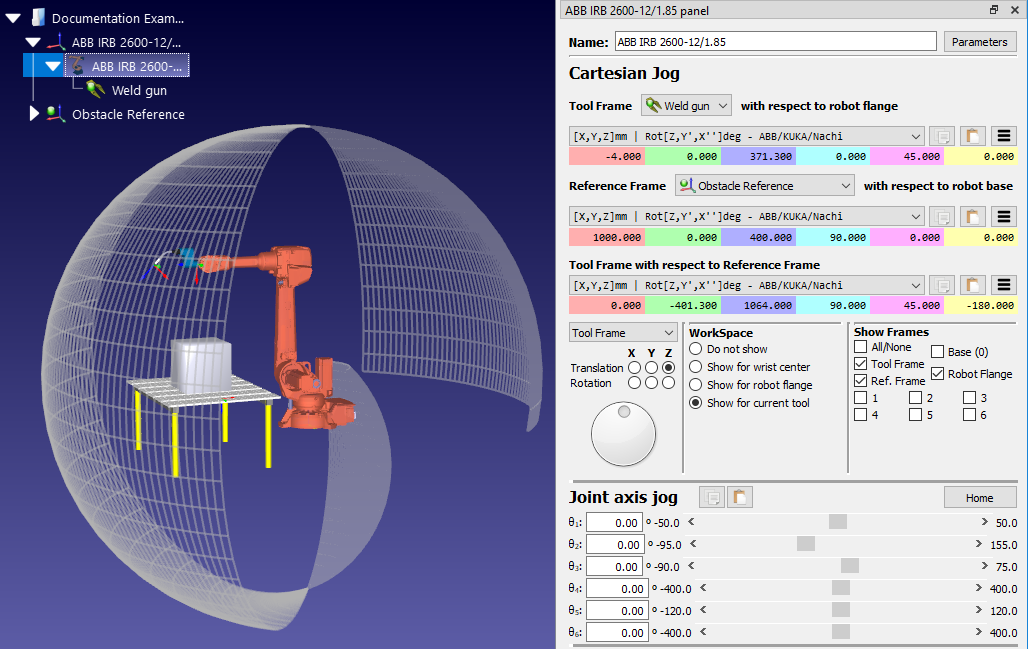
1.Right click on the robot model icon within the station tree (e.g. ABB IRB 2600-12/1.85) and select Options… to open the robot panel. Alternatively, just double click on robot name in the station tree.
2.In the Joint axis jog section, move the sliders of the robot joints you want to restrict (e.g. θ1 and θ3) to find where you want the lower joint limits to be.
3.Double click on any of the lower joint limits within the Joint axis jog. For example, if the joint limit of θ1 is currently -180, double click on the number -180. This will bring up the Set lower joint limits panel.
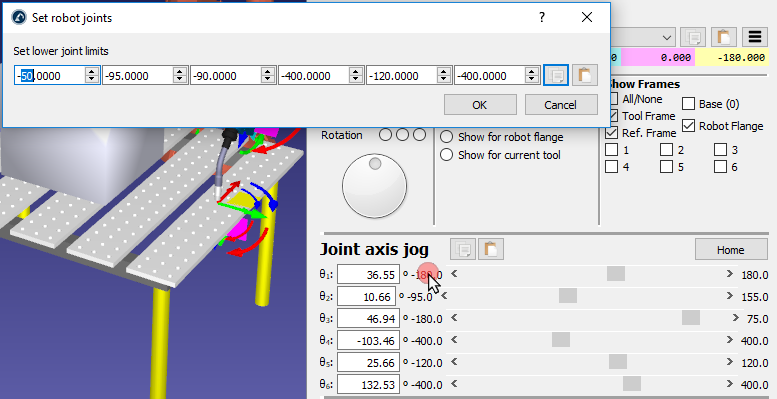
4.Set the lower joint limits to θ1 = -50 and θ3 = -90.
5.Change the joint limits and click OK.
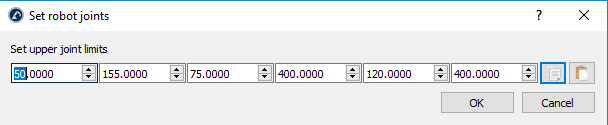
6.Using the same process with the upper joint limits, set θ1 = 50.
This change can be seen by viewing the robot's reachable workspace. Show the workspace by selecting the Show for current tool option in the WorkSpace section of the robot panel. It will show only the part of the workspace is now reachable with the new joint limits.