Display Panel
Display Panel Plugin
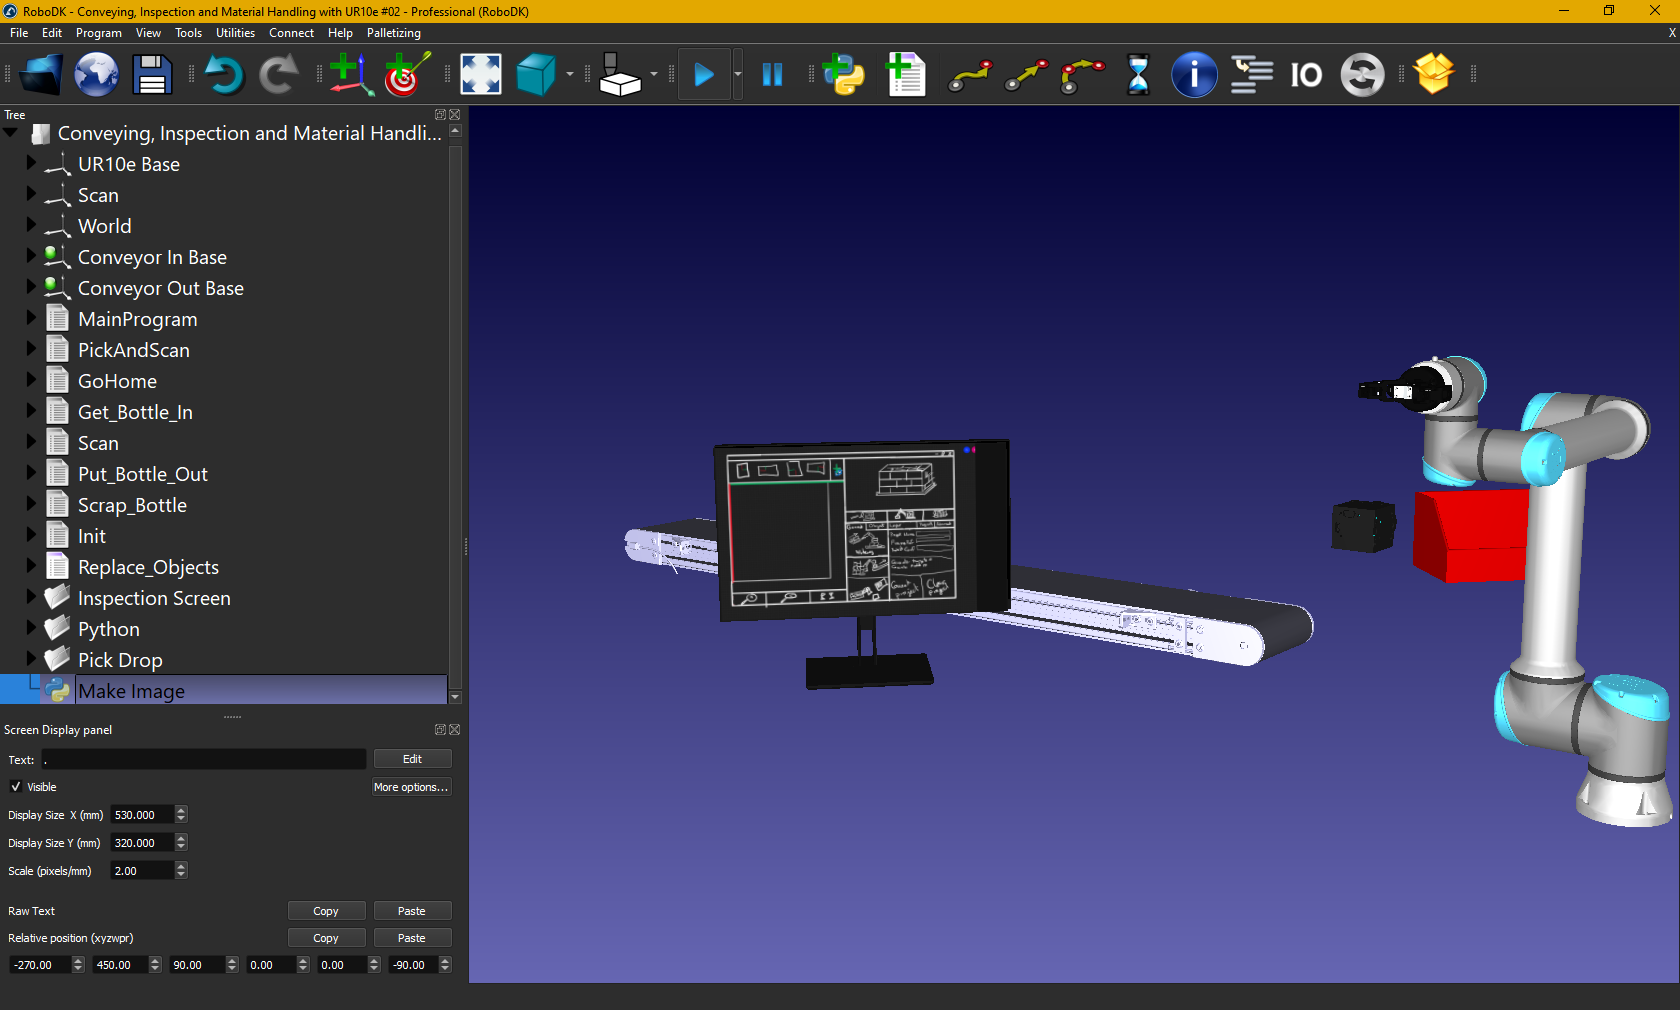
The Display Panel Plug-in for RoboDK adds the ability to render custom text and images in the 3D simulation environment.
The Display panel plug-in can be used to display text and images dynamically to represent 2D screens. You can display station variables and/or use the API to show static or dynamic information.
Create a display panel
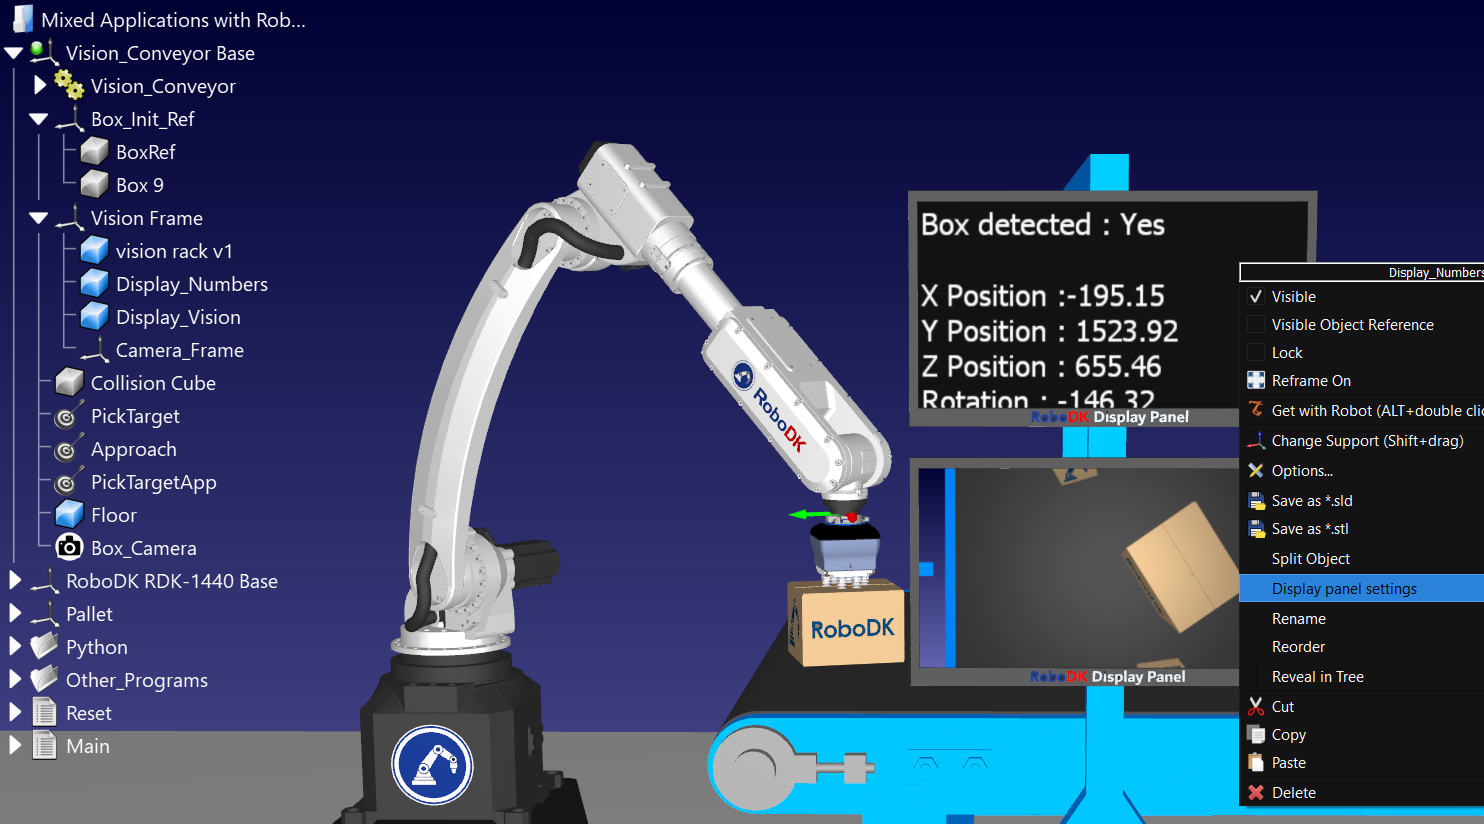
You can create a new display panel by selecting Utilities from the RoboDK menu, then, select Create display panel. You can also right click an object linked to a display panel and select Display panel settings.
In the text field, enter the station variable name you want to display, enclosed by '%' - i.e. %STATION_VAR_NAME%. You can add any number of static text or variables. Moreover, you can use HTML code! Click on the Edit button to open a text editor with more options.
Predefined variables:
1.%TIME%: Display the local time, as yyyy/MM/dd hh:mm:ss:zzz.
2.%SIMULATIONTIME%: RoboDK's simulation time.
3.%STATION_VAR_NAME%: Any station variable name.
Any change of state of used variables will be automatically updated. Simply set the variable state in your Python script through the API or in a Program.
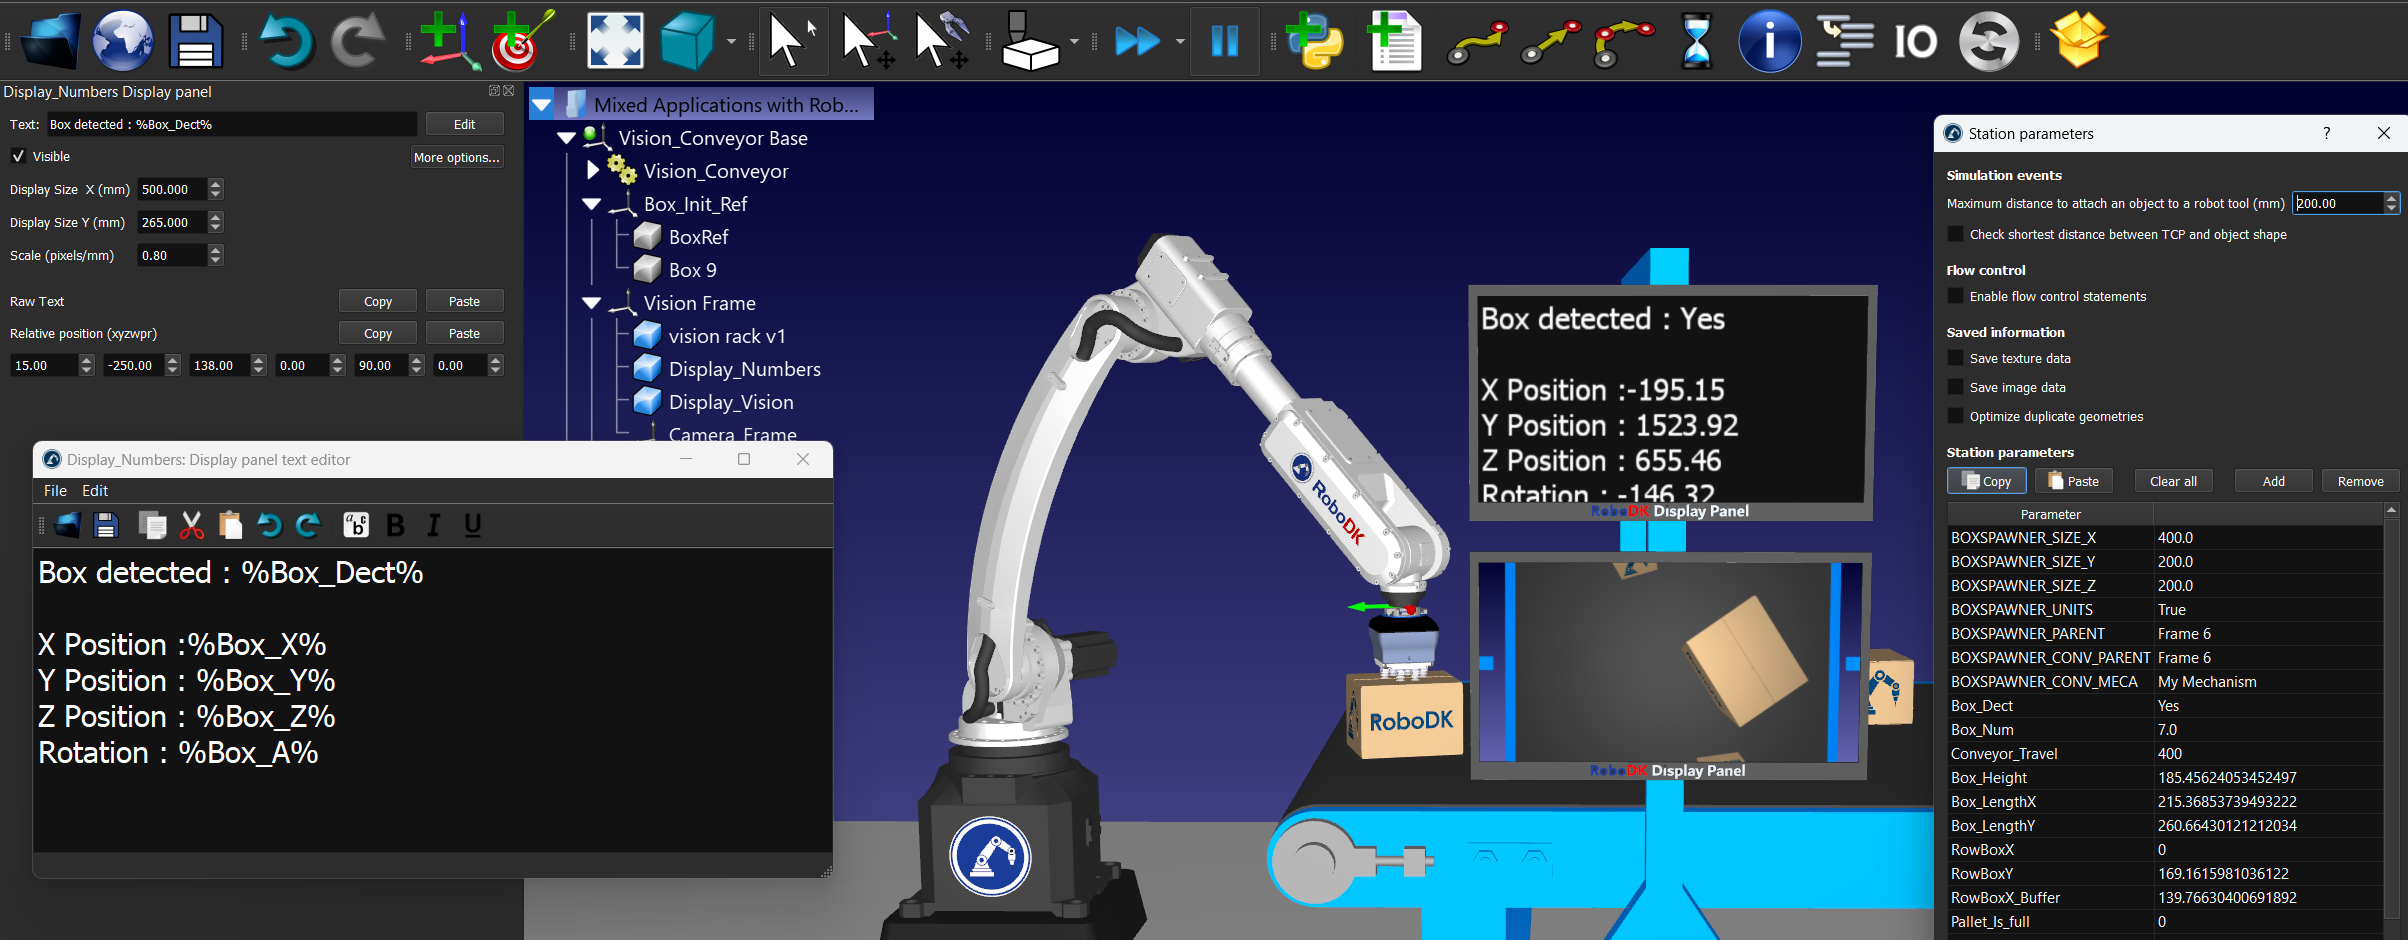
Size and placement can be adjusted by clicking the expand button and entering the desired size of the panel (in millimeters). You can also set the pixel size (pixel/mm), which will affect the content size. You can then set the pose of the panel with respect to its parent object.
Render images
You can render 2D images in the 3D view of RoboDK using the display panel. Rendering images requires advanced programming as you should store them as encoded base64 png or jpeg, for the html renderer to show the image or page.
On Python, it should look like this:
import cv2
import base64
image = cv2.imread('C:\\mockup pallet.PNG')
success, encoded_img = cv2.imencode('C:\\mockup pallet.PNG', image)
base64_image = base64.b64encode(encoded_img).decode('utf-8')
RDK.setParam('IMAGE_VAR_NAME', base64_image)
Then, you should add use HTML image tag in your display panel. Simply open the text editor (select Edit right beside the text of your display panel) and paste the following code as HTML (select Edit➔Paste as HTML):
<img src="data:image/png;base64, %IMAGE_VAR_NAME%"/>