How to model a one-axis linear rail
This section shows how to model a 1-axis linear rail, also known as a linear axis or linear track. A linear rail helps extending the reach of robot arms.
Follow these steps to import your 3D model:
1.Drag and drop your 3D model in RoboDK to import the objects into your station (accepted file formats include STEP, IGES or STL are common 3D formats).
Follow these steps to open your mechanism builder:
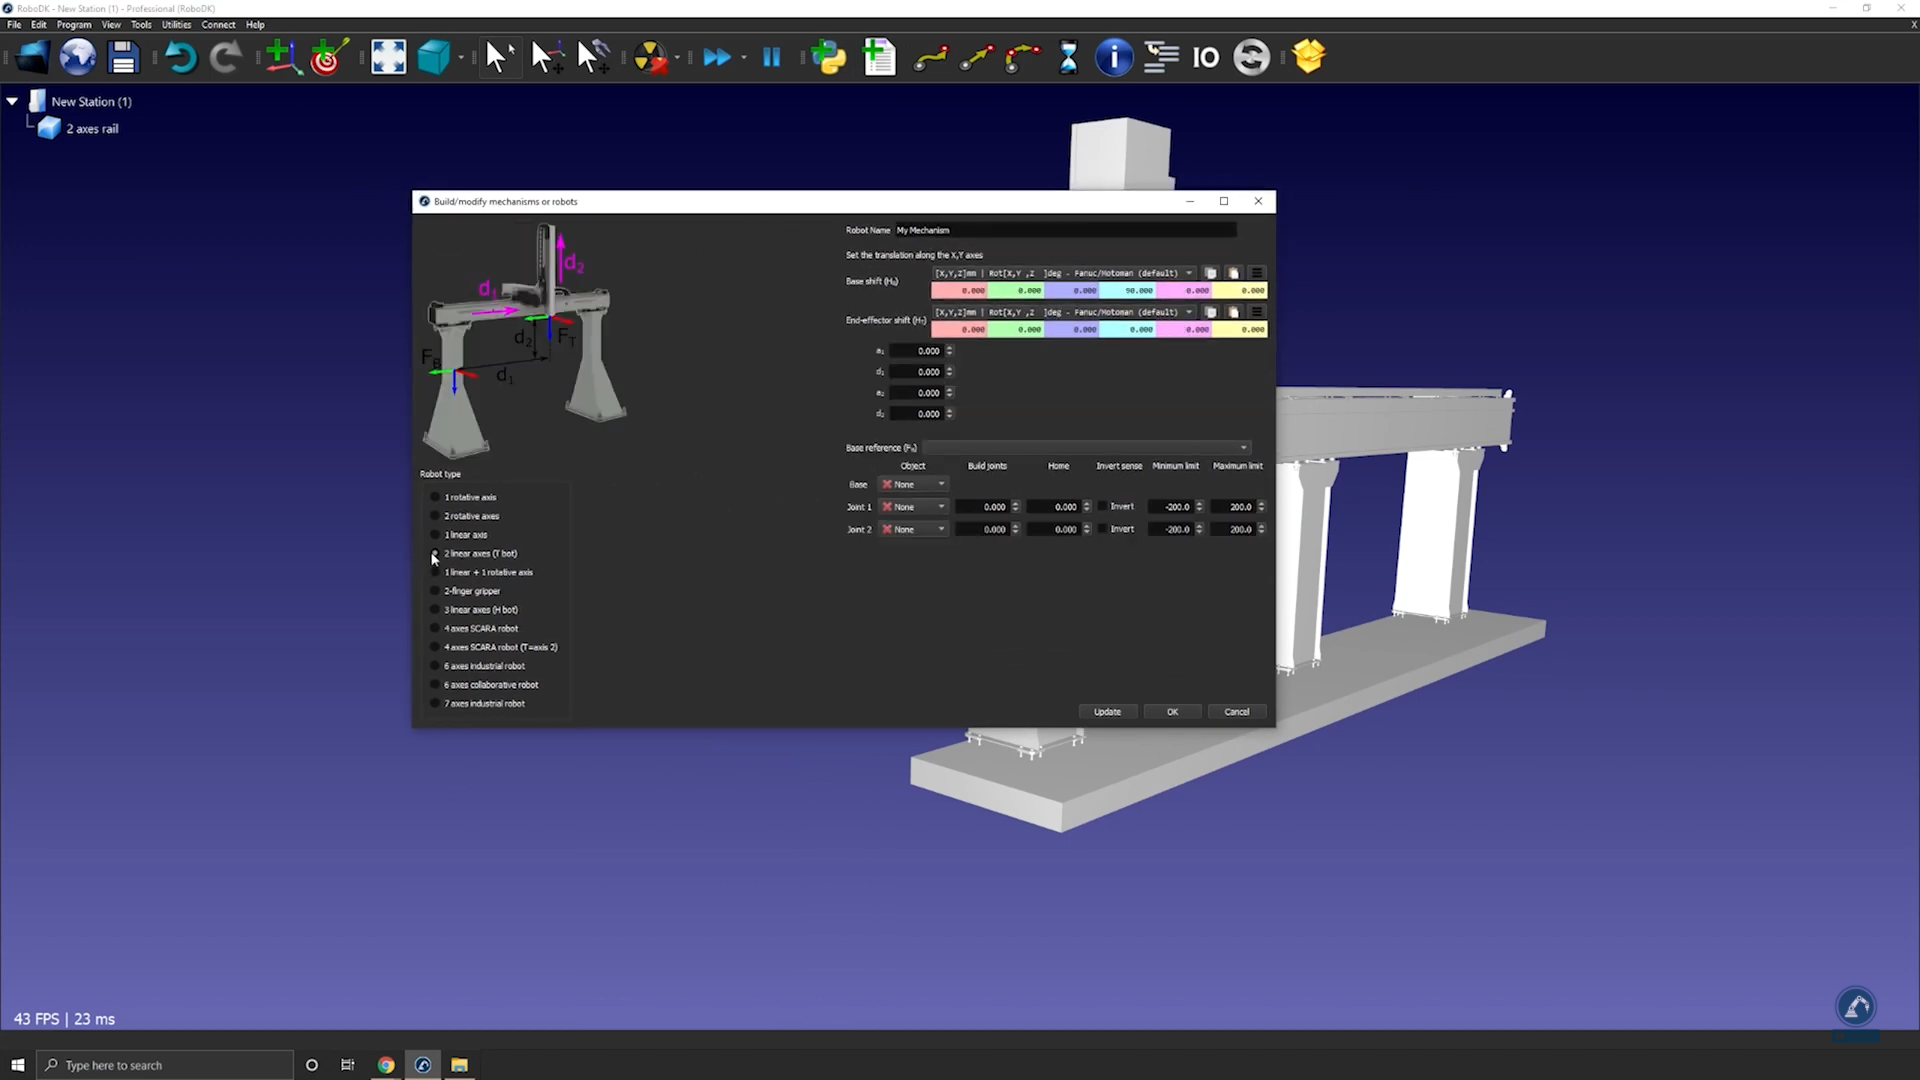
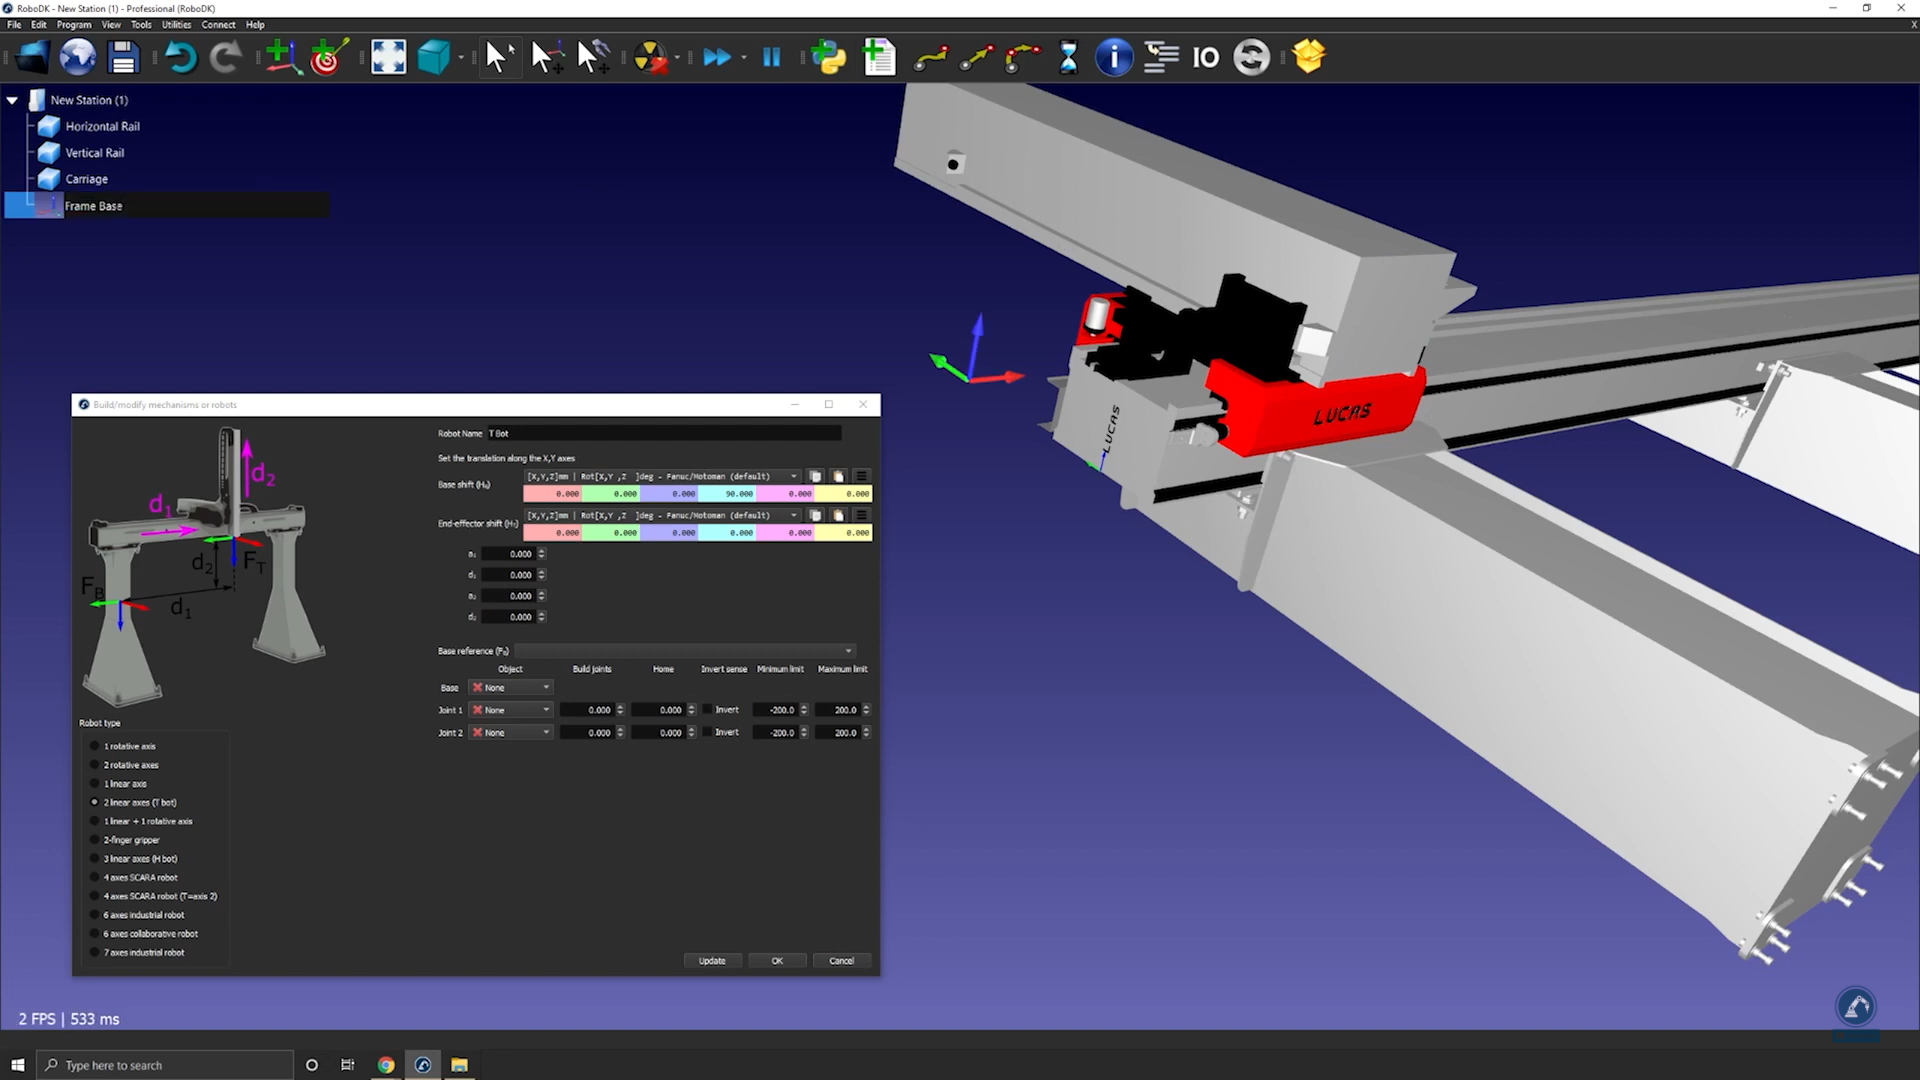
2.Select Utilities ➔Model Mechanism or Robot.
3.Make sure 1 linear axis is selected under “Robot Type”.
4.If your 3D model is grouped in one piece, you can split your model inside of RoboDK.
Follow these steps to position your base frame:
5.Now that you have the objects loaded, open your model mechanism builder again Utilities ➔Model Mechanism or Robot.
6.You can rename your mechanism under Robot Name.
7.Consider that your base frame should be at the 0 position of the rail: Create a reference frame there and name it Frame Base.
Follow these steps to modify the position of the frame:
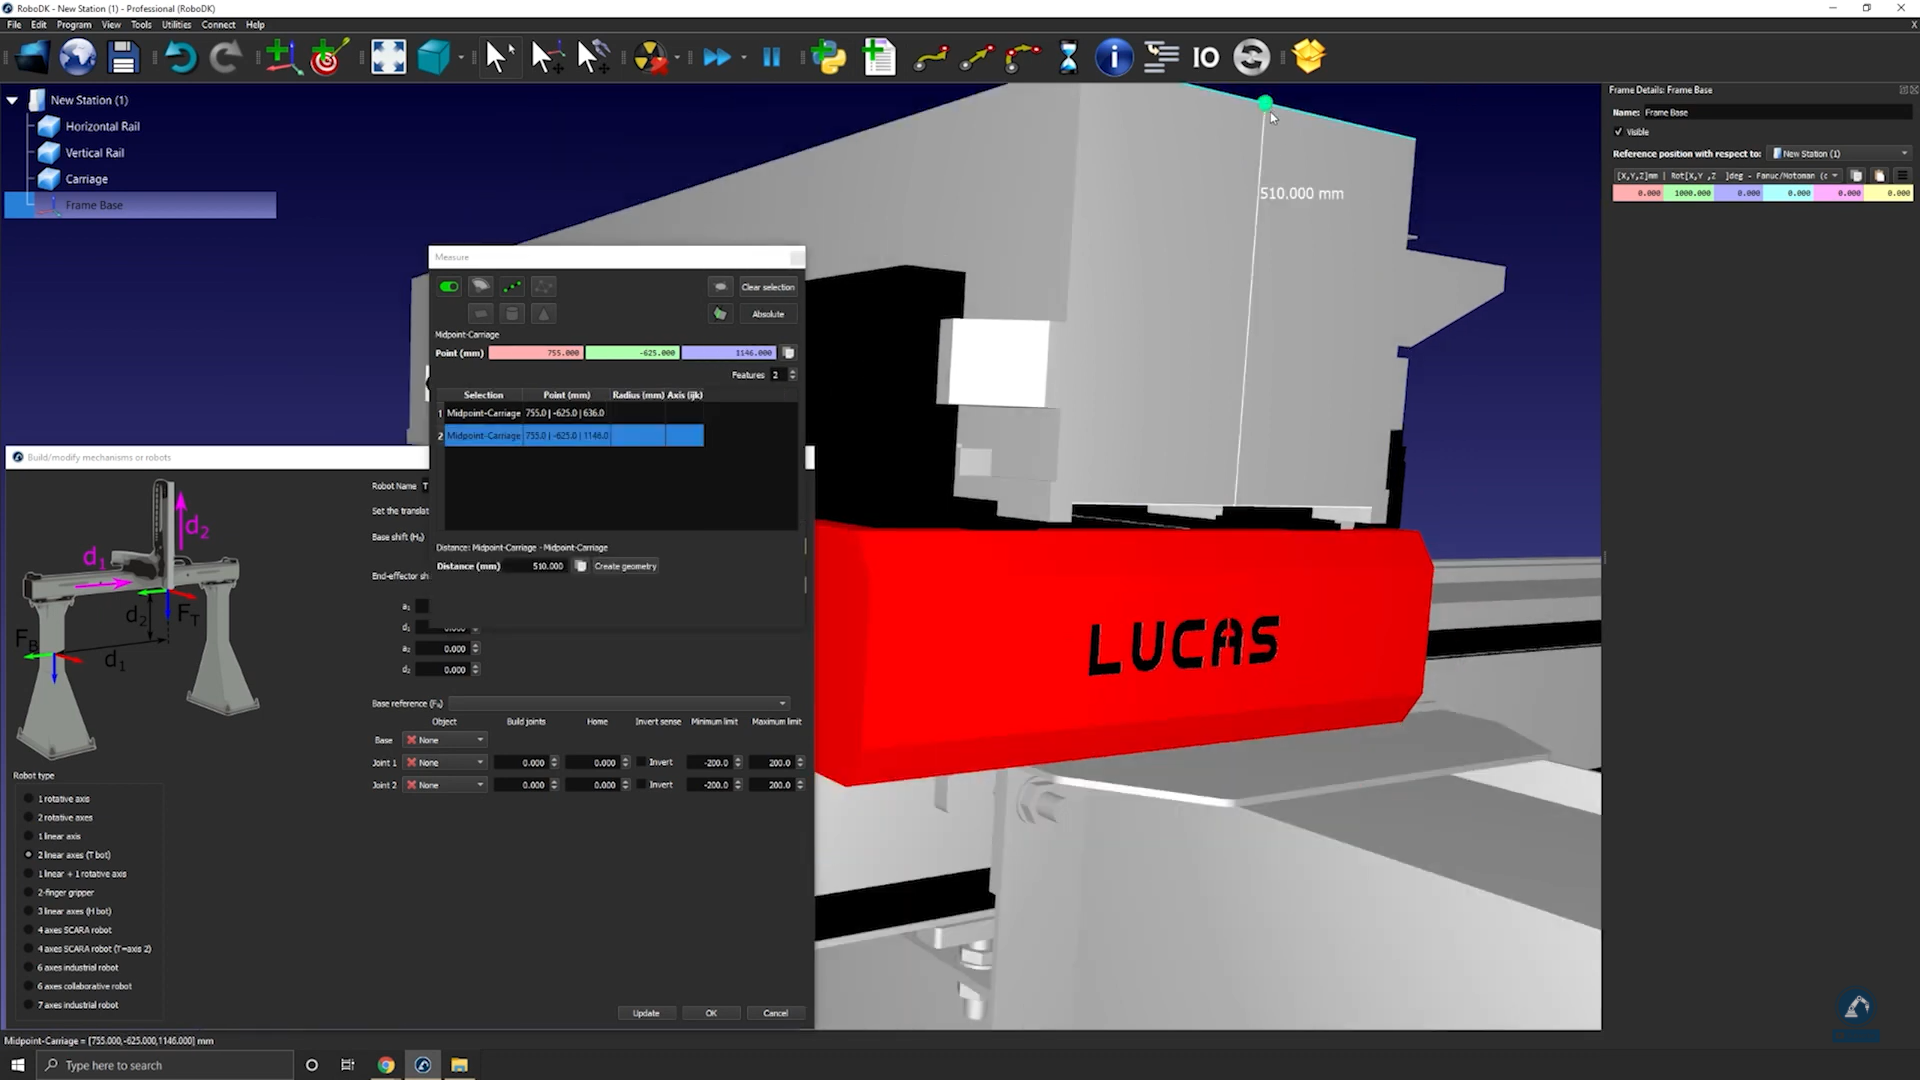
8.Select Tools ➔ Measure.
9.Use the measure tool to measure the position of the surface by selecting the icon (as shown in the image below).
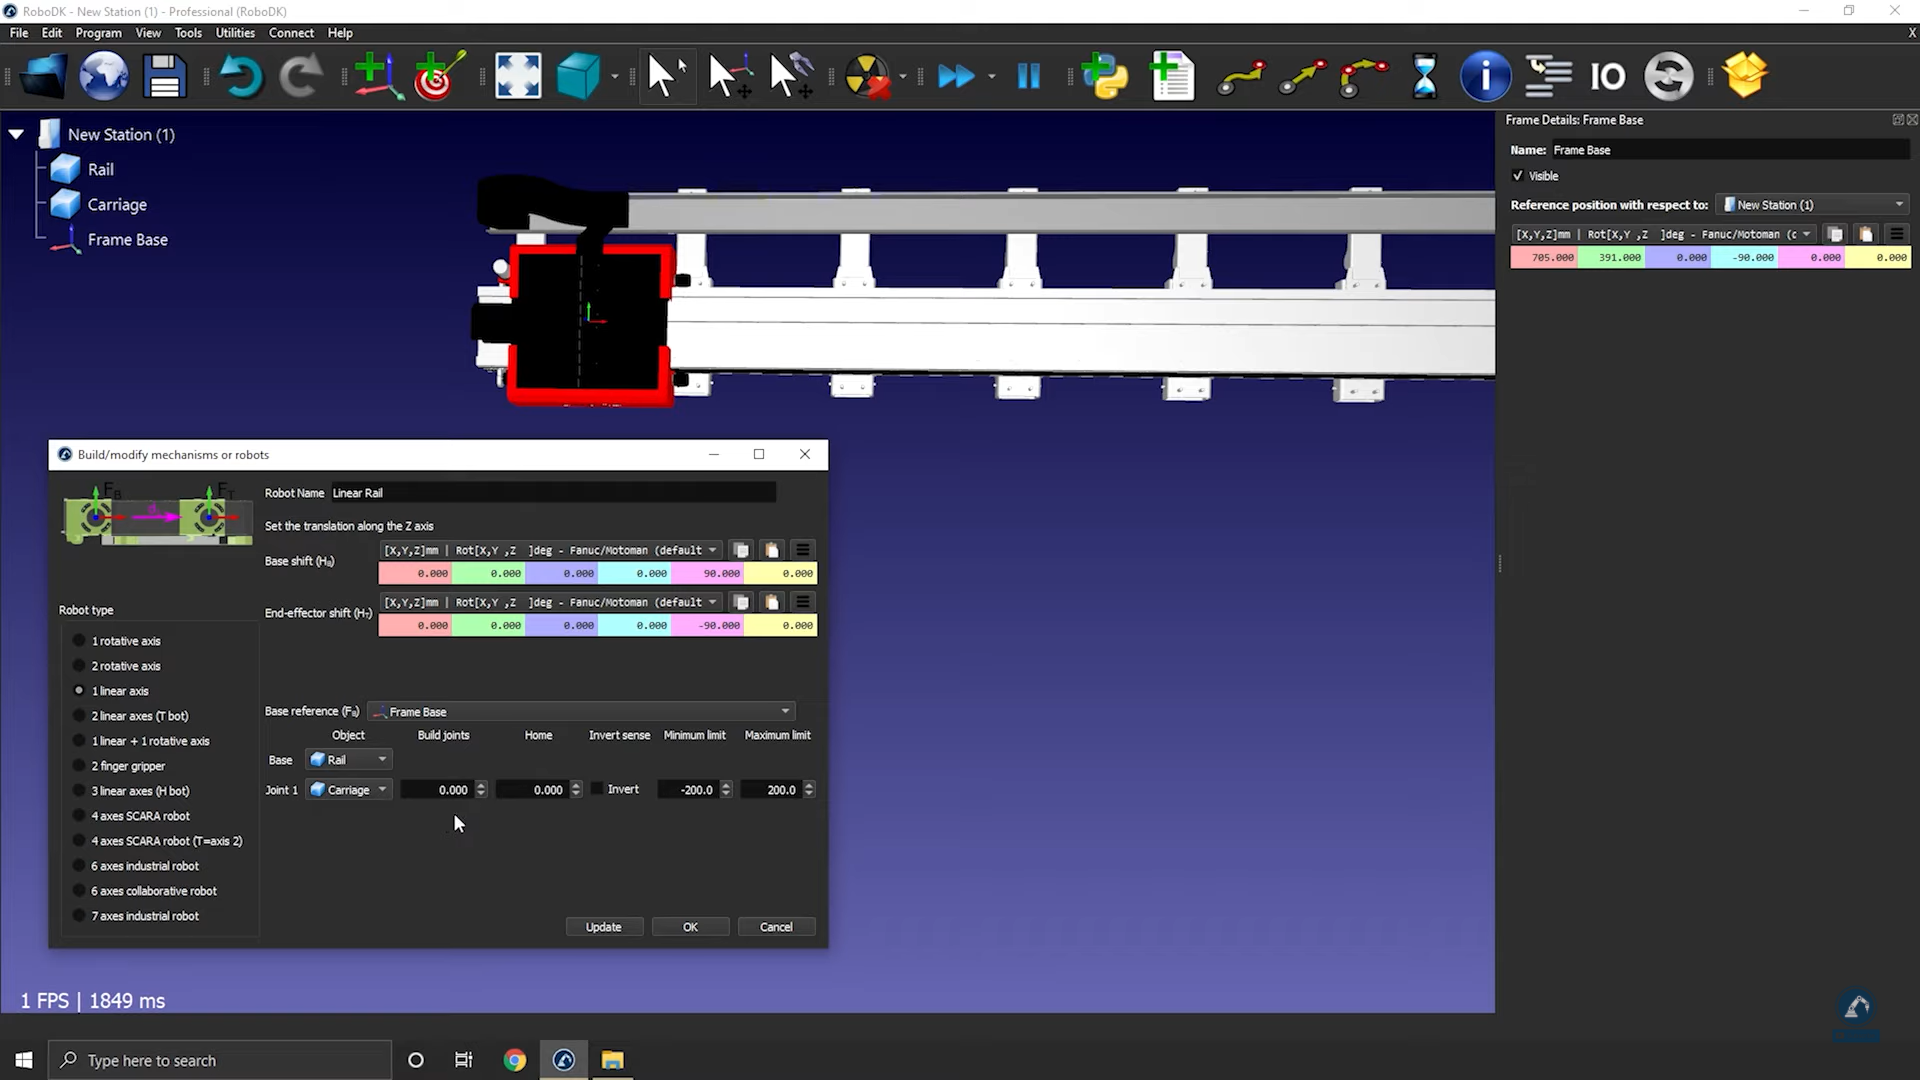
10.Copy the values and paste under Frame Details: Frame Base (as shown in the image below).
Follow these steps to check orientations and to enter the rail length:
11.Rotate clockwise, 90 degrees around X: Enter the value -90.000 degrees in the reference position window.
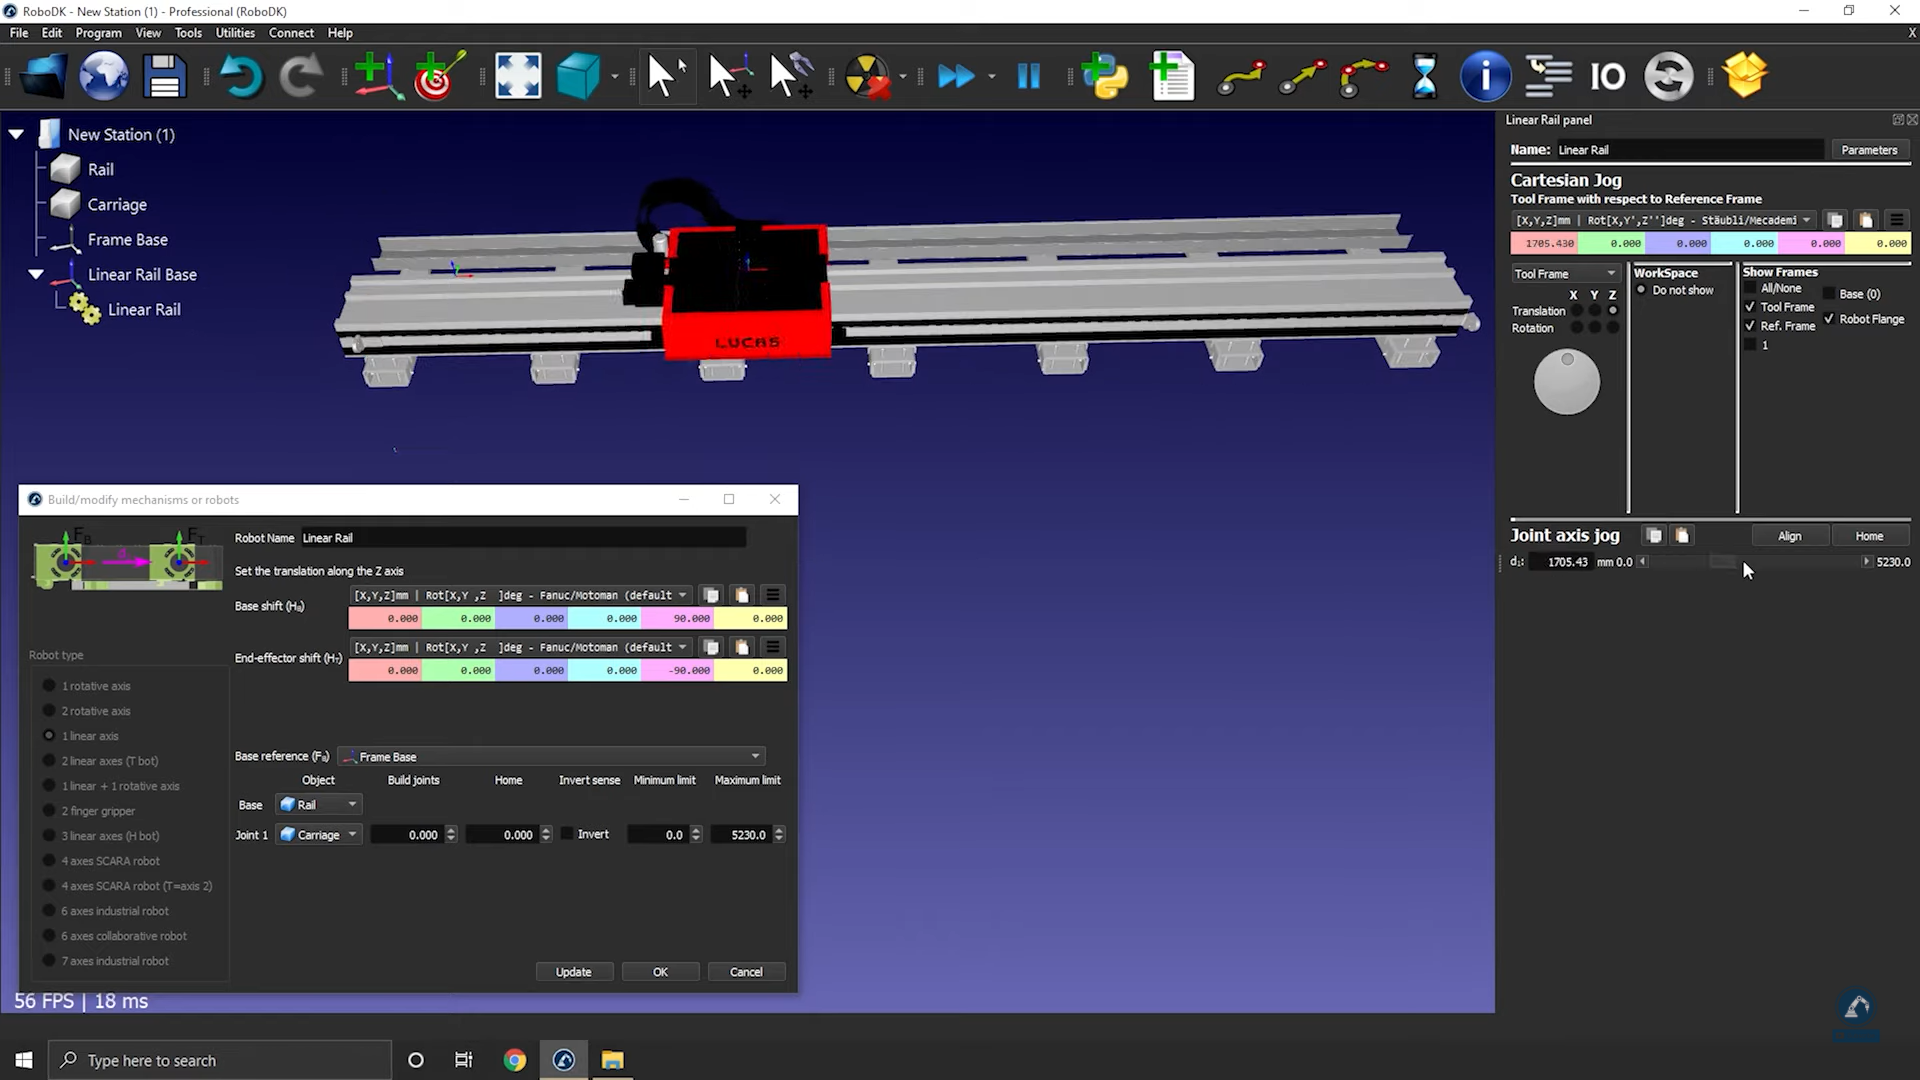
12. Enter the length of the rail in the model mechanism window (as shown in the image below).
13.Select Update to create the robot.
14.You can test the rail (make sure that the limits are good and that it is moving in the correct direction) by using the joint axis jog.
15.Select OK when you are satisfied with the results.