Create Targets on Surface
The Create Targets on Surface feature is useful for applications such as painting or inspection.
Follow these steps to teach targets using the Teach Target(s) on Surface:
1.Select Program➔
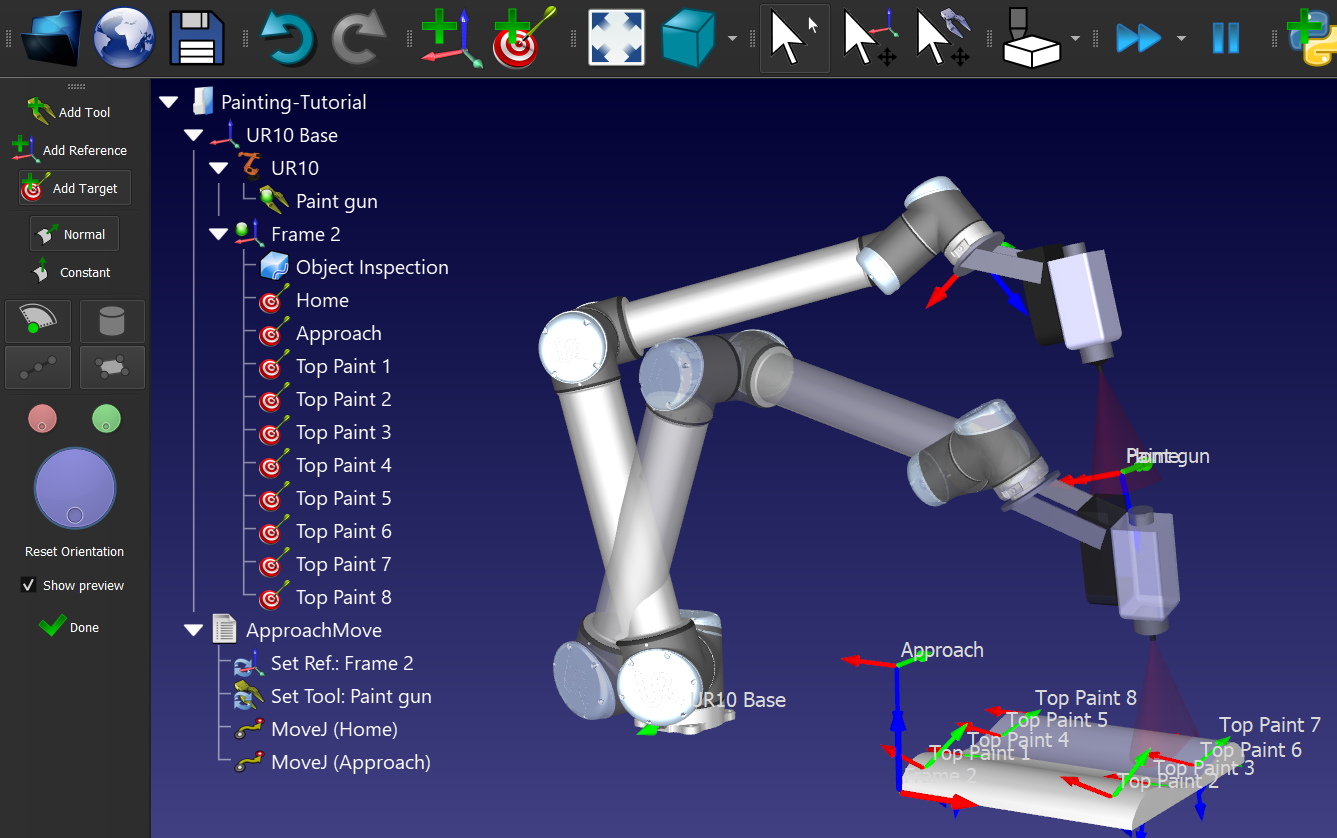
2.Move the mouse cursor over the part to see a preview of what the robot looks like when it reaches the part.
3.Select a few points on the object (left click). Each mouse left click will define a new target keeping the Z axis of the TCP normal to the surface (perpendicular to the surface).
4.If necessary, adjust the orientation around the Z axis by moving the wheel on the left panel or pressing the left/right keys.
5.Hold Alt to move an existing target.
6.Hold Alt+Shift to move an existing target while keeping it on the surface.
7.Select Esc key or right click on the screen and select Done to exit the Create Targets on Surface mode.
Once the targets have been created, generate a program following these steps:
1.Select all the targets created on the surface and right click.
2.Select Rename group from the pop-up menu.
3.Enter Top Paint. All selected targets will be renamed and numbered.
4.Right click on the targets again and select Create Program. A new program will be generated. The first movement will be a joint move and following movements will be linear.
5.Select F2 to rename the program to PaintTop.
6.Double click the PaintTop program to see the simulation moving along the targets.
7.If required, reorder the movements by dragging the move instructions inside the program.
