Manual Install
These are manual steps to setup the RoboDK plug-in for Inventor. You should follow these steps if the RoboDK plug-in for Inventor was not automatically installed by default using the RoboDK installer:
1.Install Autodesk Inventor (if you haven’t done it yet).
2.Download and install RoboDK.
3.Download the RoboDK plugin for Inventor.
4.Unzip the RoboDK plug-in for Inventor folder in C:\RoboDK\Other\Plugin-Inventor\
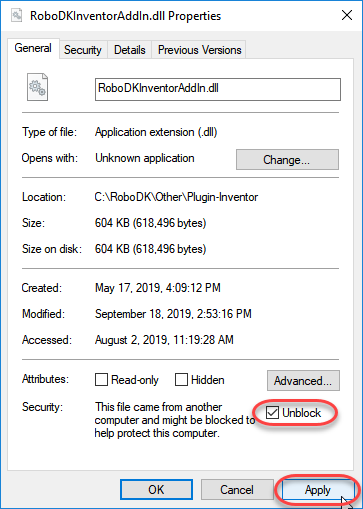
Unblock the DLL file (if applicable):
5.Right click the file RoboDKInventorAddIn.exe and select Properties.
6.Select Unblock and Apply.
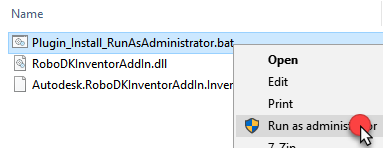
Install the RoboDK plug-in in Inventor:
7.Run the Plugin_Install_RunAsAdministrator.bat file as Administrator: Right click the BAT file and select Run as Administrator.
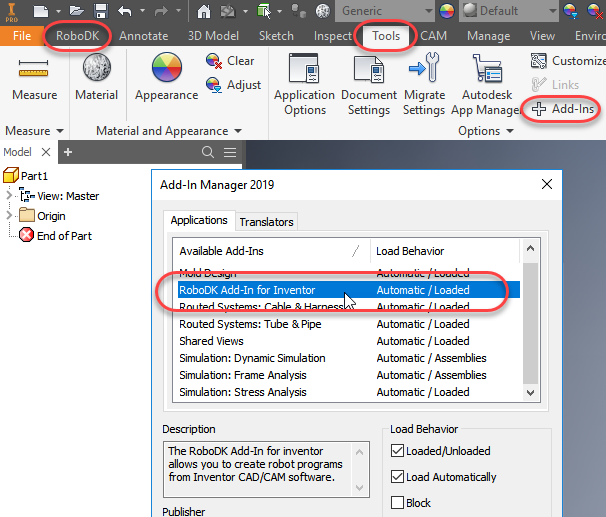
8.Start Autodesk Inventor and go to Tools➔Add-Ins. You should see the RoboDK Add-In for Inventor.