Robot Calibration (Laser Tracker)
Robot calibration requires measurements to be taken from the robot with a measurement system. To take these measurements it is required a Faro laser tracker that communicates with a computer. The communication is done through a driver exe file that can be run in console mode.
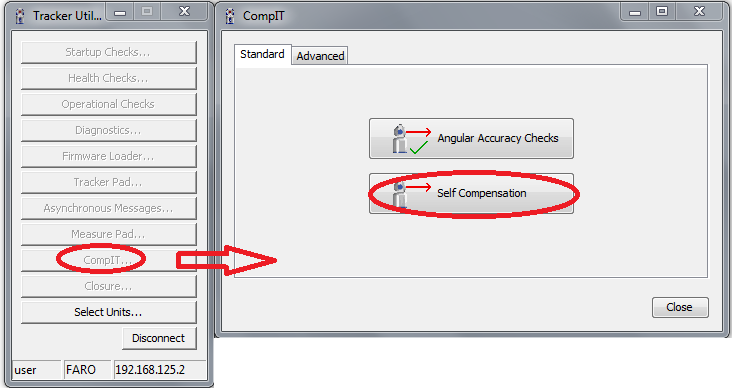
For example, Faro provides a free application called “Tracker Utilities”. This application can initialize the laser tracker and perform some health checks, among other things.
To initialize the tracker you should start the “Tracker Utilities” application, connect using the tracker IP, then, select “Startup Checks”. When the tracker initializes, you should place a 1.5’’ SMR target in the “home” position before initialization. Otherwise, the green light will flash after initialization and the measurements will not be valid.
Once the initialization is done you should read the “Startup complete” message, as shown in the following image.


If you experience problems with the tracker, you can run some health checks by pressing “Health Checks…”. The next two images show a success check and a failed check respectively. Sometimes, problems are solved after reconnecting the cables and rebooting the laser tracker.


Finally, you can use the “Measure pad” to take some measurements. The laser tracker can follow a target and measure the XYZ position at a rate of 1000 Hz. If you set 1 sample per point and continuous trigger the tracker will record 1000 measurements per second in a CSV file.
You can use this feature to measure a robot path and use the RoboDK’s path accuracy check to check the accuracy, speed and acceleration along the path.
