Measuring the reference targets
You can use a calibration reference frame if you are planning to move the laser tracker during the calibration or you would like to recover mastering for axis 1.
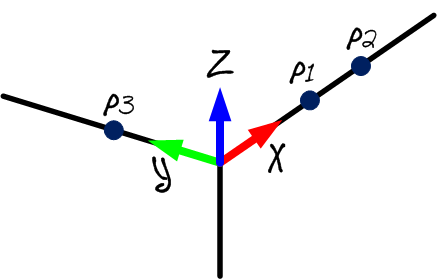
The calibration reference should be attached to the robot base, this will be helpful if you want to move the tracker during calibration or compare two robot calibrations. The calibration reference frame must be defined by 3 tangible points or SMRs.
You can skip this step if you are not going to move the tracker with respect to the robot or you don’t need to recover the home position for axis 1. In this case, the reference of the laser tracker will be used.
You should follow these steps every time the laser tracker is moved:
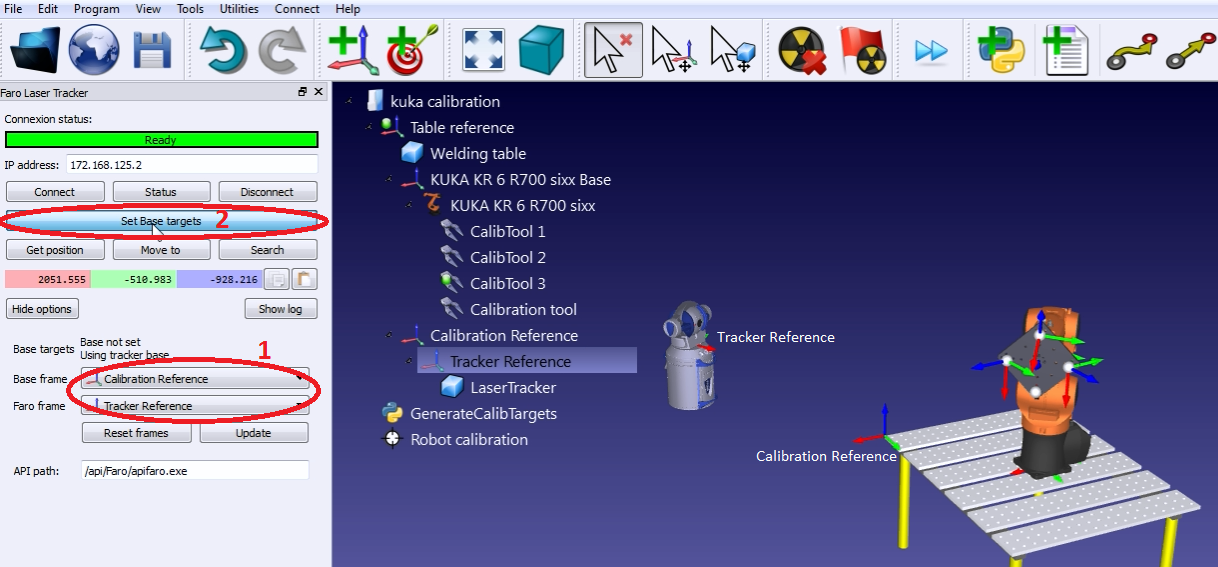
1.Select Connect➔Connect Faro Laser Tracker. Or the corresponding tracker you have.
2.Set the IP of the laser tracker and select connect (if laser tracker is not connected).
3.Set the calibration reference and the tracker reference as shown in the image. The calibration reference is also known as “Measurements reference”.
4.Select Set Base targets.
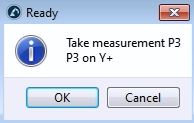
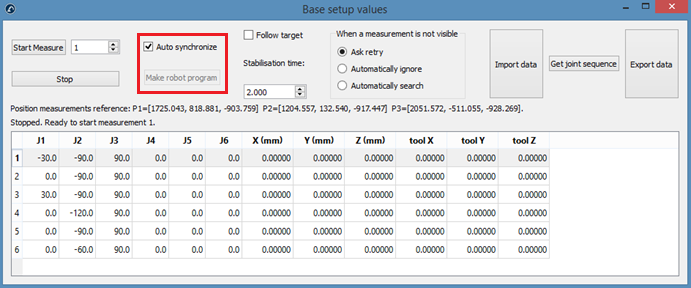
RoboDK will guide the user with the menus shown in the next image. The position of the laser tracker will be updated automatically with respect to the calibration reference when the procedure is completed.