KEBA Controllers
You can program KEBA Controllers from RoboDK using two different methods: You can generate robot programs offline by using the KEBA KAIRO post processor or using the RoboDK driver.
By using the KEBA KAIRO post processor you can obtain KAIRO files that can be loaded on the KEBA controller using RoboDK. This is accomplished using the default post processor used for KEBA robots. Also, you can directly transfer the script program files using FTP or a USB drive.
Additionally, by using the driver for KEBA robots, you can execute programs on the robot from RoboDK if the robot is connected to the computer.
Retrieve the KEBA Controller IP
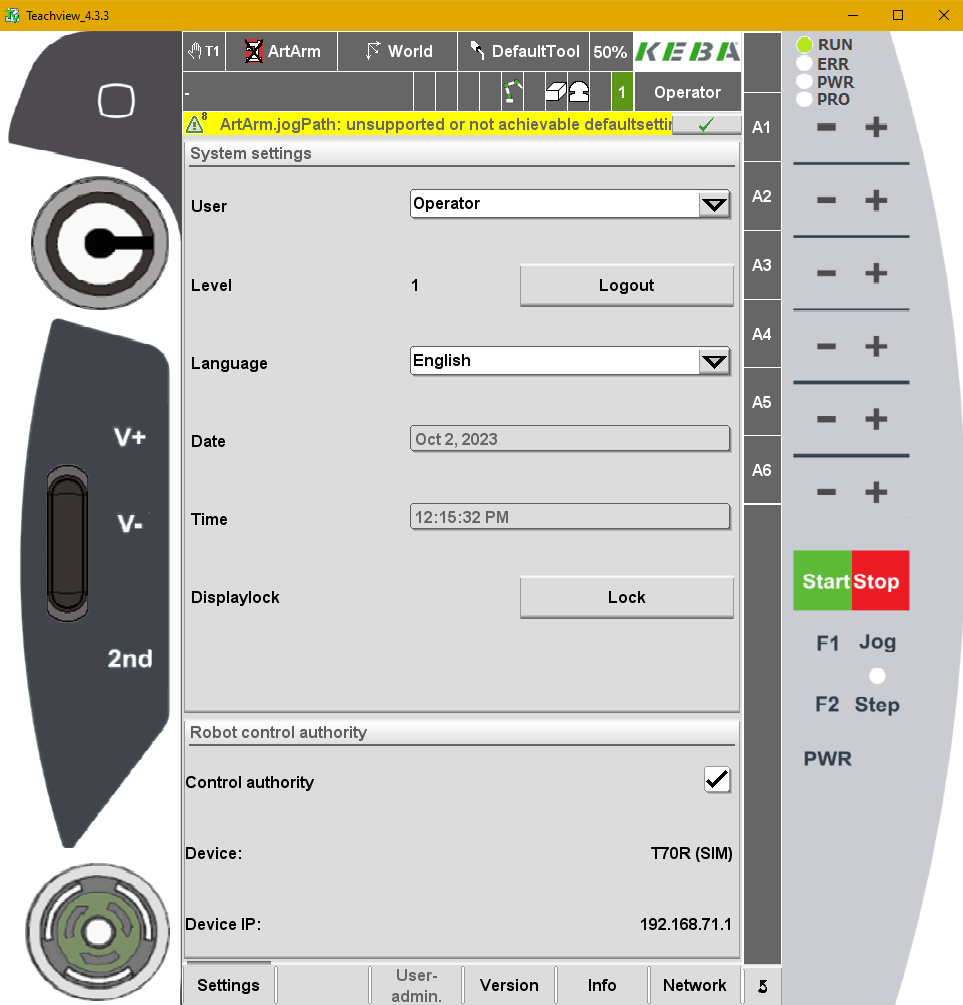
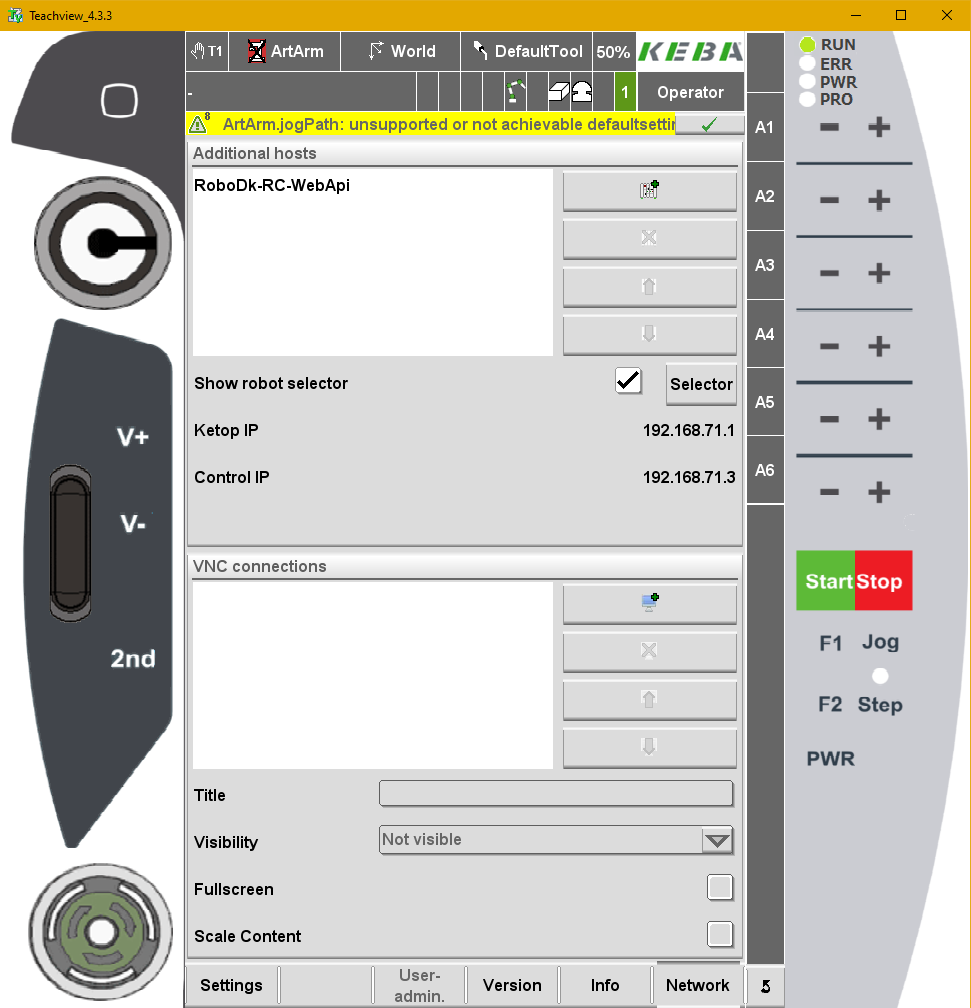
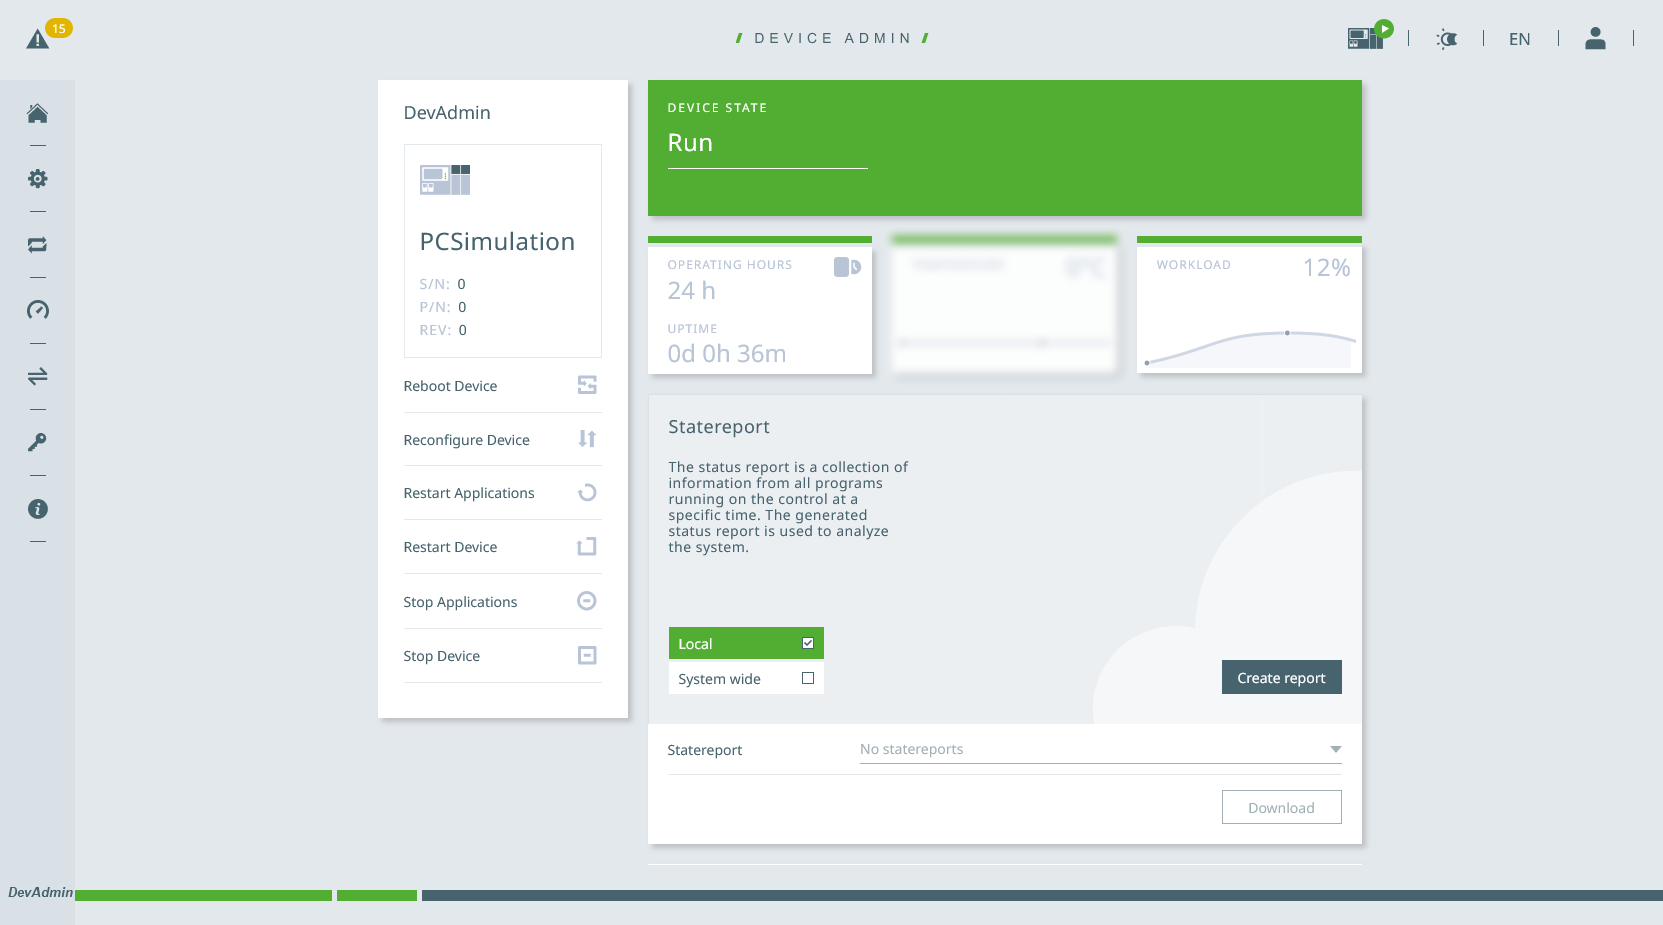
You need the IP of your KEBA controller to automatically transfer or run programs from RoboDK. You can make sure if the IP of your robot is correct by entering the IP in a browser to access the web interface.
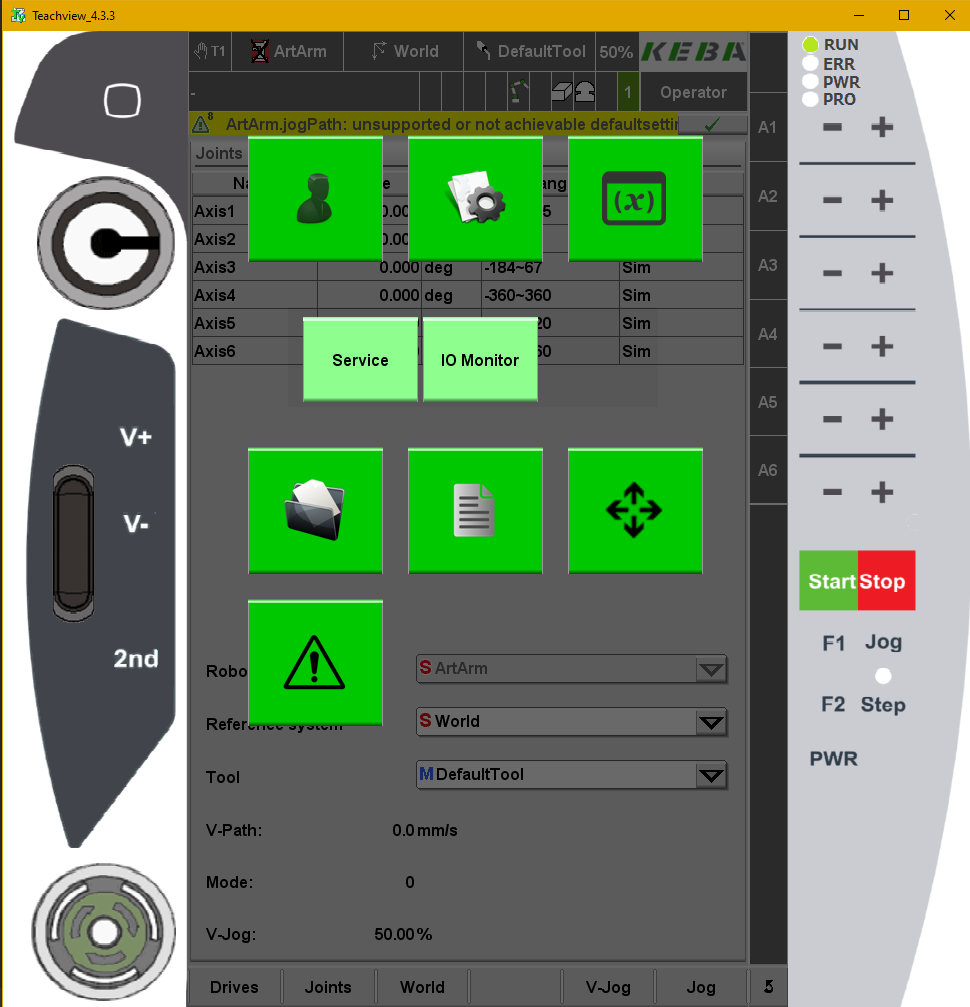
To obtain the IP you can go to the service window on your teach pendant and then select the information tab.
The format for the IP Address entered in RoboDK should contain the username and password and it should follow this format: 127.0.0.1/username@password.
The following images show how to retrieve the controller IP from the controller teach pendant.
Make sure to properly setup a network connection if you are unable to see the robot web interface as shown in the following image.
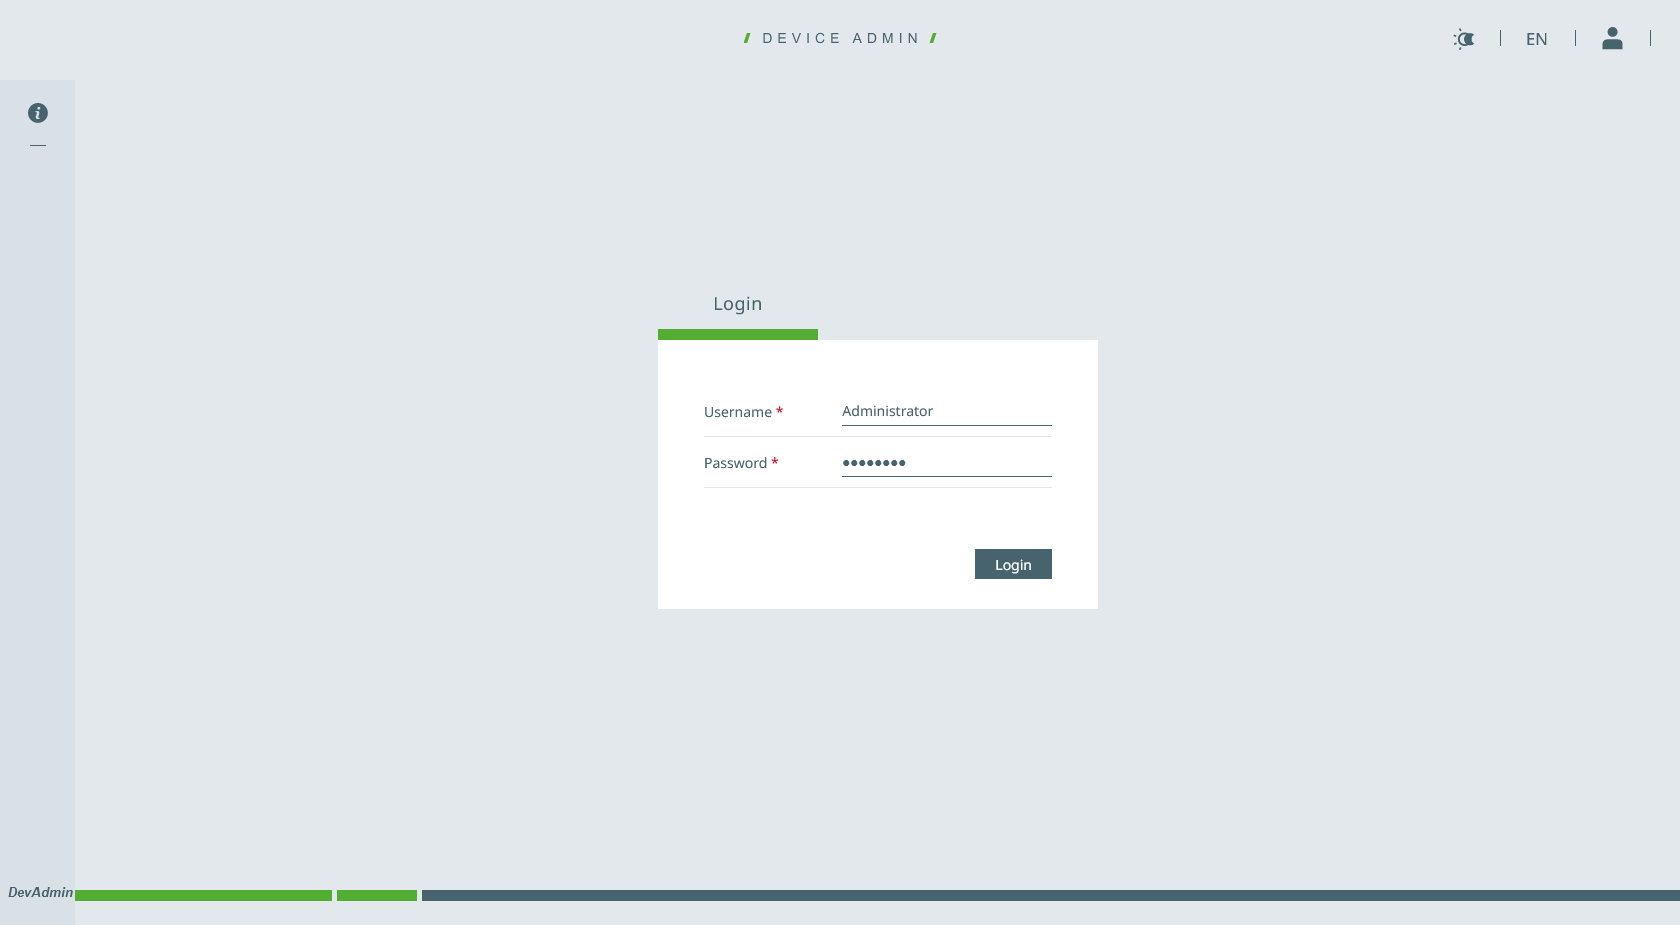
You will also need the username and password used to login to the robot’s web interface, you can test they are valid by logging in via the web interface.
Run a Program on the KEBA controller
Once your RoboDK simulation is ready, you can generate a program offline that can be executed by the KEBA robot controller (KAIRO file).
Follow these steps to generate a program for your controller (KAIRO file) from your robot simulation:
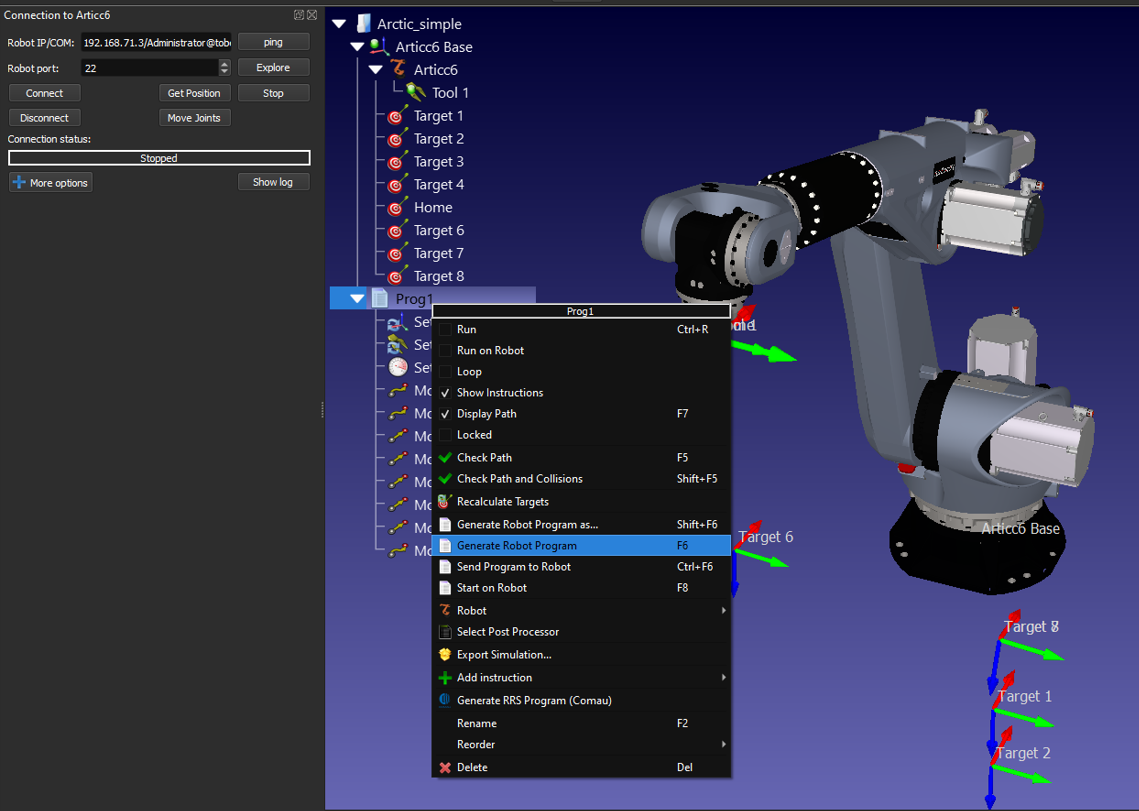
1.Right click a program.
2.Select Generate robot program F6. Then manually transfer the files over FTP to your desired project
Alternatively, Select Generate robot program Ctrl+F6 after setting up SFTP
3.On the project tab of the teach pendant, press refresh
4.Load the program then load the main file

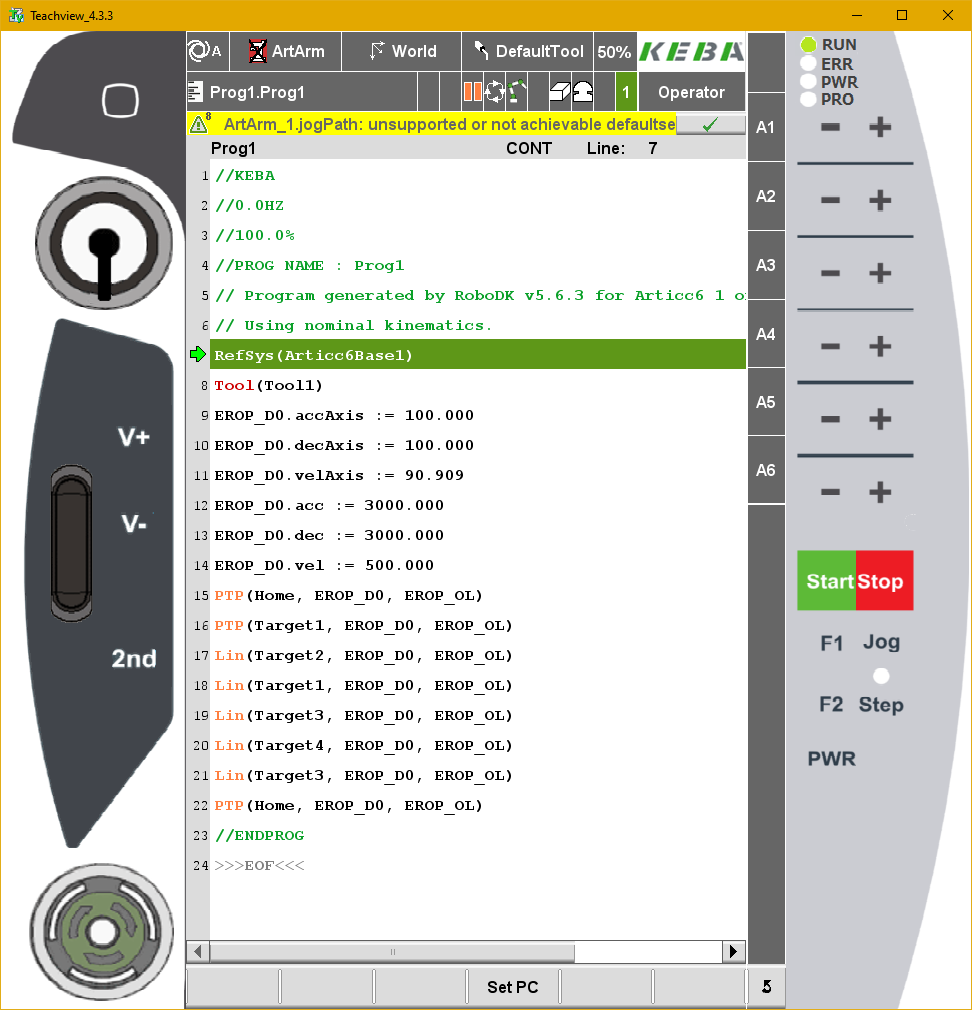
The program will be displayed in a text editor. You can find more information about how to generate programs from RoboDK in the robot program section of the documentation.
Run Program from RoboDK
Robot drivers provide an alternative to Offline Programming (where a program is generated, then, transferred to the robot and executed). You can run a simulation from RoboDK directly on the robot (Online Programming). More information about drivers is available in the Robot Drivers section.
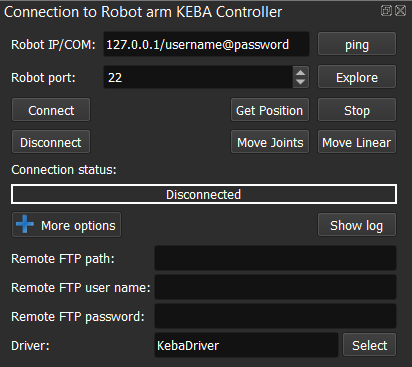
Follow these steps to connect to the robot from RoboDK:
1.Right click the robot in RoboDK.
2.Select: 
3.Enter the IP of the robot.
4.Select Connect.
There should be a green message displaying Ready if the connection succeeded. If not make sure you have the correct IP, user name and password. Also, make sure to properly format for the IP Address in RoboDK as mentioned in the previous sections (127.0.0.1/username@password).
The robot can be moved by selecting Get Position from the connection menu, jog the robot, and click on Move Joints to move the robot from the connection menu.
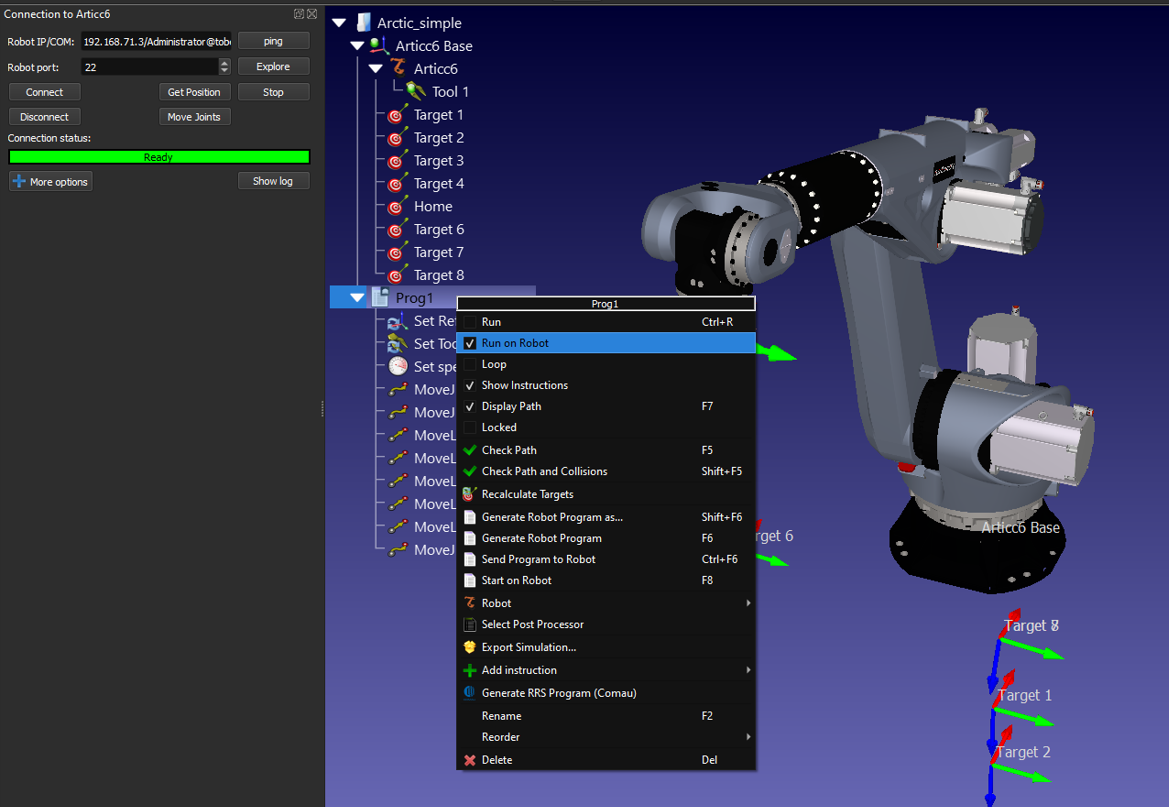
To run programs from the PC directly on your robot you should enable the Run on robot option on your programs. The following steps describe how to enable the Run on robot option:
a.Right click the program (Print3D in this example)
b.Select Run on robot
c.Double click the program to start it (or right click and select Run)
This method of programming robots is useful for debugging purposes, however, to deploy a robot program it is better to generate the program offline as mentioned in the previous section.
Once the Run on robot option is checked it will connect to the real robot every time we double click a program (or right click, then, select Run).
These operations are also available from the RoboDK API and it allows integrating robot programming with other applications. The API is available in Python and C# and other programming languages.
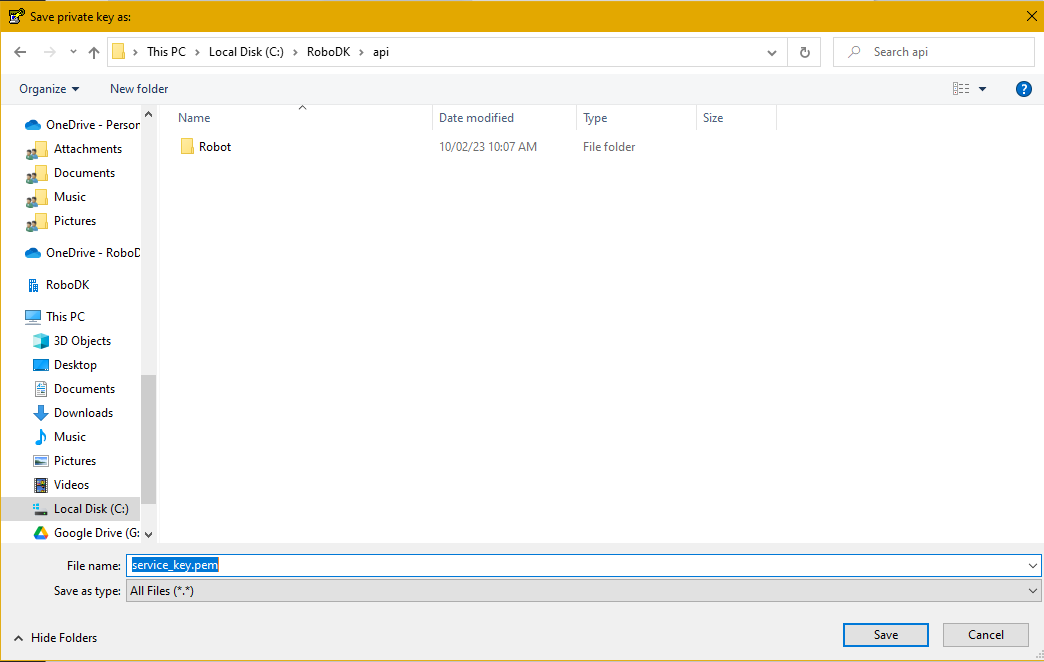
Using PPK file for SFTP
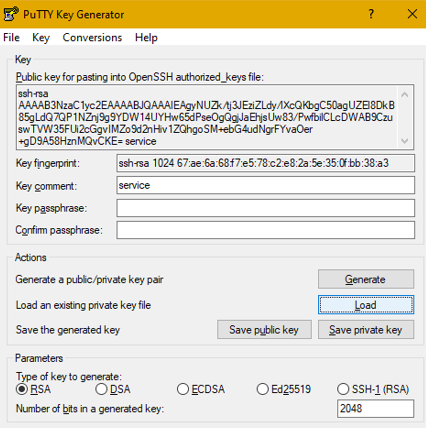
Instead of using the username and password to transfer files you can also use a key file. To do so you will need to convert the KEBA provided PPK file that came with your robot to a PEM file. This can be done with puttygen, a utility that comes installed with putty.
In puttygen, load the key file by selecting Load. Then click on Conversions dropdown and select Export open SSH Key (force new file format).
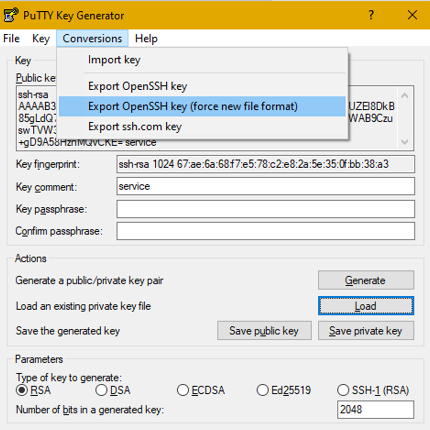
Name the service_key.pem and save the file to the RoboDK API folder which is located at C:\RoboDK\api by default.