Virtual Reality
RoboDK supports Virtual Reality (VR) to have a simulated experience of your RoboDK simulations.
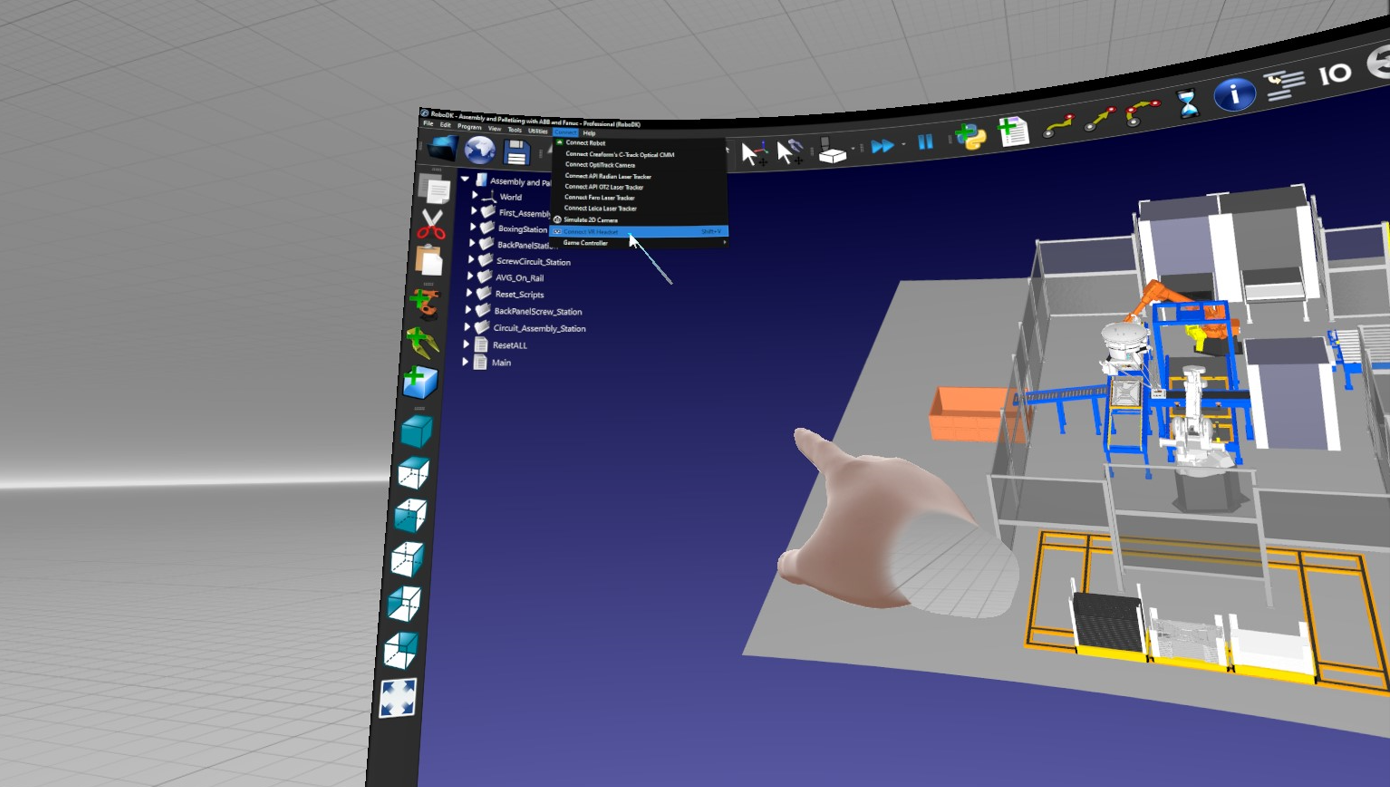
Select Connect➔Connect VR Headset (Shift+V) to start the Virtual Reality experience.
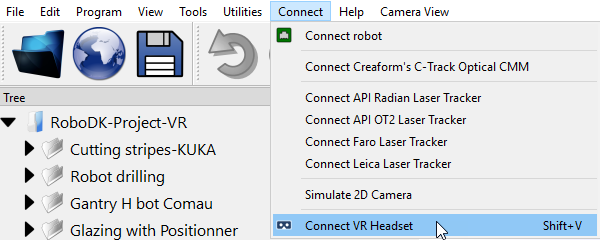
You’ll then see an additional window showing the VR view and the VR headset should automatically start displaying your RoboDK cell.

Virtual Reality Actions
RoboDK provides a default set of controller actions (controller bindings).
●Teleport: Select the Up-arrow key of your right-hand controller.
●Point: Slightly hold the trigger to see the pointer.
●Trigger: Point the trigger to a robot and pull it to start the first program linked to that robot.
●Show/hide coordinate systems: Select the Down Arrow key of your right-hand controller to show or hide coordinate systems.
●Grab and move your position: Hold the grab button of one controller (one at a time).
●Grab an object or a robot: Make the coordinate systems visible and grab an object by triggering the grab action.
●Grab and move your orientation: Hold the grab buttons of both controllers at the same time and rotate as if you were holding on to the station.
The controller settings can be configured in the Controller bindings menu of SteamVR:
1.Select Settings in SteamVR
2.Select Controller
3.Select Manage Controller Bindings
4.Select RoboDK
5.Select Custom
Display Performance
You may experience a low frame rate if you have a large or complex cell (for example, if you have a lot of objects or complex geometry). We recommend you follow one or more of the following steps if you are obtaining a low frame rate to improve it.
It is recommended to use VR on stations with a frame rate of 40 FPS or higher. Follow the steps described in this section and the Display Performance section to improve your frame rate.
Furthermore, the following tips will help you improve the display performance of your RoboDK simulations when using VR:
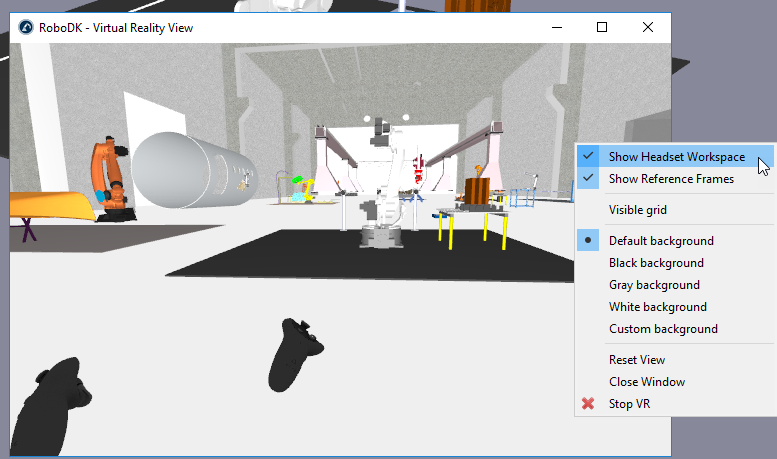
●Hide the headset workspace: Right click the Virtual Reality View and uncheck Show Headset Workspace. This will prevent rendering the main window.
●Minimize the Virtual Reality View Window: this will prevent rendering the VR view and the performance of your graphics card will be better used for the VR headset.
Virtual Reality Quality
The following tips will help you improve the quality of the Virtual Reality experience:
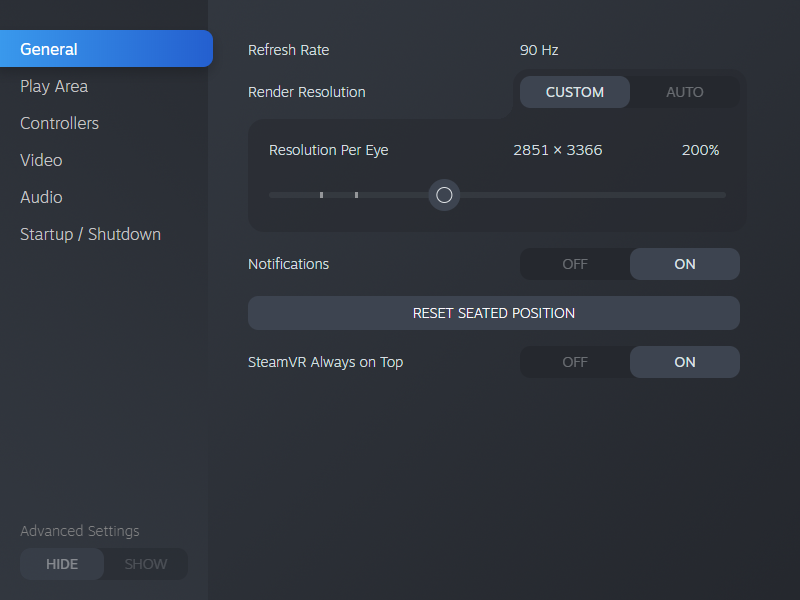
You can increase the quality of your image by increasing the resolution per eye:
1.Select Settings in SteamVR
2.Select Video
3.Select increase the Resolution per eye to 200%
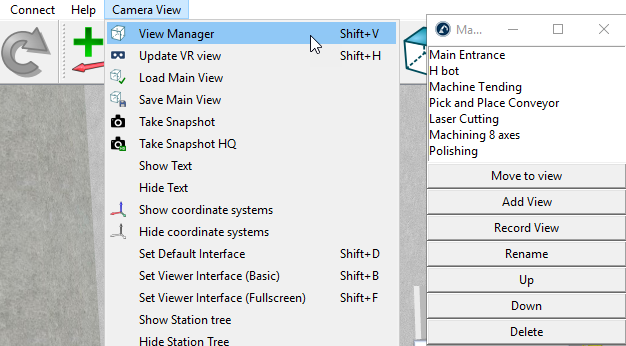
View Manager
RoboDK includes an app to record and manage view positions. You can also move the view in VR to the view currently set in the main window.
Connecting a Meta Quest Headset
The Meta Quest headsets do not use SteamVR by default, this section outlines the steps required to connect a Quest 2 or Quest 3 to SteamVR using Quest Link so you can use the Quest Headset with RoboDK.
Quest Link is Meta’s solution to connecting your headset to a PC. This has the advantage of being easy to set up, free, and included with every headset. You can use a high-quality data + power USB-C cable to connect the headset to the PC or simply use Air Link for a wireless experience.
1.Install the Oculus Desktop App and follow the instructions to connect your headset. You can find the Oculus Desktop App here: Setup Your Quest: Quest, Quest 2, Link, Rift S & Rift | Meta Quest | Meta Store.
2.Connect your headset to your PC with a supported USB-C cable, or follow the instructions below to enable Air Link:
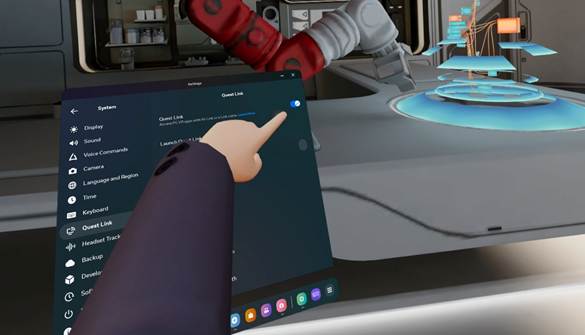
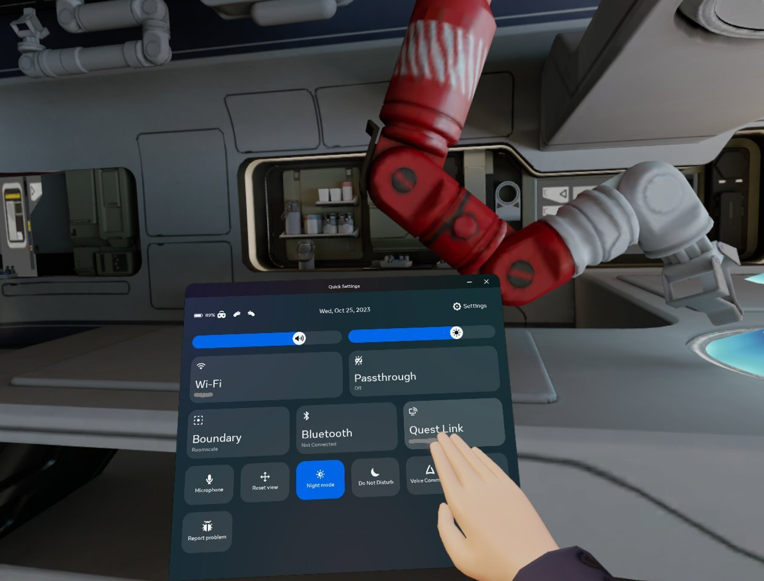
a.Navigate to the Quest Quick Settings Menu.
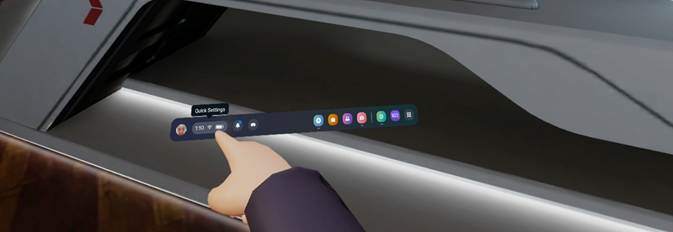
b.In the top-right of the quick settings, select “Settings”.
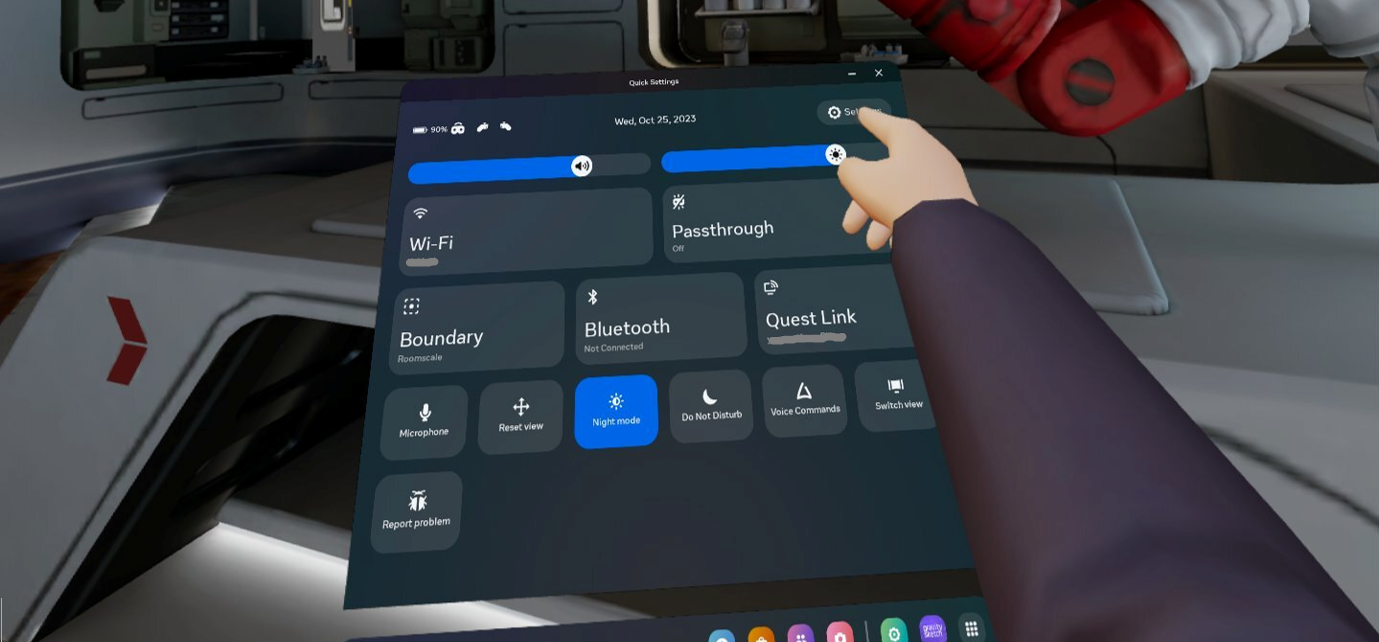
c.Navigate to System Settings.
d.Navigate to the Quest Link submenu.
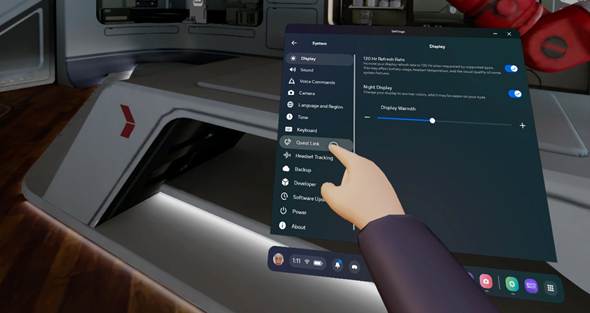
e.Enable Quest link by toggling the “Quest Link” option.
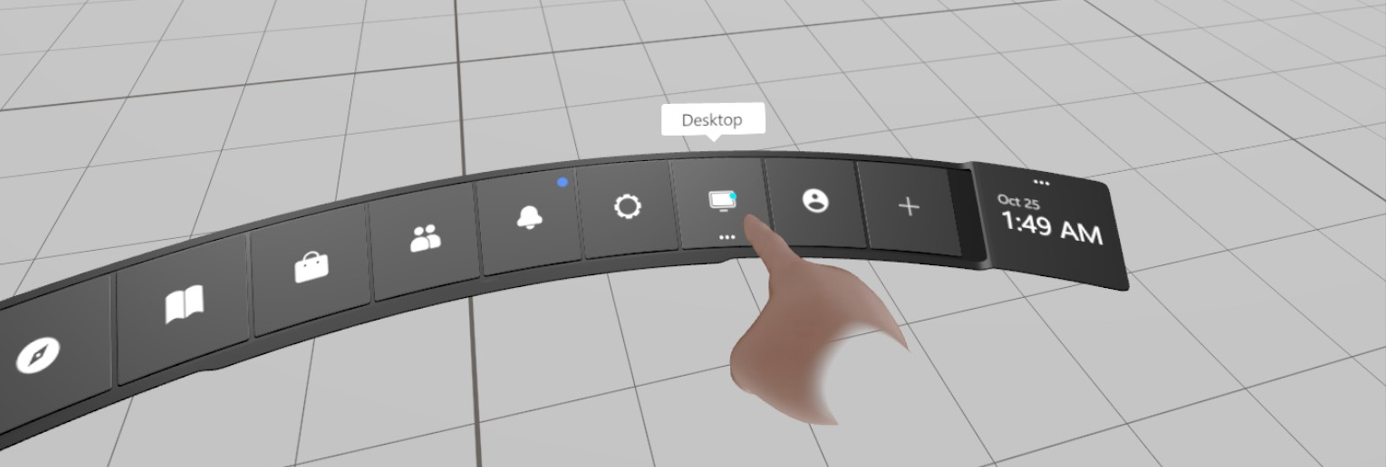
3.Launch Quest Link through the submenu or quick menu as shown below.
4.In the Quest Link Menu, select the desktop tab to open your PC desktop.
5.Locate and launch RoboDK. Open the station you would like to view in VR.
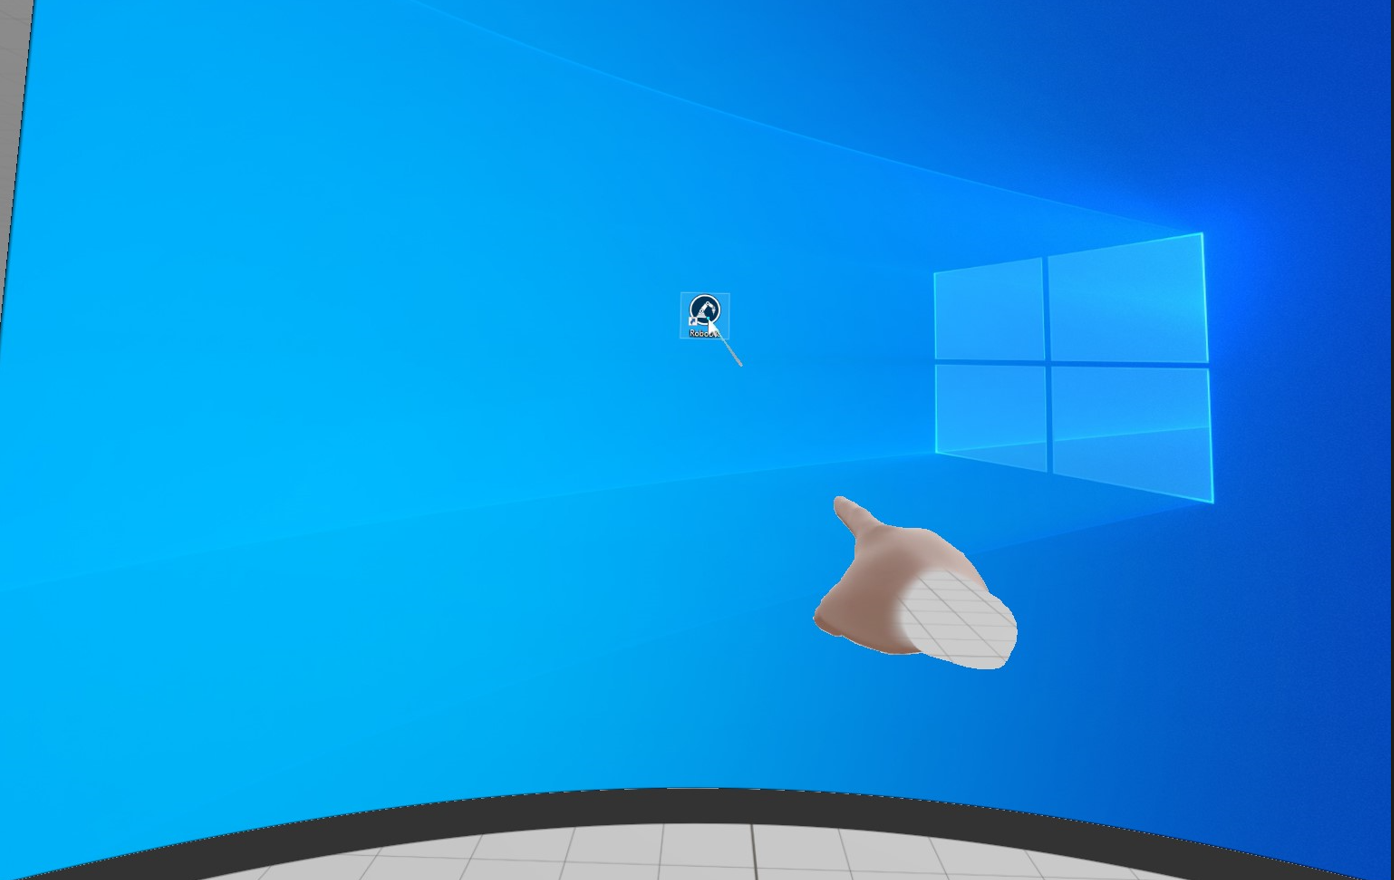
6.Finally, under “Connect” in the RoboDK toolbar, select “Connect VR Headset”.
This will cause Quest Link to launch RoboDK through SteamVR, you can access the SteamVR menu by pressing the left-hand menu button and the Quest Link menu by pressing the right-hand menu button.