06-15-2023, 01:34 PM
Hallo, da bin ich wieder.
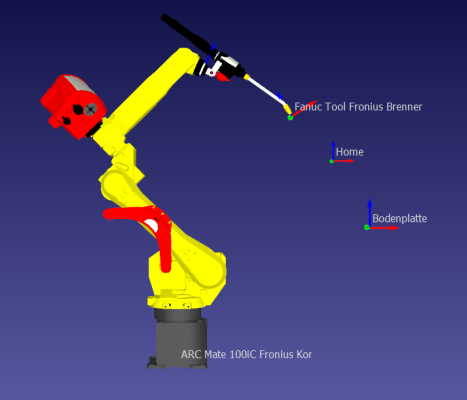
Ich verwende ein Fanuc ARC Mate 100iC mit dem System R-30iB.
Ich verwende ein Schweißbrenner der Firma Fronius.
Mein Vorgänger hat den Roboter selbst aufgebaut, da die Anbauteile des Schweißbrenner mit eingebaut werden mussten um die Kollisionen zu simulieren.
Ich wollte die J2 J3 Interaktion einstellen und finde dazu leider nichts.
Die Achse J2 und J3 sind unabhängig. Wie kann ich die Achsen verbinden so das sie wie bei dem realen Fanuc funktionieren, oder kann ich das nicht machen? Kann das dann jemand anderes?
Danke für die Hilfe.
Hello, I'm back again.
I am using a Fanuc ARC Mate 100iC with the R-30iB system.
I use a Fronius welding torch.
My predecessor built the robot himself, as the attachments for the welding torch had to be installed to simulate the collisions.
I wanted to stop the J2 J3 interaction and unfortunately I can't find anything about it.
Axes J2 and J3 are independent. How can I connect the axles to work like the real Fanuc, or can't I? Can someone else then?
Thanks for the help.


