One of the most challenging tasks in offline programming is to simulate a robot conveyor. Here are 10 best practices to make it easier.
Conveyors can be difficult to simulate. As soon as you add moving objects to your robot program, things start to get tricky.
Thankfully, there are certain steps you can take to make it easier to simulate a conveyor with offline programming.
3 Good Examples of Simulated Conveyors
The best way to learn good programming practices is to look at well-designed examples.
In RoboDK, we’ve tried to make it as easy as possible to add a conveyor to your simulation. You can find three conveyor demos in the Library directory, which is added when you install RoboDK to your computer.
The Different Ways to Program in RoboDK
There are three ways that you can program aspects of a RoboDK simulation. Each of these is demonstrated in the conveyor demos. They are:
- As a mechanism/robot: Robots are programmed as mechanisms in RoboDK and conveyors can be programmed as linear mechanisms.
- As a graphical program: You can make robot programs with graphical programming using the instruction icons such as Linear Movement, Pause, Set I/O, etc.
- As a python script: Almost anything can be programmed into RoboDK as a simple Python script, including robot programs and mechanisms. Sensors are always simulated as Python scripts.
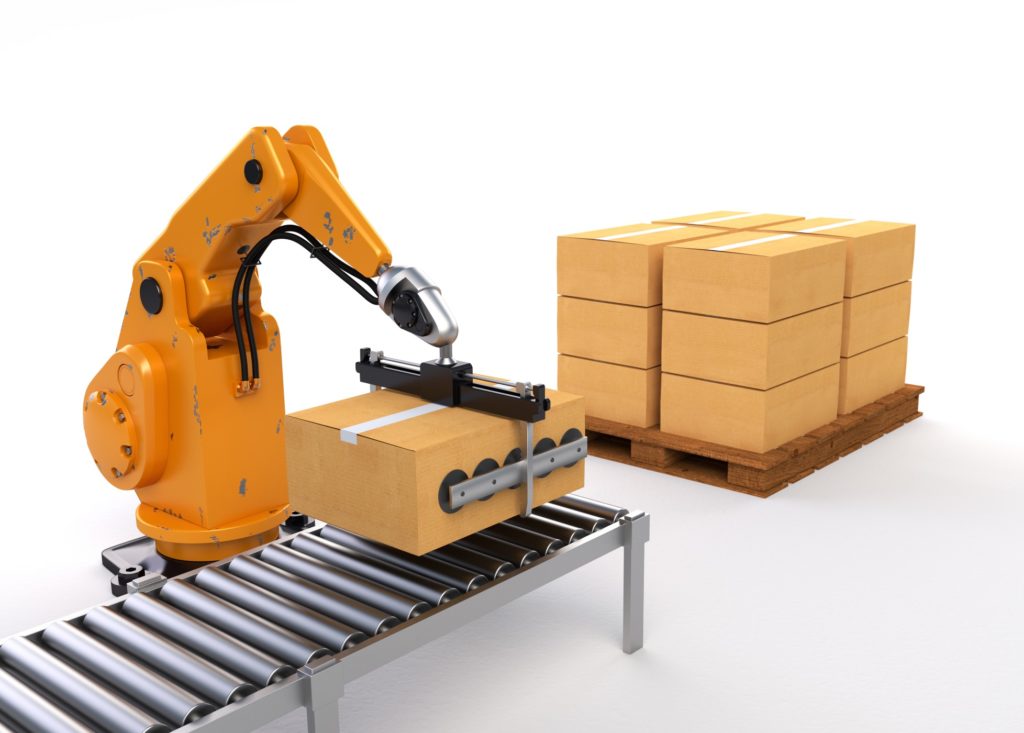
Example 1: Conveyor with 2 Robots
Our most popular demo shows two robots loading and unloading a conveyor with grippers. The video shows an entire tutorial for creating this demo yourself.
- Type of conveyor: Python scripted
- Robot program: Graphical programming
Example 2: Pick and Place with 2D Camera
This demo uses the same setup as the laser sensor one below. However, it uses a simulated 2D camera to detect the position and orientation of the boxes.
- Type of conveyor: Linear mechanism
- Robot program: Python scripted
Example 3: Pick and Place with Laser Sensor
This demo shows how to load and unload boxes onto a moving conveyor. It uses a laser sensor to detect when boxes on the conveyor are in a position to be picked up. As it cannot detect the rotation of objects, they must be aligned the same way every time.
- Type of conveyor: Linear mechanism
- Robot program: Python scripted
10 Best Practices for Simulating Robot Conveyors
There are many lessons you can learn just by looking at the demos shown above.
Here are 10 best practices that you can see in action in the demos:
1. Use the Demos as a Starting Point
Why reinvent the wheel when you don’t have to? We provided the demos to make it easier for you to program your own robot. Use them as a starting point and customize them to your own needs. It will allow you to get up and running much quicker.
2. Deal With Each Area and Robot Separately
A common mistake is to try to control every part of the simulation from the same graphical program or python script. This soon becomes unmanageable and is a surefire way to a confusing program.
In the demos, we have split each simulation into three areas:
- The pick-up area
- The conveyor
- The drop-off area.
Each of these areas is treated separately and each robot is also treated separately.
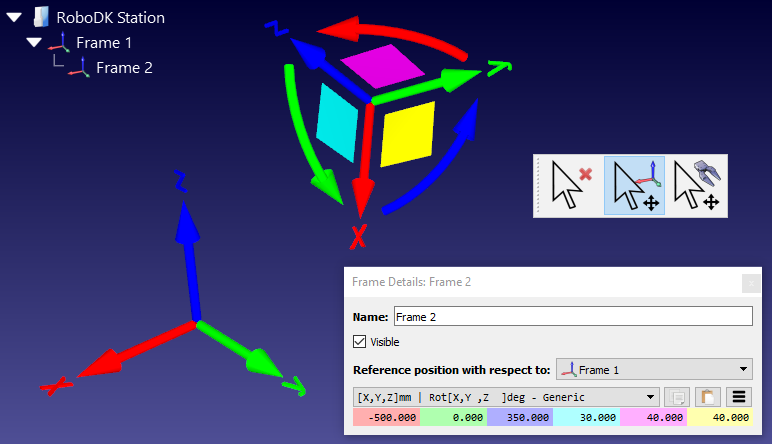
3. Create Reference Frames for Each Area
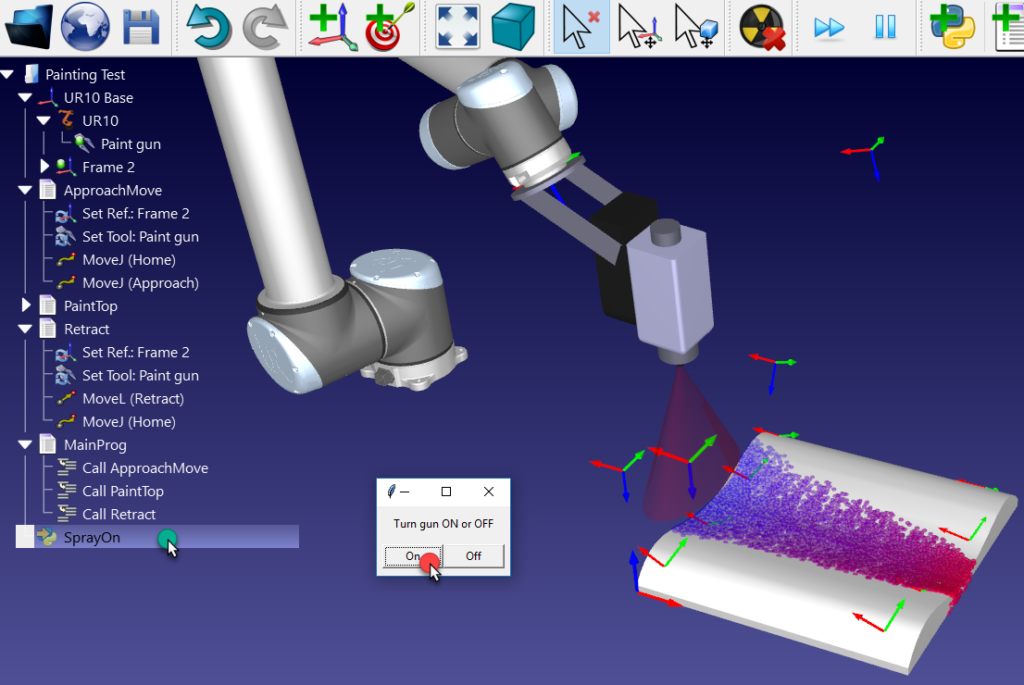
If you look at the first demo (the one with the table), you will find that we use the Set Reference Frame command a lot. You can see this by right-clicking on the FeedConveyor program and selecting Show instructions.
Every time the robot performs an operation we change the reference frame. This is a good programming practice but new users often forget to do it. Having a unique reference frame for each area makes it easy to move the conveyor and the robots if necessary.
4. Set Home Positions for Each Area
Similarly, you can see from the same demo that each robot is assigned a home position for each area. This moves the robot close to the area but at a safe distance away so it avoids collisions. Every time a robot picks up an object from an area, it should first move quickly to this home position and then move toward the object in a controlled manner.
5. Set the Maximum Pickup Distance
RoboDK simulates end effectors using quite a simple method. When an Attach action instruction is called, any graspable object near to the robot gripper will be picked up. You can set the maximum distance for this by going to the Tools menu > Options and setting the Maximum distance to attach an object to a robot tool.
6. Pick the Right Conveyor Method
As you can see from the demos, a conveyor can either be programmed as a linear mechanism or a python program. You can read about the benefits of both of these approaches in our article How to Program a Robot Conveyor Without Going Crazy.
7. Use Part Names for Detection
If you look at the second demo (which uses a 2D camera) it is not immediately clear how the sensor is detecting each part. The “secret” is that RoboDK uses common part names to keep track of which objects can be manipulated.
Right click on the PartsToPallet python script and select Edit Python script. You will see the PART_KEYWORD is set to “Part.” All of the graspable objects in the simulation start with this keyword. The sensor will only detect objects with the right name.
8. Align Speeds Carefully
One of the biggest challenges with conveyor programming is that you have to carefully align the speeds of the robot and conveyor.
If you look at the third demo (with the laser sensor) you can see the effect of misaligned speed. Double click on the SetSimulationParams script. Click OK for the box size and pallet size, but change the speed of the conveyor to 60mm/s. Double click on MainSimulation to start the program. You will see that the robot starts to miss some boxes.
9. Try to Break It!
One of the best ways to develop a robust robot program is to try to “break it” as we have just done by fiddling with the conveyor speed. When your program is working correctly, it can lull you into a false sense of security.
Try to find which situations cause the program to fail. That way, you can be sure that your robot program is truly robust to changes.
10. Prepare to Test in the Real World
In the end, a simulation is just a simulation. It’s only when you download your program to the real robot and test it with a physical conveyor that you can see if it really works in practice.
Remember, conveyors are tricky. Be prepared to test your program more than you would if you were not using a conveyor.
Any questions about using conveyors in RoboDK? Tell us in the comments below or join the discussion on LinkedIn, Twitter, Facebook or Instagram.