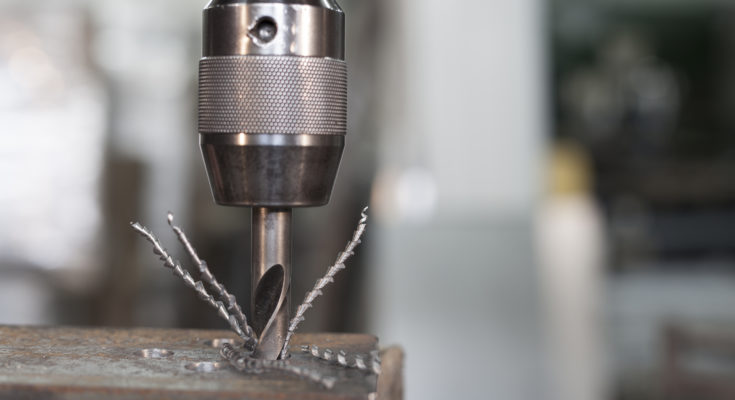
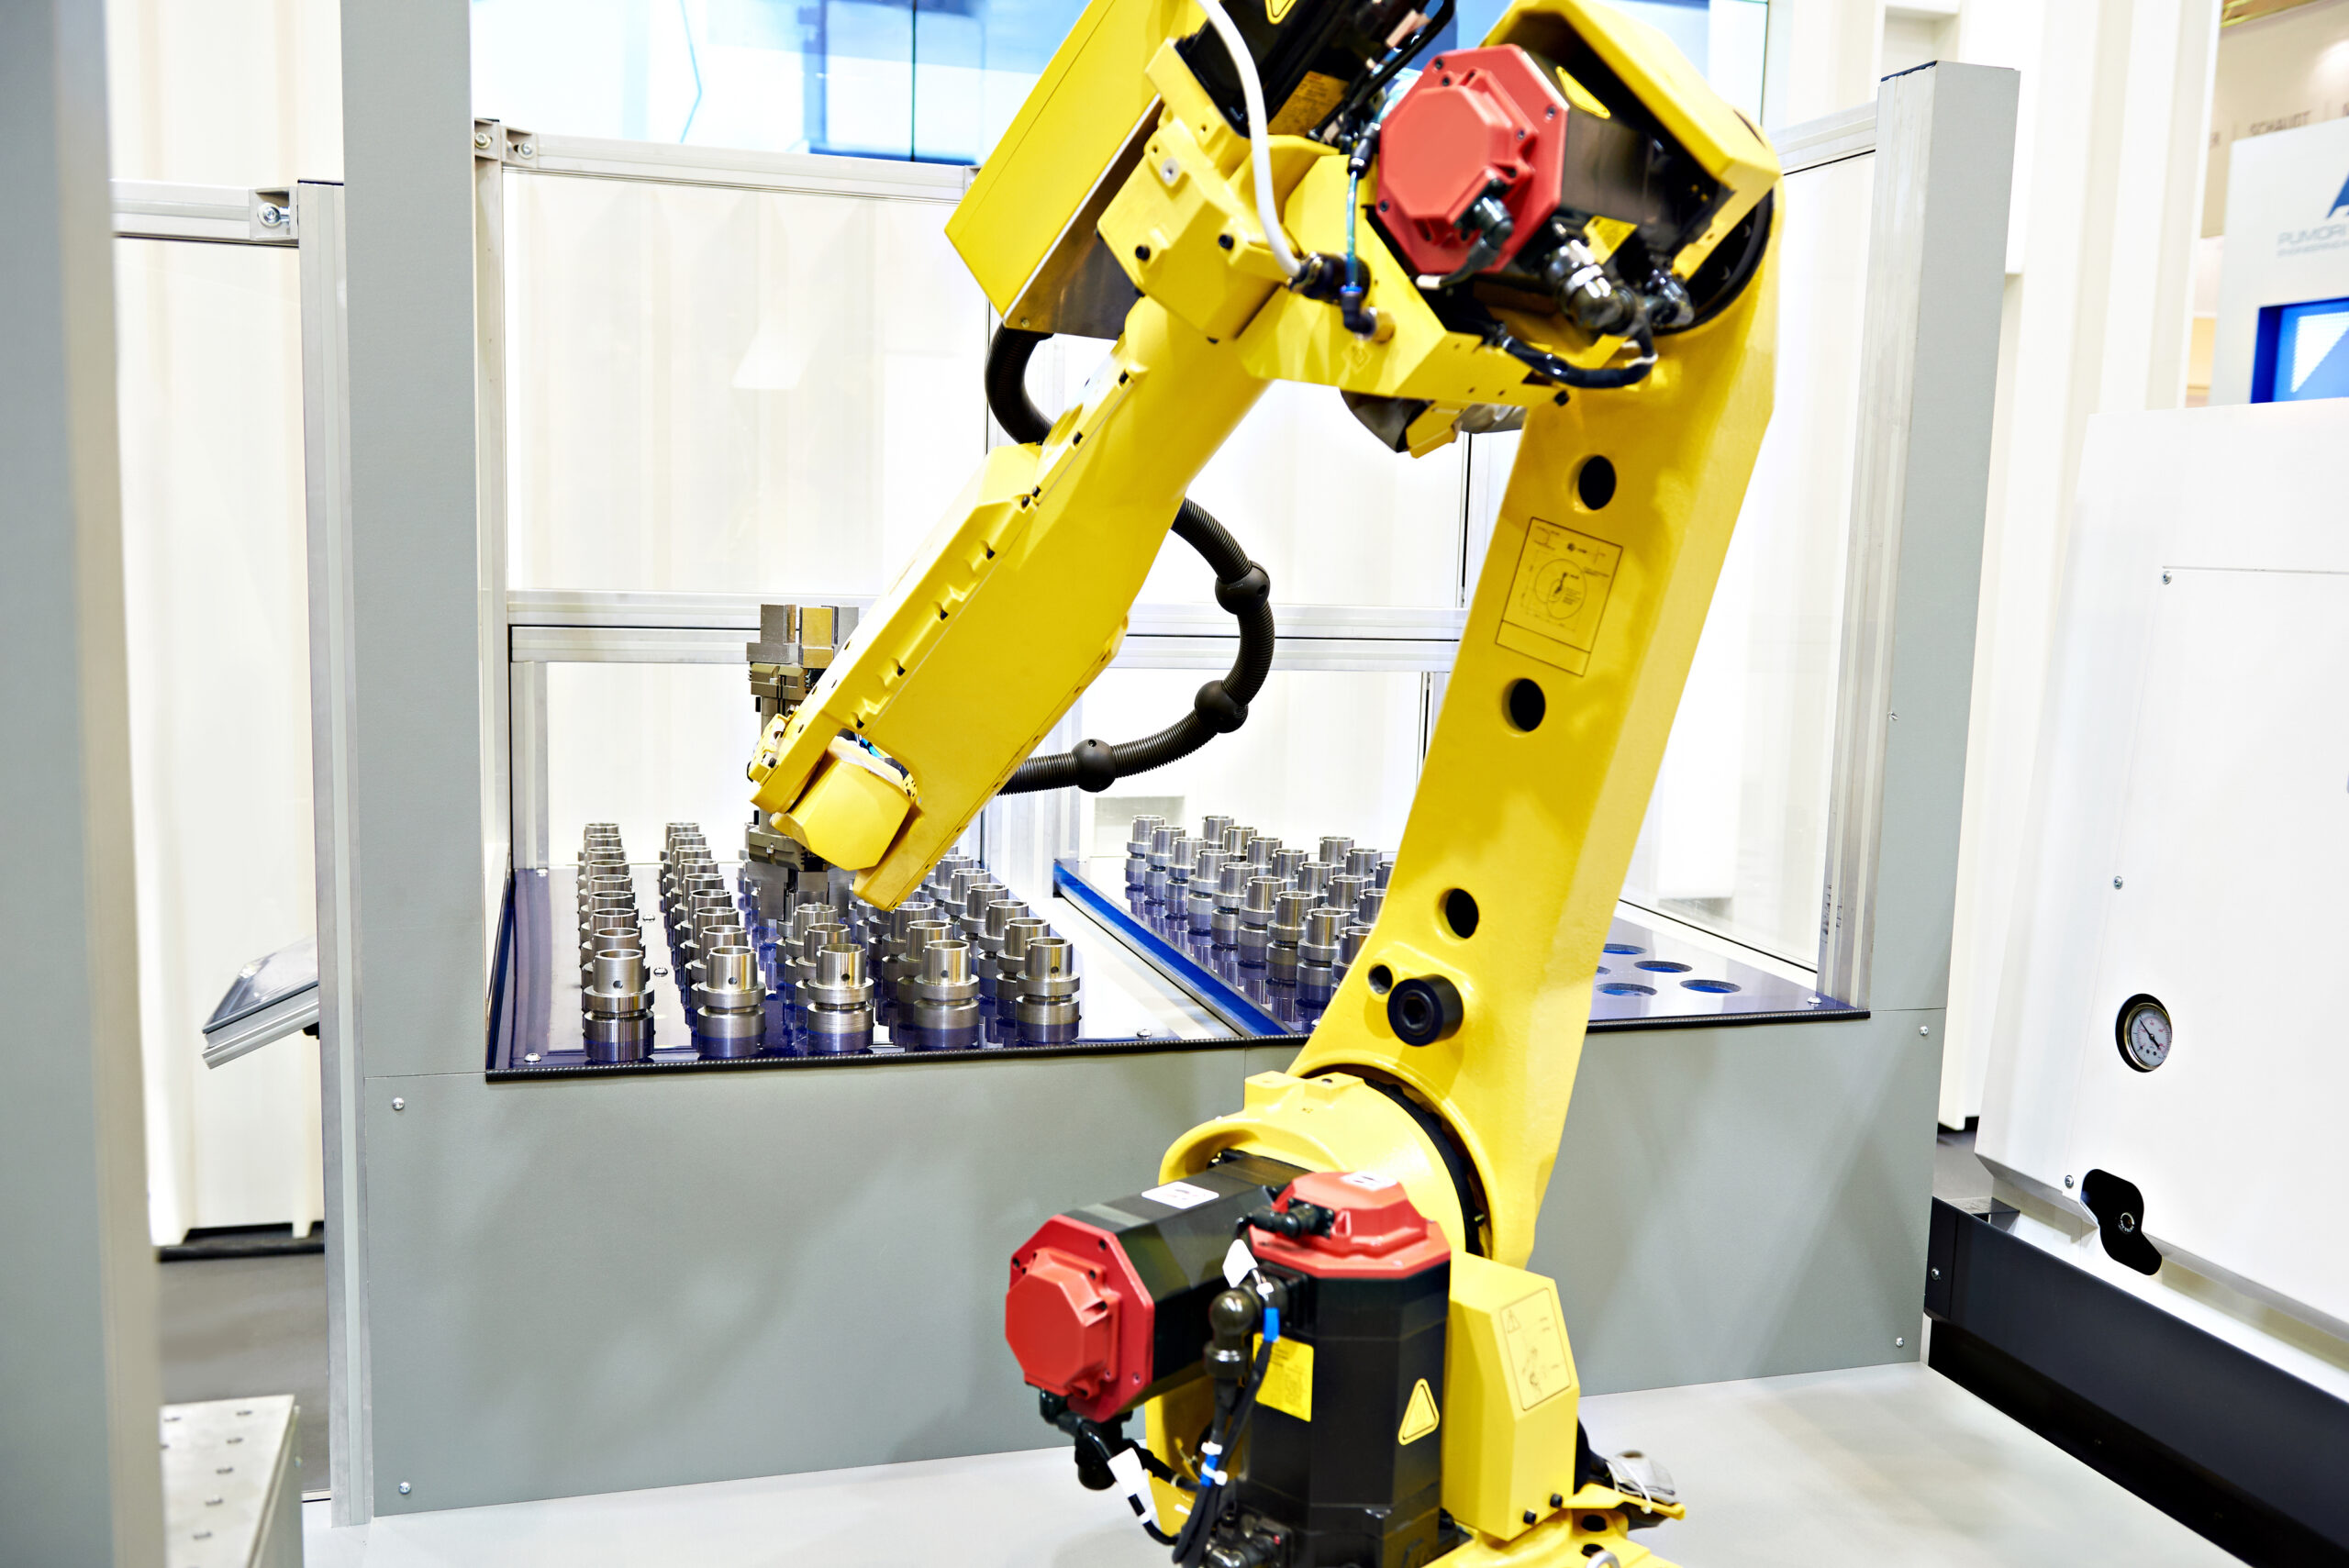
Drilling is a great task to give to a robot. But, there are several things you need to keep in mind to achieve a quality drill. Here are 5 tips to ensure success.
Robot drilling is a popular task in a diverse range of industries. It’s used in applications ranging from surgical robotics all the way to airplane manufacturing.
In recent years, we’ve seen robots being used to drill through patients skulls to assist with cochlear implant surgery. We’ve also seen robot drilling in space when the Mars Curiosity robot drilled into the Martian surface.
Robot drilling is also a popular application among users of RoboDK. But, it can be a tricky task if you don’t follow some simple tips.
Why Drilling Can Be Tricky With a Robot
Although drilling is a great task to give to a robot, it’s not always the easiest one to achieve. Several factors combine to make it quite a challenging task, including the hardness of the material, the stiffness of the robot, the access to force sensing, the calibration of the offline programming software, and more.
If you don’t take these factors into account, the quality of the drilling can be low.
Of course, you could attempt to overcome these challenges with the solution recently put forward by MIT researchers in June 2018. They used human brain-waves to teach the robot when it was not drilling properly. However, this doesn’t seem very practical in an industrial setting, does it?
Instead, here are 5 tips to ensure quality drilling with a robot.
5 Tips to Achieve Flawless Robot Drilling
1. Know the required forces
Robot drilling can exert very high forces in several directions on the robot and the drill. These forces will affect the choices of robot, drilling tool, and control strategy.
There are at least four directions of force in a drilling operation:
- Fz: The force applied to the tip of the drilling tool along the axis of the tool.
- Fx: The force applied to the tip of the drilling tool along one of the perpendicular axes to the tool.
- Fy: The force applied to the tip of the drilling tool along the other perpendicular axis to the tool.
- Fr: The force applied to the shaft of the drilling tool which resists rotation of the tool about its tip.
Each force increases in a different way as the tool drills deeper. Fx and Fy are experienced as vibrations which gradually increase in amplitude. Fz and Fr increase rapidly at the start of drilling and then continue to increase gradually as the hole gets deeper.
2. Know the robot’s stiffness
A robot’s stiffness refers to the combined rigidity of all of its joints. It is limited by the maximum torque that the joints can apply.
Compared to CNC drilling machines, robots have quite a low stiffness, as we explained in our previous article Can a Robot Outperform a CNC Machine for Robot Machining? The stiffness of a robot is generally less than 1 Newton per micrometer whilst CNC machines often have more than 50 Newtons per micrometer.
It’s not always easy to calculate your robot’s stiffness — even an estimation requires some pretty heavy math. However, the detailed product sheets of industrial robots sometimes specify the maximum forces in all directions. You can compare against the forces required by the drilling operation.
3. Avoid compliant robots
Some robots — e.g. collaborative robots — are designed to be compliant. This is great for applications which require the robot to work alongside a human. If the robot collides with someone, its compliance means it will not apply a harmful force.
For drilling, however, compliance is counter-productive because it works by reducing the stiffness of the robot. We want the robot to stay as stiff as possible when drilling otherwise the drilling tool will move around and reduce the quality of the hole.
There are two types of compliance that you find in robotics:
- Active compliance — The robot detects collisions and changes its stiffness actively using its control systems. Sometimes you can deactivate this type of compliance, in which case the robot could be used for drilling. For example, here’s a collaborative UR 10 doing a drilling task on a relatively soft material.
- Passive compliance — The robot’s joints are mechanically designed to be compliant all the time — e.g. Baxter from Rethink Robotics (who, incidentally, have just been acquired by the HAHN group). As you can’t deactivate this type of compliance, it usually means the robot is unsuitable for drilling (unless the workpiece material is very, very soft).
Of course, without compliance, it means your robot must be kept behind a safety fence or used with safety sensors.
4. Consider force control
The best way to achieve consistent quality drilling is to apply a consistent force throughout the operation. The most reliable way to achieve this with a robot is to use a force-torque sensor and force control.
Force control comes in several forms, including stiffness control, impedance control, admittance control, and various others. However, all basically involve using an algorithm to control the precise force applied by the robot.
This is becoming easier and easier to implement all the time thanks to advances in force sensing technology and better control algorithms. However, force control does add another layer of complexity to your robot program.
In RoboDK, you can use force control via one of the following two methods:
- In the post-processor — You can program the robot’s path using RoboDK then update the robot’s post-processor to include the force control code. This approach will be slightly different for each robot brand. See this article for information on post-processors.
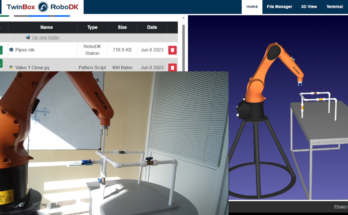
- In the RoboDK API — You can also program using the API and then control the robot live from the software. In this case, the robot is directly controlled by the computer running RoboDK so they must be connected at all times, not just during programming. See this article for information on the API.
Force control can be tricky to integrate, but it can also drastically improve the quality of your drilling.
5. Calibrate and test
As with all offline programming that you do with your robot, it’s important to calibrate your robot with the simulation. Drilling requires a reasonably high degree of accuracy. The only way to ensure that your drill holes end up where you wanted them to be is to properly calibrate the simulation. See this article for tips on how to improve the accuracy of your robot.
Finally, as with any robot program, test your program thoroughly before putting it into production. Test out your drilling with all materials that you will use. Ensure that the drill tool does not move around during the operation. If it does, it could suggest that the material is too hard for your current setup.
Here’s a demonstration of a drilling task, programmed with RoboDK:
What drilling tasks would you like to give to a robot? Tell us in the comments below or join the discussion on LinkedIn, Twitter, Facebook or Instagram.


I liked how you mentioned that you should use a force-torque sensor to control a drilling robot. My brother is wanting to learn how to make robotic machines and he was wondering how he could control a drilling robot. I’ll be sure to tell him to use a force-torque sensor.
It’s interesting to learn that drilling robots have low stiffness compared to CNC machines. My brother is wanting to learn more about robotics and he was wondering how he could learn about drilling with robots. I’ll be sure to tell him that he should learn about the stiffness of robots for drilling purposes.