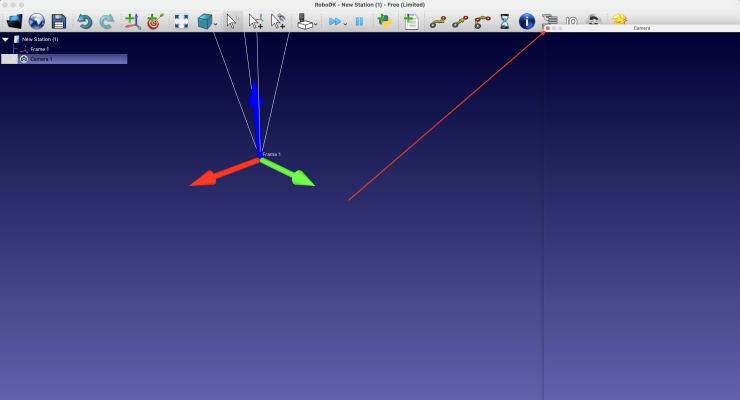
(02-05-2025, 10:15 AM)Albert Wrote: Thank you for such detailed description of the issue. I was able to reproduce this on a Mac with the M1 chip. For some reason this issue is specific to Mac and it is related to how OpenGL is handled on Mac vs Windows. We'll investigate further but it does not have a quick fix for now.
Other issues such as being able to dock the Window or prevent crashing have been fixed.
For the time being, if you need proper depth simulation I recommend you to use RoboDK Desktop on Windows.
Hello Albert,
I have updated to the latest version of RoboDK, despite the fact that the md5 of the installer remains the same, DOCKED mode does work, but:
1) if I open the camera in DOCKED mode, then UNDOCK it, it opens in a separate window (as it should be), but if I close this window by pressing X, it causes the RoboDK to crash


2)
By:
Code:
cam_item = self.RDK.Cam2D_Add(camera_frames, 'DEPTH FOCAL_LENGTH=6 FOV=30 FAR_LENGTH=5000 SIZE=960x540')
Not all camera settings will actually be set, until you open the camera settings in the GUI and click OK.
But in this case it helps if you do this:
Code:
cam_item = RDK.Cam2D_Add(camera_frames, 'DEPTH')

params = ["FOCAL_LENGTH=6", "FOV=30", "FAR_LENGTH=5000", "SIZE=960x540"]

for param in params:

    self.RDK.Cam2D_SetParams(param, cam_item)
after such consistent application of the parameters, the window size, FOV, etc. become what they should be.
Some observations about getting an image in DEPTH mode: I tried to get it from a socket and from a file, and then visualizing it.
Like this:
Code:
td = TemporaryDirectory(prefix='robodk_')

tf = td.name + '/temp.grey32'

if self.RDK.Cam2D_Snapshot(tf, cam_item) == 1:

    grey32 = np.fromfile(tf, dtype='>u4')

    w, h = grey32[:2]

    grey32 = np.flipud(np.reshape(grey32[2:], (h, w)))

else:

    raise


#----------------------------------------------

# Display

grey32[grey32 == 0] = 2**32 - 1  # This is for display purposes only! Values of 0 do not have any measurements.

plt.imshow(grey32, 'gray')

plt.show()
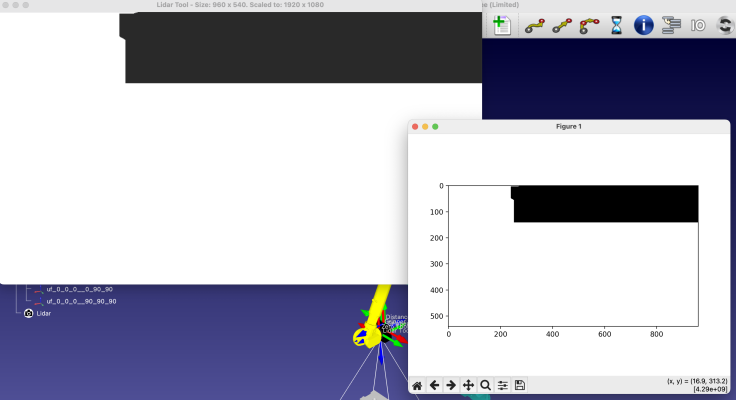
In both cases, the visualization matched what I see in the camera window in RoboDK (cropped image), but if I save the PNG in DEPTH mode, it doesn't look cropped🤔.


