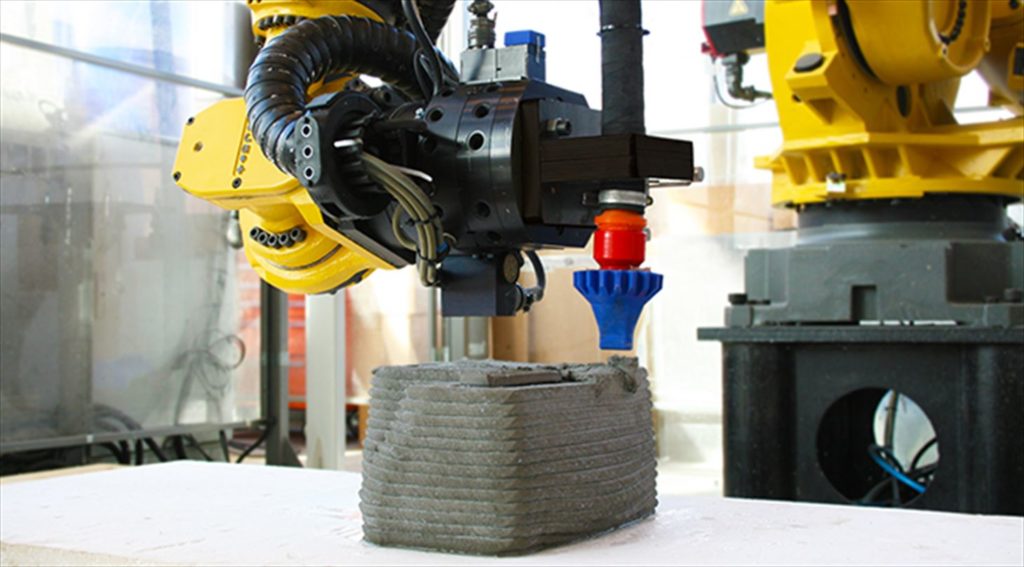
If you want to maximize your investment in robotics, you need to optimize the robot cycle time.
Time (as they say) is money. Robots perform many cycles per day. When a robot moves unnecessarily slowly or inefficiently, this can mean you’re losing money.
Even shaving 2 seconds off the robot cycle time can save hundreds of work hours over the course of a year.
How do you calculate it?
And how can you ensure you aren’t losing money without knowing it?
Here is a clear guide for you.
What is Robot Cycle Time?
Robot cycle time is the time it takes a robot to complete one complete cycle of its programmed task. It includes both the value-added time — when the robot is moving or performing the operation — and any non-value-added wait time.
Research has shown that lower cycle times result in reduced costs per workpiece. The longer your cycle time, the more it costs to create your products.
Because robots are very consistent, the cycle time has a powerful impact on the overall productivity of the robot. Any inefficiencies or wasted time will happen every single cycle. Thus, the inefficiency is multiplied.

Time Is Money! The Need to Optimize Cycle Time
Why is it important to reduce the cycle time of a robot? Because time is money!
Imagine you have a robot performing 1000 cycles per day for 5 days each week. Shaving just 2 seconds off the cycle time would save you 33 minutes per day. This is a saving of 144 hours per year!
As systems integrator Adil Shafi says, cycle time is “one of the most important financial justifications in the business case for robotics. Every fraction of a second that something can be made faster translates directly into dollars.”
You should always be on the lookout for ways you can reduce the cycle time of your robot, even if it’s only slightly. Over time, this can amount to huge savings.
What Factors Affect the Robot Cycle Time?
Various factors affect the cycle time of your robot. Some of these are under your control to change. Others are not.
Factors that affect it include:
- The robot model
- The controller model and configuration
- Specifics of the task you are performing
- The speed and acceleration of the robot
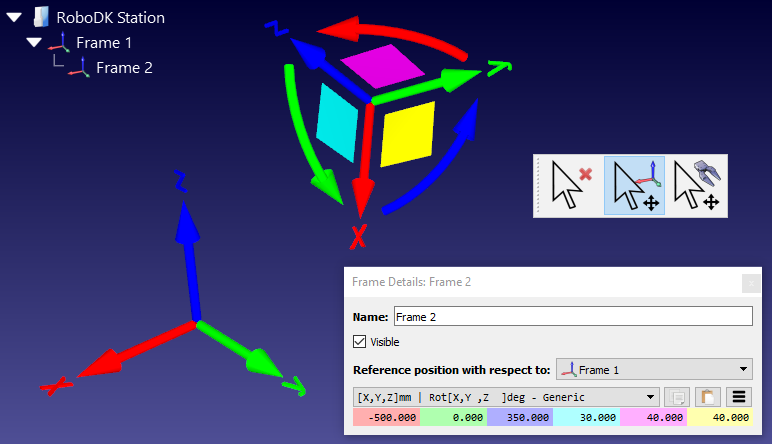
Some factors relate to subtle differences between physical robots. As a result, it’s not always possible to get a completely accurate cycle time calculation in a robot simulator. But you can get pretty close with the right tool.
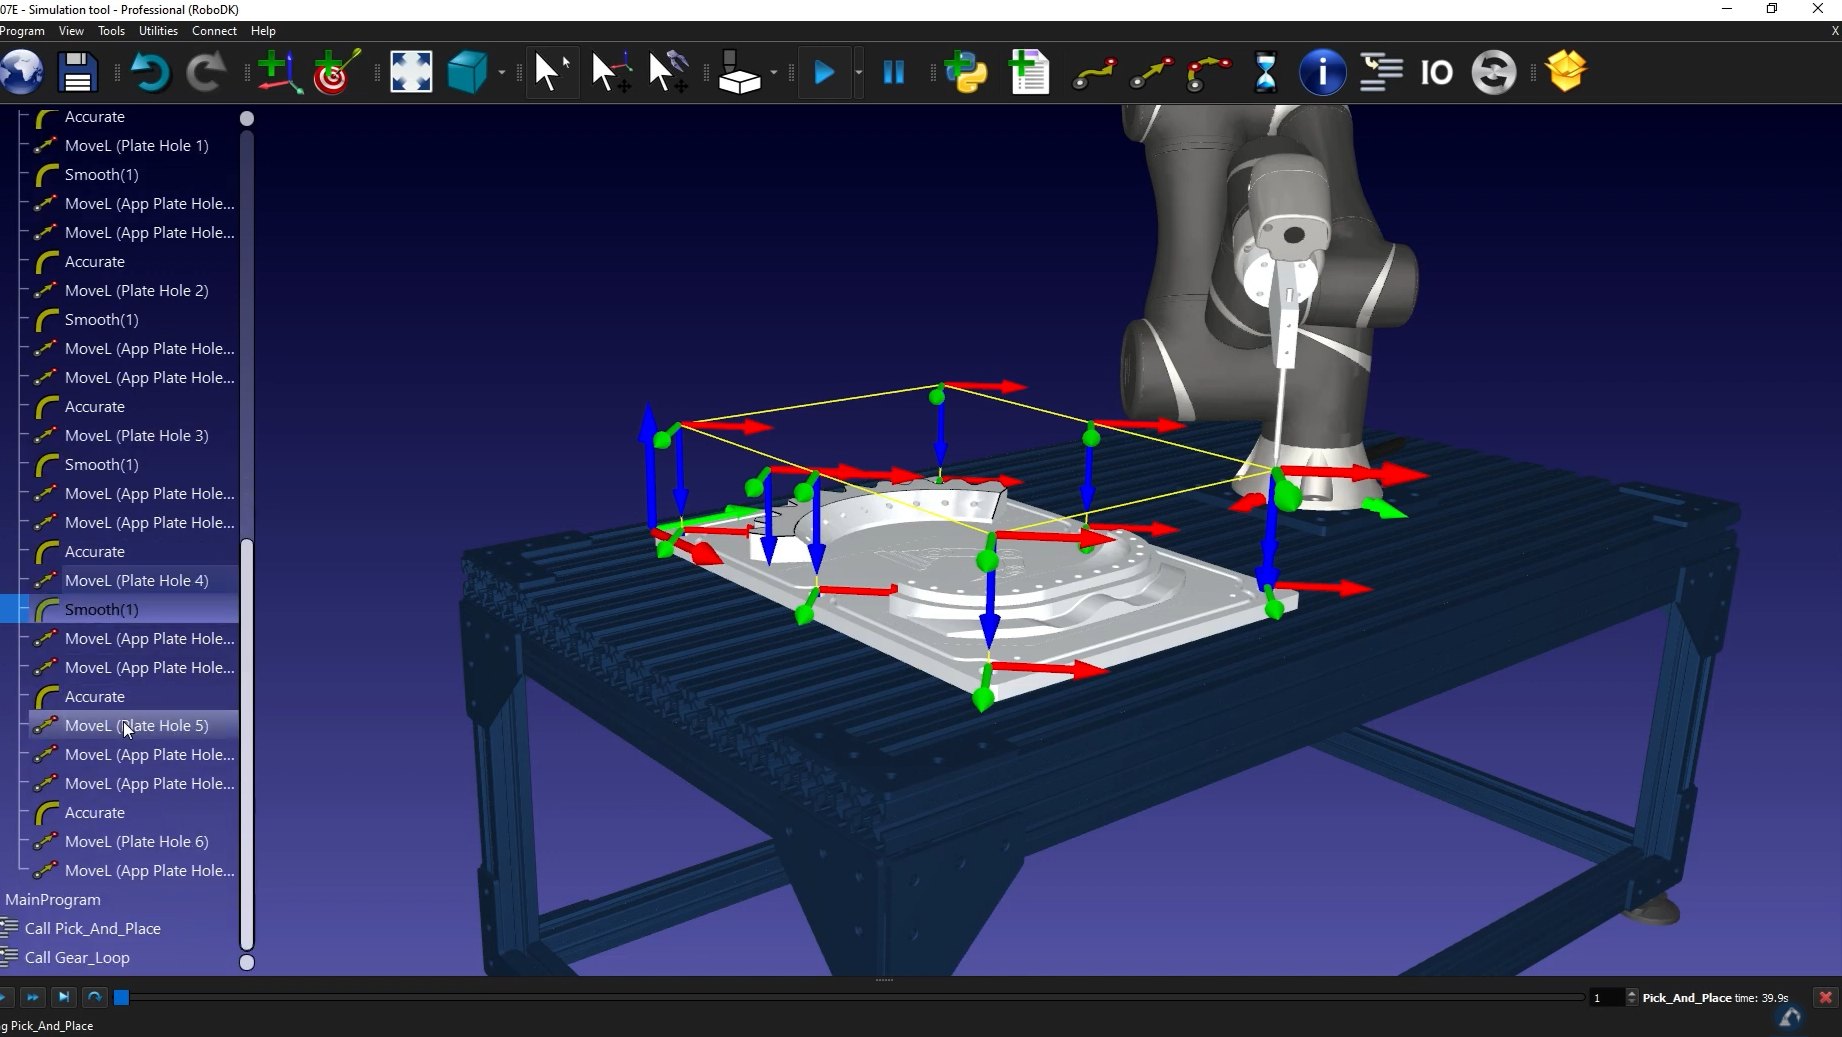
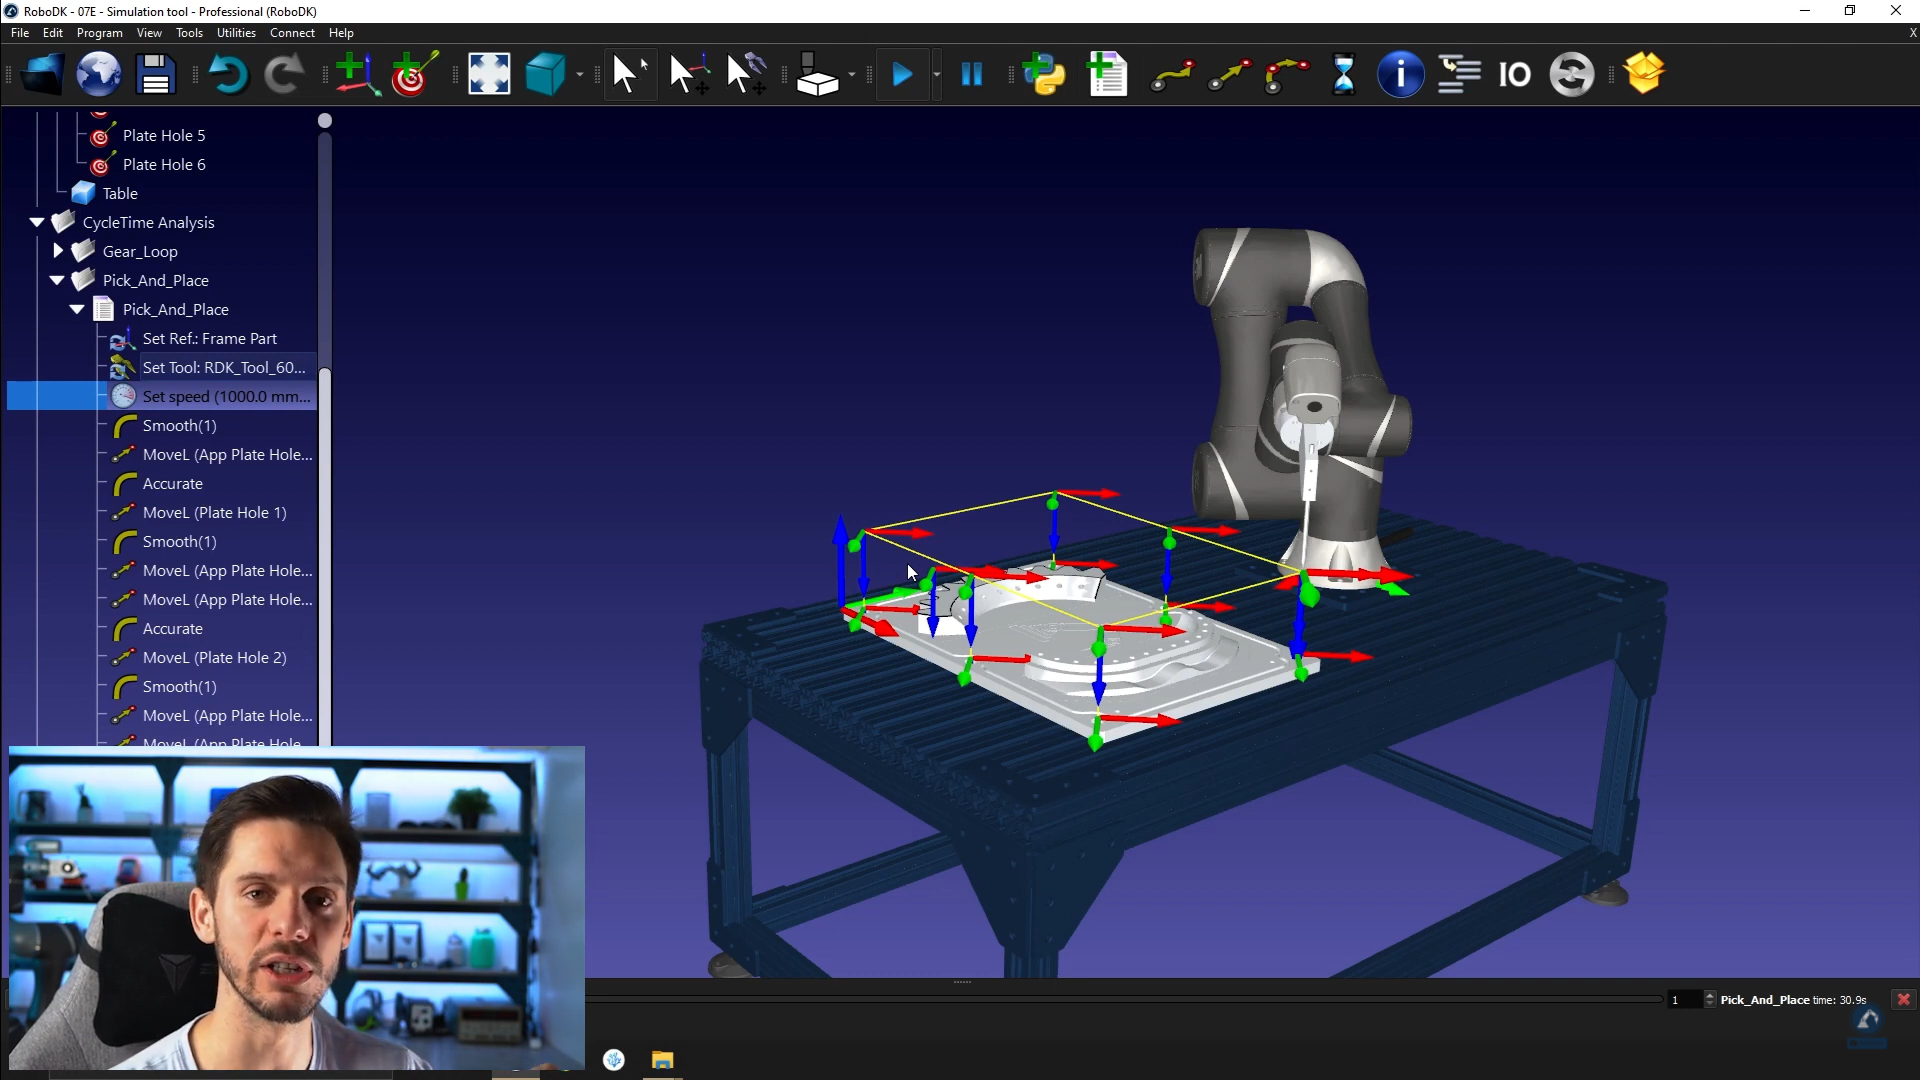
How to Calculate Robot Cycle Time with RoboDK
Before you can improve your cycle time, you first have to calculate it. This is where you can benefit from a good robot simulator.
RoboDK includes cycle time estimation as a core functionality of the software.
The steps to estimate your cycle time in RoboDK are:
- Set your robot’s joint speed and acceleration as accurately as possible.
- Add rounding to any relevant robot movements (see below).
- Be aware of delays and pauses in the robot program. The software will also add these to the cycle time.
- Move your robot to the desired start position. This ensures RoboDK doesn’t add an unnecessary movement to the start of the calculation.
- Run the robot program completely. When the program finishes, you will see the estimated cycle time in the bottom right-hand corner of the screen.
Simple!
How accurate is RoboDK’s cycle time estimation?
For the reasons explained above, the cycle time estimation cannot be completely accurate. It can’t tell you the exact cycle time you will achieve on the physical robot.
In tests we have run, it’s common for the cycle time to have around 95-99% accuracy when compared to running the same task on the physical robot. This is usually more than sufficient to start optimizing your robot task.
The more accurate your simulation, the more accurate the cycle time estimation will be.
Bonus Tool: In-depth Cycle Time Study
There is an added tool in RoboDK that gives you extra useful information about the cycle time of your task.
When you go to the Tools Menu and select “Run Script” you will see the following 3 tools:
- CycleTimeStudy — This helps you pick the best joint speeds for your robot. It gives you a detailed comparison of the different linear and joint speeds for your robot, with the estimated cycle time for each with your current program.
- CycleTimeDisplay — This displays the cycle time for your current robot as calculated above for a specific robot program.
- CycleTimeDisplayAll — This displays the cycle time estimations for all robot programs in your current project tree.
3 Clever Ways to Optimize Robot Cycle Time
Now that you know your robot’s cycle time, how can you optimize it?
Here are 3 great ways to optimize cycle time:
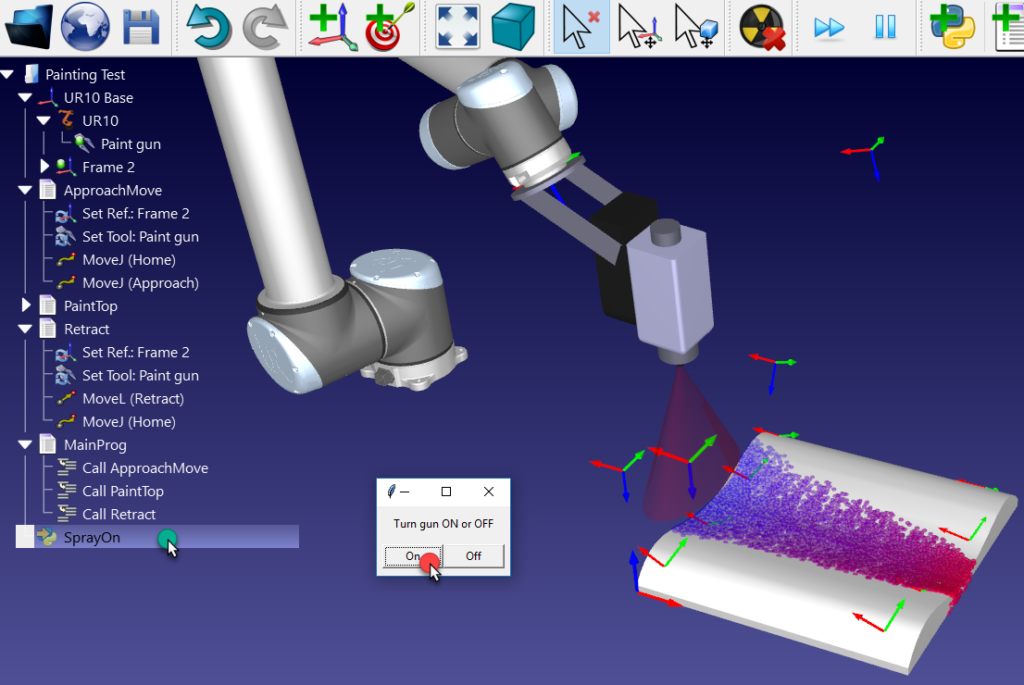
1. Add Rounding to Your Robot Moves
Rounding is a method to reduce this stop-start by making the robot move along a slight curve instead of going to the corner. This reduces the cycle time. You should only use it for paths where you don’t need a highly accurate movement.
Every time your robot moves to a corner of a movement, it will have to stop and restart its motion. For example, for a robot following a square path, it will stop at each of the corners of the square.
2. Optimize the Robot’s Speed and Acceleration
There is a delicate balance between the speed and acceleration of the robot. Changing one of them, or both, can have a significant impact on your cycle time.
The speed and accelerations are different for every robot model. Experiment with different speeds and accelerations to find the best configuration for your robot and task.
3. Track Metrics and Continuously Improve
The best way to optimize anything is to track it and continuously improve it over time. This requires you to choose the right metrics.
The first metric to track when optimizing your robot task is the “cycle time” itself. For each change you make to the robot’s program, note down its effect on the cycle time. Over time, you can also track metrics like “number of cycles per day” or “cycles completed.”
Watch Our Free Training on Robot Cycle Time
Do you want to see how to use RoboDK’s feature to improve your own robot cell?
You can learn even more in our free video training. In the cycle time lesson, you will discover the process from start to finish.
You can watch the cycle time lesson here.
First, it’s a good idea to first watch the lesson on rounding and the lesson on robot acceleration.
What questions do you have a? Tell us in the comments below or join the discussion on LinkedIn, Twitter, Facebook, Instagram, or in the RoboDK Forum.. Also, check out our extensive video collection and subscribe to the RoboDK YouTube Channel