Could a metrology robot be the solution to your inspection bottleneck? Maybe. Here’s how to find out if a robot is right for you.
Your manufacturing process is almost perfect: your manufacturing steps all run efficiently, your assembly is slick, your packaging and delivery is top notch.
But, something is holding up your entire operation: Inspection.
Your inspection engineers are working flat out. They are complaining that they have to skip their breaks just to keep up with the workload. But, it doesn’t matter what they do, there is still a major bottleneck!
What can you do? You could just reduce the amount of inspection, but then the quality of the product would start to suffer. You can’t afford that risk… but you also can’t afford to keep sending out orders late due to the inspection bottleneck.
Robotic metrology could be the perfect solution. But, how can you tell if it is right for you?
Here are 5 steps to assess if a metrology robot could solve your bottleneck problems.
Step 1: Break Down Your Inspection Tasks
Although you have identified “inspection” as your process bottleneck, we need to get a bit more specific. Inspection usually consists of multiple, interdependent tasks. Some of these will be suited to automation, others will not.
With fully manual inspection, the inspection engineers tend to do all of these tasks themselves. Sometimes, the inspection process has never been formalized on paper — the engineers just use their intuition and take measurements as needed.
You will need to break down your inspection into distinct tasks.
The following example of such a break-down is adapted from the process described in this research paper:
- Orient the item on the detection device.
- Search the item for defects visually and/or through touch.
- Search the item for defects using an inspection probe.
- Detect and log any defects.
- Classify the defects by type.
- Decide on the status of the item (pass, fail, rework, etc).
- Dispatch the item onto the next step.
- Record information about the item.
Break down your inspection process in a similar manner. This will help you to identify the potential robotic tasks in each section.
Step 2: Define Your Data
Your inspection is likely to include various different types of data. It can be helpful to identify which types of data are recorded at each step. Robots are more suited to collecting some types of data (e.g. simple visual scanning) than others (e.g. tactile surface inspection).
In the example process above, both the second and third steps could be further split into multiple measurement tasks. For example, if engineers visually inspect the item for multiple possible defects, each defect type should be broken down separately. Similarly, if different inspection probes are used, these should be split into separate tasks.
For each step in your inspection process, define what type of data you are looking for and how you currently measure it.
Step 3: List Your Devices
Robots are best suited to tasks which involve taking measurements with sensors. A sensor may be an inspection probe, a vision sensor, a Coordinate Measuring Machine, an electronic test machine, or any one of many inspection sensors which are available.
Here are some common metrology devices are used for inspection in manufacturing:
- Hand-held probes — Devices like hand-held calipers are common. However, they are prone to human error and are not suitable for robots.
- Optical comparators — These shine a light through the manufactured item and compare its silhouette with its engineering drawing. These are becoming less popular due to their low resolution, high cost, and lack of quantitative data.
- Machine vision — These use 2D or 3D cameras to detect the shape of items. It is common for robotic systems to integrate machine vision so this can be a good candidate for automation.
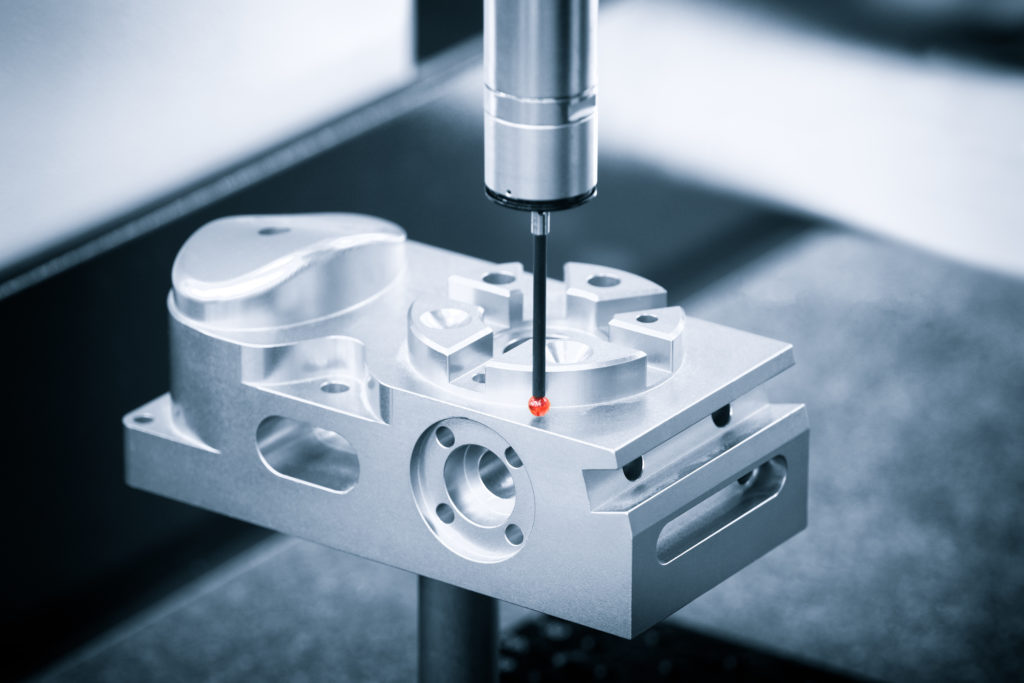
- Fixed Coordinate Measuring Machines (CMMs) — These are mechanical, flat-bed devices which position an inspection probe over the item. Robots can be used to pick-and-place items onto Fixed CMMs.
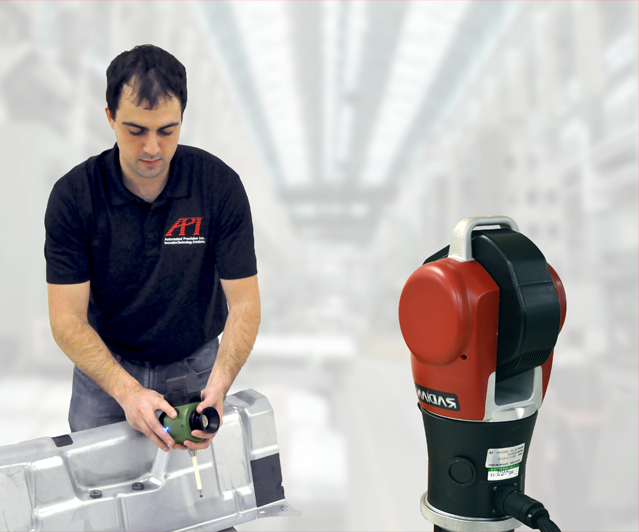
- Portable CMMs (PCMMs) — These are designed to be operated by hand but are highly accurate. Some can be attached to the end of the robot arm.
- Other quality testing machines — Each industry has its own inspection equipment. Some are suited to robotic integration whilst others are not.
Step 4: Assess Each Task for Robot Suitability
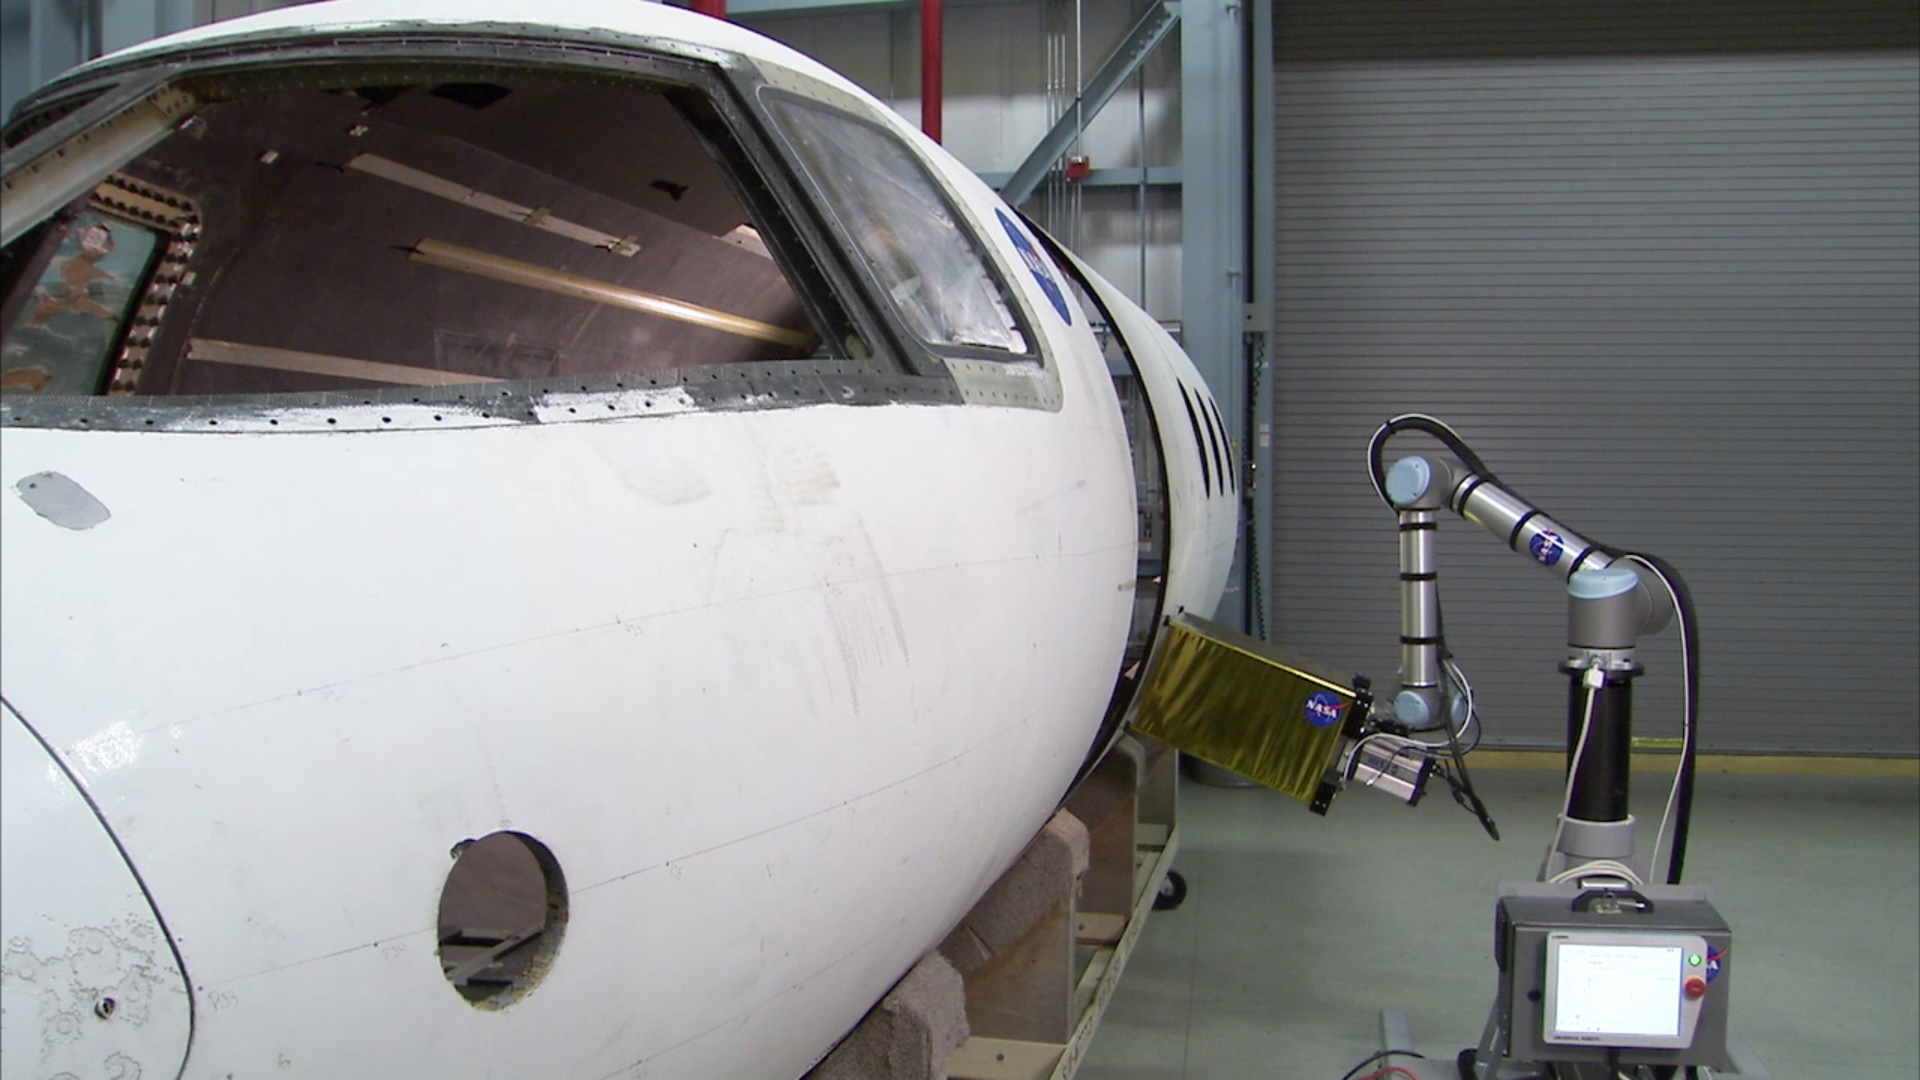
You will have the most success with robotic inspection if you start with a single, simple task. For example, NASA used RoboDK with a UR10 robot to measure aircraft fuselages with an ultrasound sensor. This was fairly simple but it removed a very time-consuming task from the inspection engineer’s job.
There are two basic ways that a robot can be used in inspection:
- To position and operate the probe or sensor itself — The sensor is attached to the end of the robot arm. The robot then moves into position and the sensor takes a reading. The feasibility of using this method for your application will depend on the accuracy of the robot and whether the probe can be activated by the robot’s program.
- To tend the quality testing machine — The robot is used to place items inside a testing machine, reorient them if necessary, and remove them once the inspection is complete. If your inspection task relies on using a testing machine, this can be a good option. It doesn’t require a highly accurate robot because the testing machine will be taking the accurate measurements.
Go through each of the tasks that you have identified and assess whether a robot could be used for that task. If a particular task cannot be achieved using one of the two methods, it may not be a good option for robotic automation.
Step 5: Pick the Best Task
Hopefully, you will now have a list of a few inspection tasks which could be achieved with robotics.
If not, your inspection may have to be performed manually or (more likely) you have missed a task which could be automated. If you are unsure, reach out to a member of our team and they will help you to work out if your inspection task could be achieved with RoboDK.
Now, you just need to pick one of these inspection tasks and get started!
But, which task should you choose and how do you achieve it with RoboDK? We’ll cover the whole process in one of our next articles.
Which inspection tasks in your business might be achievable with a robot? Tell us in the comments below or join the discussion on LinkedIn, Twitter, Facebook, Instagram or in the RoboDK Forum.