Robotic incremental forming is cost-effective for small batch sheet forming. This case study shows how one team achieved quality with RoboDK.
Mario Guillo and his team are researchers at the Institut Maupertuis in France, which specializes in industrial research.
The team noticed a few problems with the traditional methods of sheet metal forming… and they decided to solve those problems.
Why Small-batch Sheet Forming is Costly
Sheet metal forming is a numbers game. If you are manufacturing a large number of identical parts, the cost and time will usually even out. However, if you are making just one or two parts, it quickly becomes uneconomical.
Deep drawing is one of the most common methods of sheet forming. It involves designing and manufacturing a die, then slowly “stretching” each sheet of material over the die. When you are making only a few parts, the cost of the die vastly outweighs the cost of the forming itself.
Traditionally, the way that most manufacturers have dealt with this problem is just to accept it. “Well, that’s life,” you say. You cross your fingers and hope that the rest of our machining operations will balance out this one inefficient process. Or, if the quality isn’t important, you might opt for hand-forming the sheet.
Mario and his team decided that it doesn’t have to be like this. There is a method for forming quality products which is economical for small batches: incremental forming.
In this case study, we show how Mario and his team used RoboDK to economically create quality products with robotic incremental forming.
What is Robotic Incremental Forming?
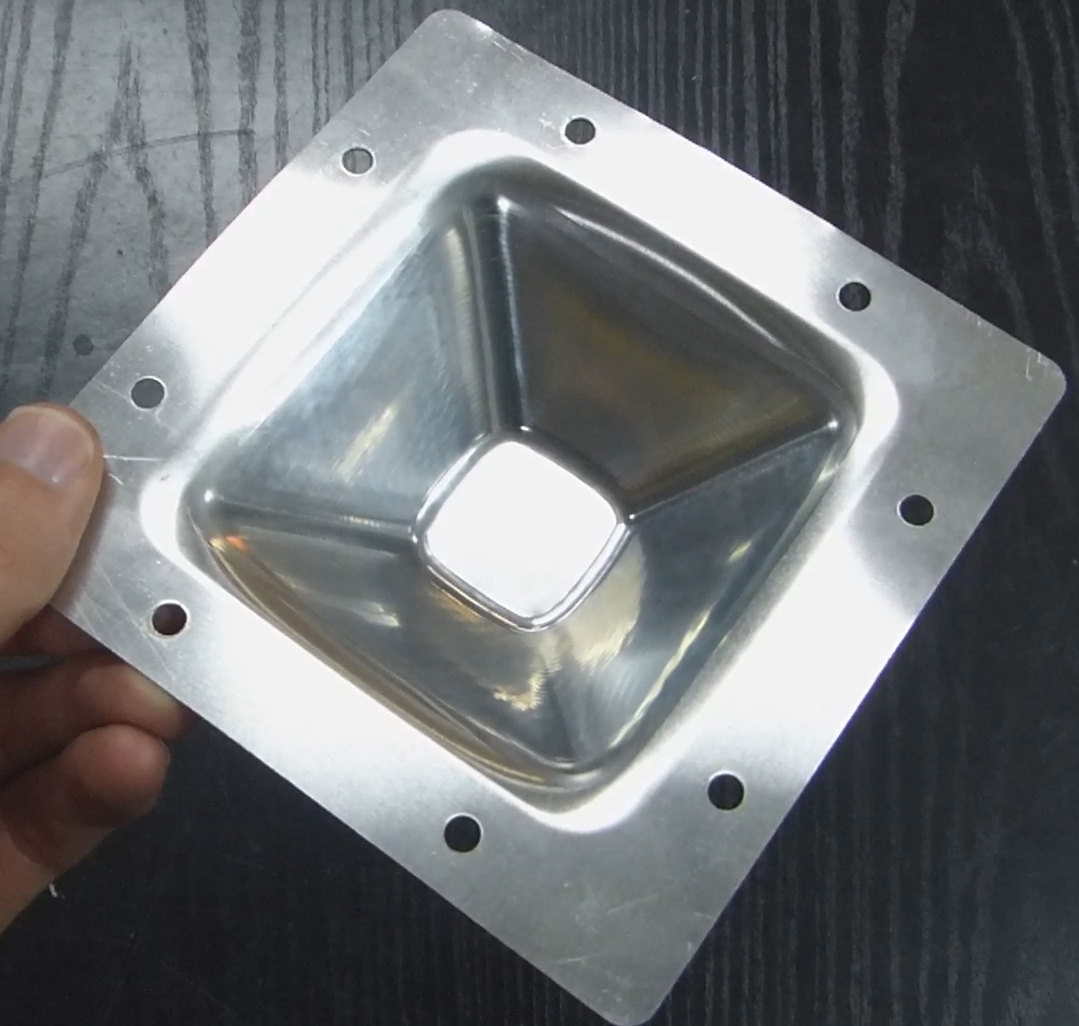
 Incremental forming (also known as incremental sheet forming) is an alternative to deep drawing which involves deforming sheet material little-by-little, layer-by-layer. In this way, it is a bit like 3D printing or CNC machining. Instead of adding or removing material in each layer, the sheet material is very slightly bent with each layer.
Since the 1990’s, incremental forming has been achieved using modified CNC machines. The CNC tool is replaced with a single-point sphere which draws the desired shape onto the sheet material for each layer. A lubricant is used to reduce the effect of friction.
Modified CNC machines are a good solution, but they have a problem: they are costly for larger parts. This can make it infeasible for companies who want to use incremental forming for prototyping, which is a common application.
Robotic incremental forming overcomes this problem by using an industrial robot to hold the tool. It shares similarities with robot machining which we introduced in a previous post.
Unlike CNC machines, the robot does not limit the size of the part. As a result, Mario’s team think that robotic incremental forming could be used for a large range of applications which require the forming of large sheets, including cranial implants, prostheses, and automotive paneling.
5 Steps to Achieve Quality Robotic Incremental Forming
Robotic incremental forming is surprisingly easy… but only if you follow the right steps. The team used the following five steps to achieve a quality product with robotic incremental forming:
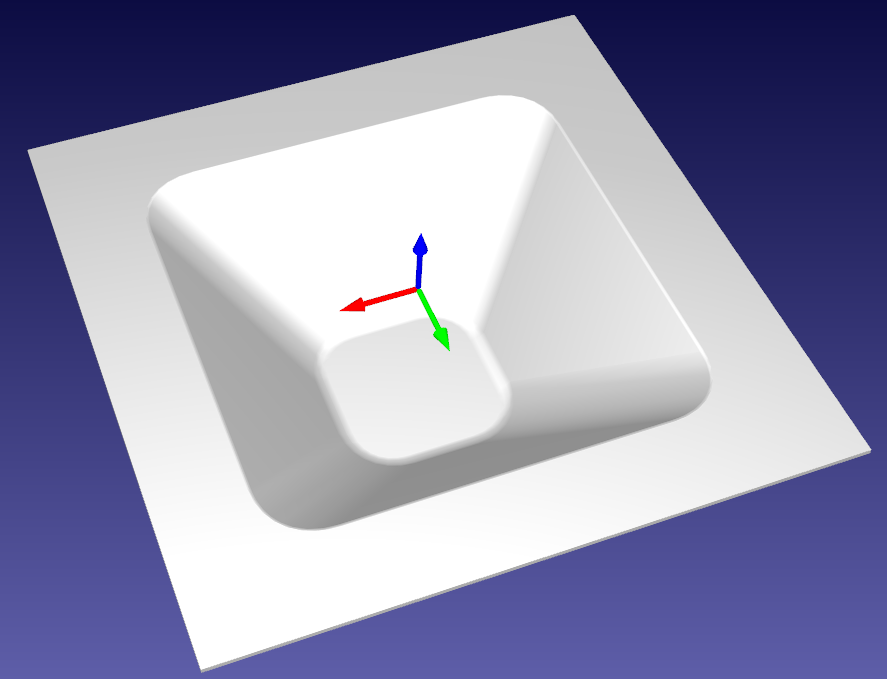
1. Build the 3D model
Almost all products are designed in CAD (Computer Aided Design) packages so this step should be simple. You need to define the shape that you want to manufacture and create a 3D model of it.
2. Generate a trajectory
You should then generate a CNC trajectory. This can be done in many CAM (Computer Aided Manufacturing) packages. You may even be able to generate the model and the trajectory in the same software. However, if your CAD/CAM software doesn’t have this feature, a cheap CAM program like CamBam, MeshCAM or FreeMILL can be a good option.
The team used the CamBam CNC software, which is a cost-effective tool for designing and building CNC models and trajectories.
During this step, you will need to decide the depth of each layer and the layering strategy. The team explained that there are two common strategies for simple parts:
- Z-layer strategy — This simple strategy involves drawing each layer separately, indenting at the start of each layer.
- Spiral strategy — This slightly more complex strategy involves drawing a continuous line which spirals from the top of the form right down to the bottom. This produces a smoother piece and imposes lower forces on the robot.
3. Generate G-Code
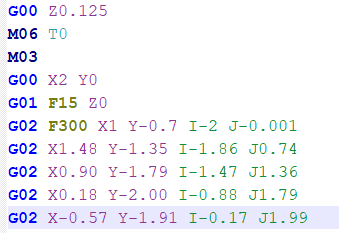
Once you have your trajectory, the next step is to convert it to instructions that a CNC machine can understand. The most common option is G-Code, but you can also use APT-CLS or NCI.
With traditional CNC-based incremental forming, this would be the last step before production. However, as we are using robots there is another — very important — step.
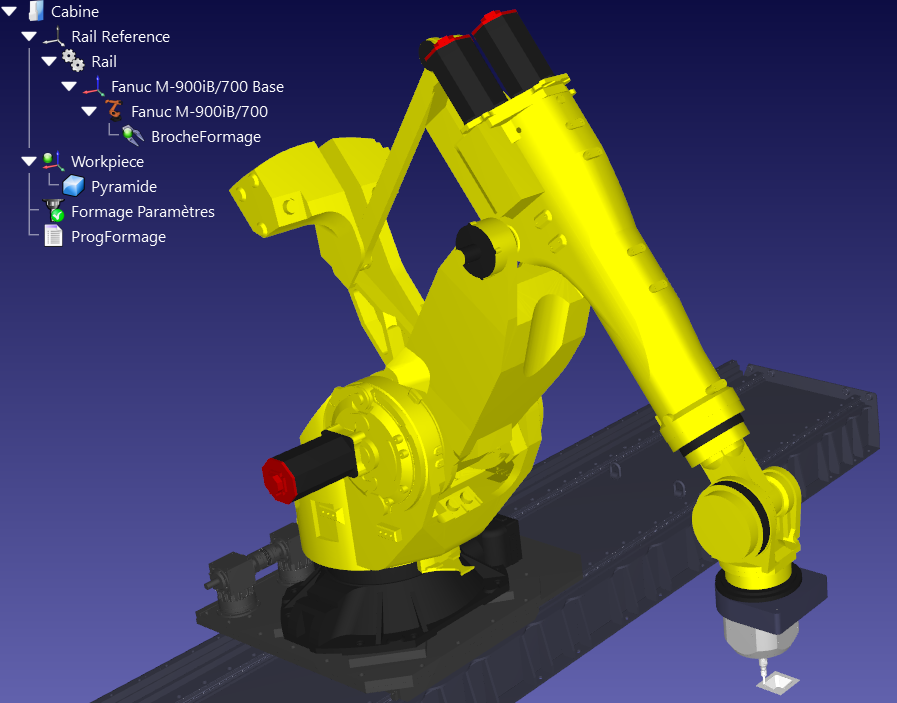
4. Turn the G-Code into robot commands
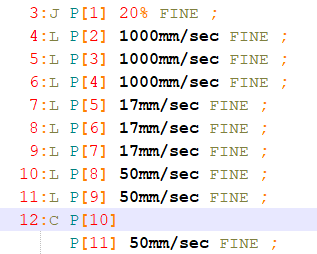
In order to use a robot for incremental forming, you need to convert the G-Code into commands that the robot will understand. However, each robot manufacturer has its own programming language. Some manufacturers have specialist CNC software add-ons, but they are often very costly and only work with their brand of robot.
Mario and his team decided to use RoboDK as it includes a Robot Machining Tool as standard. It is very easy to use and is more cost-effective than other options on the market. You simply load the G-Code file into the software and it generates the robot path automatically, avoiding robot errors.
With RoboDK we were able to easily convert G-code to an LS file and run a robot program in our Fanuc robot controller as if it was a CNC. RoboDK allows accelerating the process deployment on the robot.
Mario Guillo, PhD.
RFSW Supervisor at Institut Maupertuis
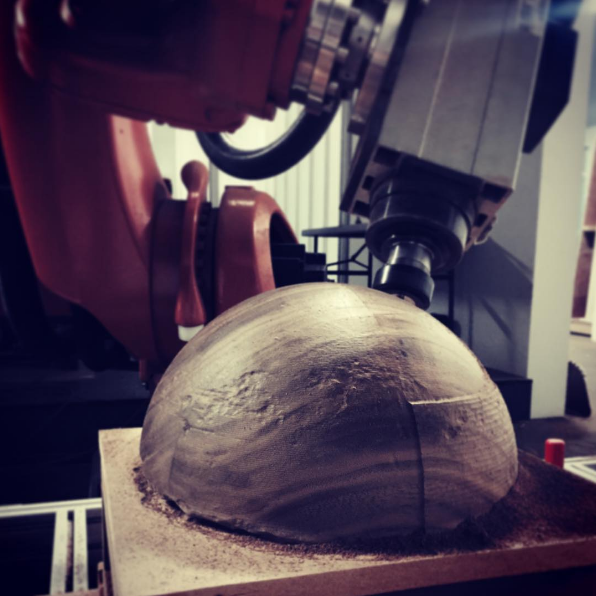
5. Transfer the program to the robot
The final step is to transfer the program to the robot and start the incremental forming process. If all of the previous steps have gone well, this should be fairly straightforward. However, there are two points you should keep in mind:
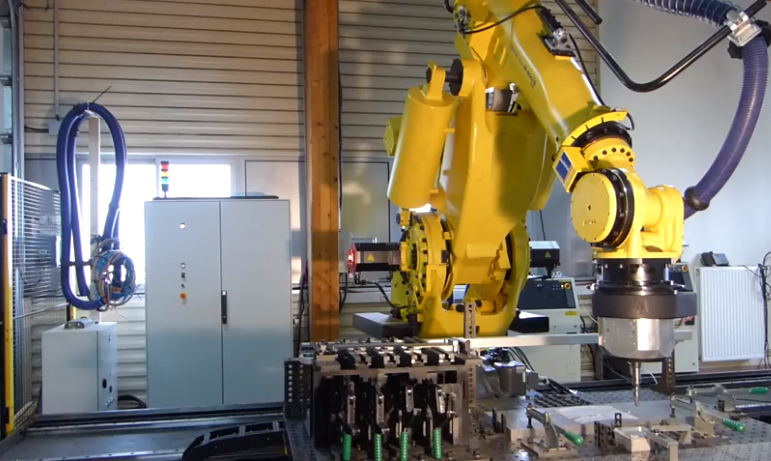
- Pick a high-rigidity robot — Robots have a lower stiffness than CNC machines. This can cause the tool to deflect when very high forces are applied, which can happen in machining tasks. The team used a heavy-load robot (with payload over 500kg) to ensure that it had enough rigidity for the task.
- Avoid unnecessarily thick material — Thick material will be hard to form with the robot due to their low rigidity. Pick only the thickness of material which is required for your product and be prepared to use thinner material if you start to see deflections of the tool.
The first time you run the program, keep an eye out for any deviations of the tool which could be caused by excessive forces being applied to the robot tool.
Here is a video of the team’s project:
This work has been accomplished by Institut Maupertius with the collaboration of Halcyon performance.


Pingback: How to Use Rhino + RoboDK for Robot Programming - RoboDK blog