Our new plugin for Mastercam provides a seamless transition with RoboDK. Supercharge your robot machining and control of all your machines from one place!
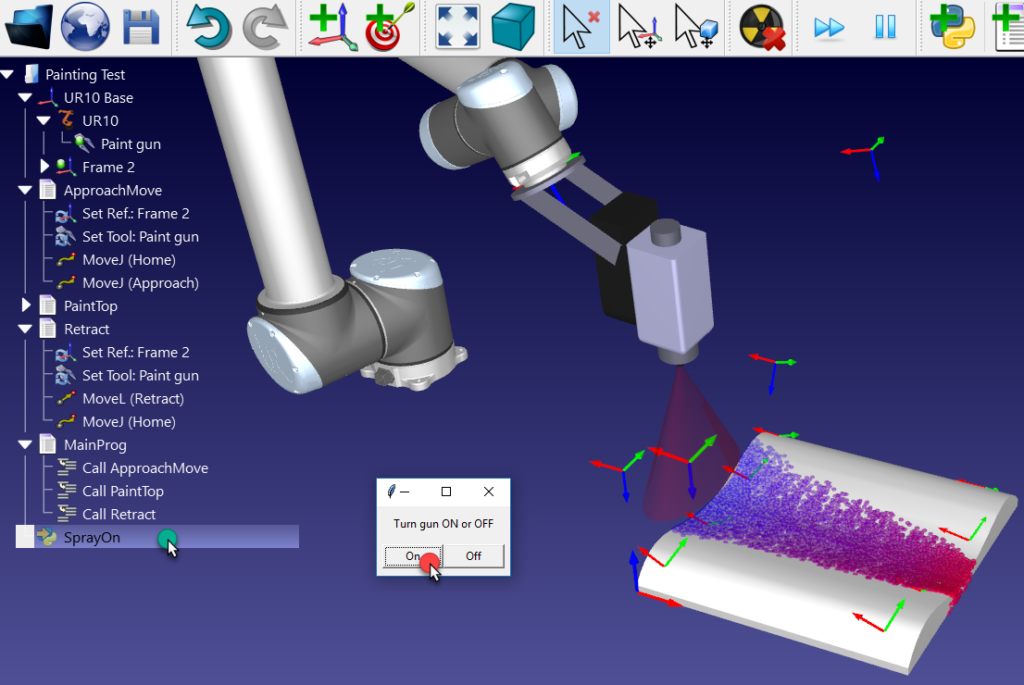
Robot machining is one of our favorite applications. There are huge benefits to using a robot for your machining tasks and RoboDK already has a powerful machining wizard. It can turn a machining path into a robot program within seconds.
But, so much more is possible with robot machining!
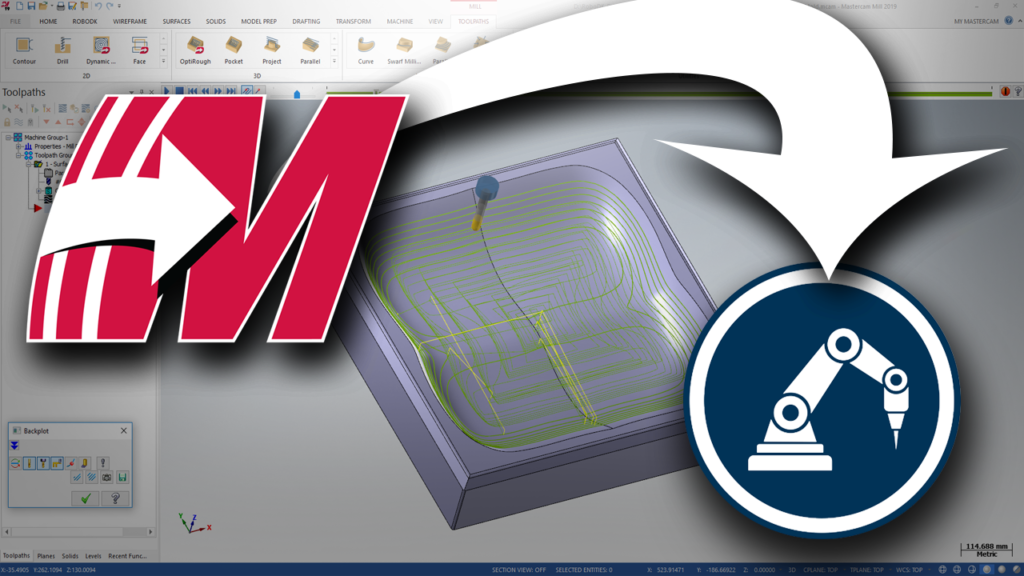
Imagine what you could achieve if you combined RoboDK with the power of the industry’s top CAM package.
That’s exactly what we’ve done with the new RoboDK plugin for Mastercam.
What is Mastercam?
Computer Aided Design (CAD) software allows you to design physical products within a computer. However, there is another vital step between this design phase and the physical process of automated manufacturing. That’s where Computer Aided Manufacturing (CAM) comes in. It is the bridge between CAD and physical machining.
CAM packages generate the machining paths which can then be sent to your machines.
Mastercam has been the most popular high-end CAM packages for the last decade, according to a series of surveys from CNCCookbook — in this case, “high-end” refers to functionality-rich packages targeted at industrial users rather than hobbyists. While the popularity of other packages has fluctuated since 2010, Mastercam’s popularity has stayed steadily out on top.
Since it was founded in 1983, Mastercam has evolved from a highly intuitive CAD/CAM package — it was the first to be aimed at both engineers and machinists — to a manufacturing powerhouse. It now supports a huge range of machining processes, including milling, drilling, routing, lathe turning, part cutting, finishing, 3D artwork, wire EDM, and advanced gouge checking… to name just a few of its capabilities.
Its integrated solutions allow you to quickly generate machining paths for many machining tasks.
Introducing… the New Mastercam Plugin
In our recent update of RoboDK (released in December on the download page) we have added a new selection of plugins. One of these was the Mastercam plugin.
The new plugin allows you to access RoboDK’s powerful robot programming capabilities from right inside the Mastercam window. It also makes it very easy to send models and machining paths from Mastercam to RoboDK at the touch of a button.
If you have updated to the latest version of RoboDK, you should find that the plugin has already been installed and shows up as a new toolbar within Mastercam. You’ll need to activate this new toolbar at the top of the Mastercam window by following the instructions on the documentation page.
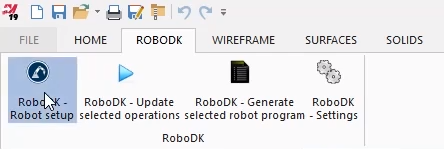
The RoboDK toolbar in Mastercam includes 4 buttons:
- Robot setup — This gives you various options for setting up your robot project. You can use it to create an empty project, load an existing one, send parts to RoboDK, or create a project with a default robot and tool.
- Update selected operations — This allows you to send machining operations from Mastercam to RoboDK. You can then switch to the RoboDK window to edit the program, run the simulation, and generate a robot program.
- Generate selected robot program — This button means that you don’t have to open the RoboDK window at all. You can access RoboDK’s functionality from right inside Mastercam. It will generate the robot program and only open RoboDK if there are issues.
- RoboDK Settings — This allows you to customize the plugin by setting the units (inch or metric), selecting the export format, and choosing how RoboDK is displayed and run.
Is the Plugin Right for You?
If you are already using Mastercam and RoboDK then the new plugin is a no-brainer. It’s intuitive to use and will streamline your workflow considerably.
If you’re not using RoboDK yet, but you are a Mastercam user, the plugin is a perfect excuse to give RoboDK a try! You can get a free demo version on the downloads page.
4 Benefits of Using Mastercam With RoboDK
The best way to test the plugin is just to try it out for yourself. However, if you need some more convincing, here’s 4 benefits to using Mastercam with RoboDK
1. Control All Your Automation from Mastercam
Mastercam already prides itself in its ability to control all your CNC machines from within one software package. It has the capabilities and post-processors to control any mill, lathe, router, mill-turn, and wire cutter.
Yes, it can support any CNC machine.
But, it can’t support any industrial robot. For that, you need RoboDK with its support and post-processors for any industrial robot (if one isn’t listed, we can add support).
By using Mastercam and RoboDK together, you can support every automated manufacturing machine in your workshop.
2. Seamless Transition Between Mastercam and RoboDK
We’ve made it as easy as possible to transition between Mastercam and RoboDK so that your workflow is seamless. This includes making a Mastercam template for RoboDK which you can activate within the plugin’s settings window. This changes RoboDK’s mouse behavior to match that of Mastercam and also changes the background color to match.
3. Automatic Reference Frame Alignment
When sending a model from Mastercam to RoboDK, the last thing you want is to have to drag your model around the screen, trying to get it to line up properly.
As RoboDK’s support-wizard Jeremy explains in his video tutorial, you can easily set up your station so that RoboDK knows exactly where to place new parts. By setting the machining reference in RoboDK and Mastercam it’s almost like the plugin can read your mind.
4. Supercharges Your Favorite Robot Machining Tasks
Whatever robot machining task you want to achieve, the new Mastercam plugin can supercharge the programming process. Check out our previous articles for information on how to improve these tasks with RoboDK:
- Robot Milling — Can a Robot Outperform a CNC Machine for Robot Machining?
- Robot Drilling — 5 Tips to Achieve Flawless Robot Drilling
- Robot Turning — Robot machining 8 axes – RoboDK
- Incremental Forming — The Indispensable Guide to Incremental Sheet Forming
How to Get Started Using the New Mastercam Plugin
Want to try out the plugin for yourself?
The best way is to download the latest version of RoboDK (if you haven’t already) and just give it a spin!
The documentation page also explains its functionality in detail and includes Jeremy’s video tutorial.