Programming end effectors is tricky. Each brand does it differently! Wouldn’t it be great if every tool used the same method? Here’s how to do it!
There so many ways to control end effectors!!
Some end effectors use basic digital I/O (on/off, open/close, etc). Others use analog outputs (e.g. 0V to 5V). Others use serial communication (e.g. modbus, CAN bus, i2c). Others use USB. Others use Ethernet with TCP/IP…
… Why can’t we program all end effectors using the same method!?
In this article, we’ll explain how to do exactly that.
The Problem With End Effectors
At RoboDK, we want to make it as easy as possible for you to program any robot without having to master a different programming method for each new brand.
Our Robot Library contains hundreds of different robots. You can program them all using the same method, without ever having to learn the manufacturer-specific programming language — either using graphical programming or using your favorite programming language, depending on your preference. As a result, we’ve made it easier than ever before for you to program any robot brand with no extra learning curve.
As a result, you will need to do a bit of programming to use your end effector with offline programming. But, we have tried to reduce the programming to a minimum.
End effectors are not so straightforward. Even within the same brand of end effector, different models require different programming methods. Some have a simple set of commands, others are alarmingly complex.
How to Program Any End Effector in RoboDK
I’m going to assume that you are already familiar with basic RoboDK programming. If not, it might be a good idea to read the Getting Started guide.
Step 0: Load Up Your End Effector Model
Before you start to program your end effector, you will need a robot model loaded into RoboDK with your end effector model attached. If you don’t have an end effector yet, here are three ways to add one to your simulation:
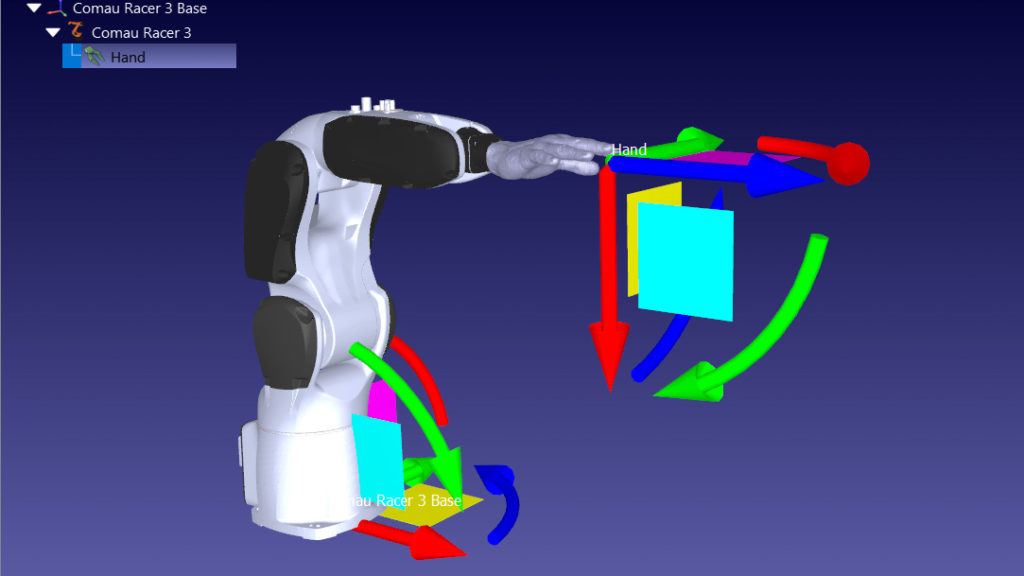
You can literally use any end effector. Hand model by Teak.
- Get a generic tool from the Robot Library (select “Tool” in the “Type” menu) and add it to RoboDK.
- Make an empty tool by going to the “Program” menu and selecting “Add empty tool.” This will create an “invisible” tool with a reference frame at the end of the robot arm.
- Load up any custom end effector using a 3D CAD file. For instructions on how to do this, read The 5 Minute Guide to Use Any End Effector with RoboDK.
- Make sure to properly define the Tool Center Point (TCP): Define a TCP with RoboDK.
Step 1: Learn How to Control Your End Effector
Read the manual which came with your end effector to find how to control it. As I’ve mentioned, this varies wildly between models.
Pick the simplest control option that you can for the functionality that you need.
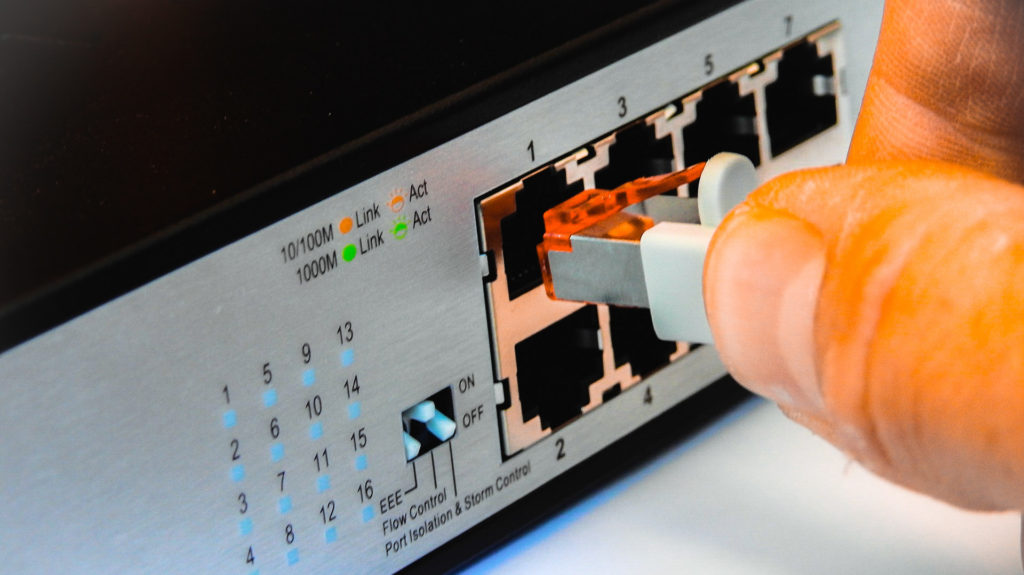
For example, if the end effector can be operated by a digital I/O, it is often easiest to achieve this using the pins on the robot’s controller. If it requires communication protocols (e.g. ethernet, modbus) you will have to delve deeper.
Some end effectors support both digital I/O control (for basic operations) and communication protocols (for more advanced features). If you don’t need the advanced functionality, you don’t have to use the full control.
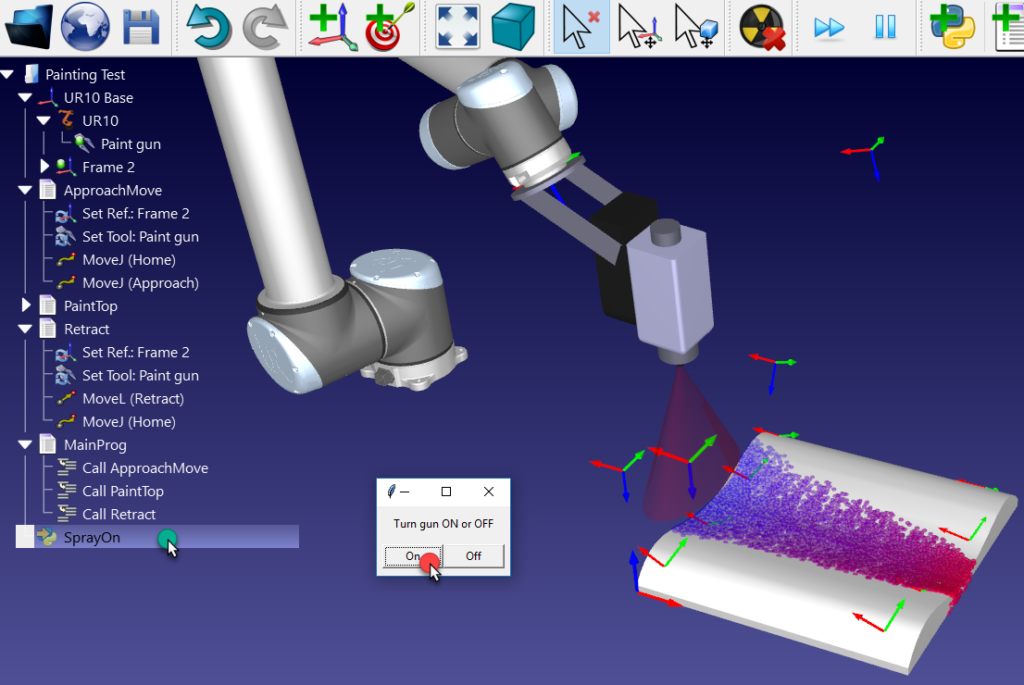
At the very least, you will need to learn how to activate/deactivate the end effector. For example:
- Close/Open gripper
- Start/Stop paint or weld gun
- Start/Stop machining spindle
- Extrude/Stop 3D printing extruder
Step 2: Do a Basic Test
Before you jump into programming the end effector with RoboDK, it’s a good idea to test if you can control it at all. A good way to test this out is to program a basic function in the robot’s teach pendant.
For example, if the end effector uses digital I/O you will have to use the following steps to operate it via the teach pendant:
- Plug the end effector cables into the correct pins on the robot controller.
- Create a new program using the teach pendant interface.
- Activate the end effector using the digital I/O registers which correspond to the pins you are using.
When you can activate/deactivate the end effector through the teach pendant, you are well on your way to being able to control it with RoboDK. If you’re struggling, try posting a question on our Robot Forum (we’re not experts on all end effectors, but someone should be able to point you in the right direction).
Step 3: Create End Effector Functions
Open up RoboDK and create some functions to use your end effector.
These functions will only be used by the robot controller, not by RoboDK itself. As a result, they need to go into the robot’s “post processor.” Read the following article to find out more about how these work in RoboDK: Robot Post-Processors: Everything You Need to Know
You will need to update your post-processor to include your end effector functions. The post processors can be found in the “Program” menu then “Add/Edit Post Processor.” You might want to create a new post processor by copying the existing one for your robot and adding your new functions into it. This ensures that you keep the original post processor clear from extra code.
The end effector functions should go into the HEADER_PROG variable. A good example of this can be seen in the “Universal Robots RobotiQ” post processor, which includes functions to open and close a Robotiq gripper. Have a look at it to see for yourself how it’s done.
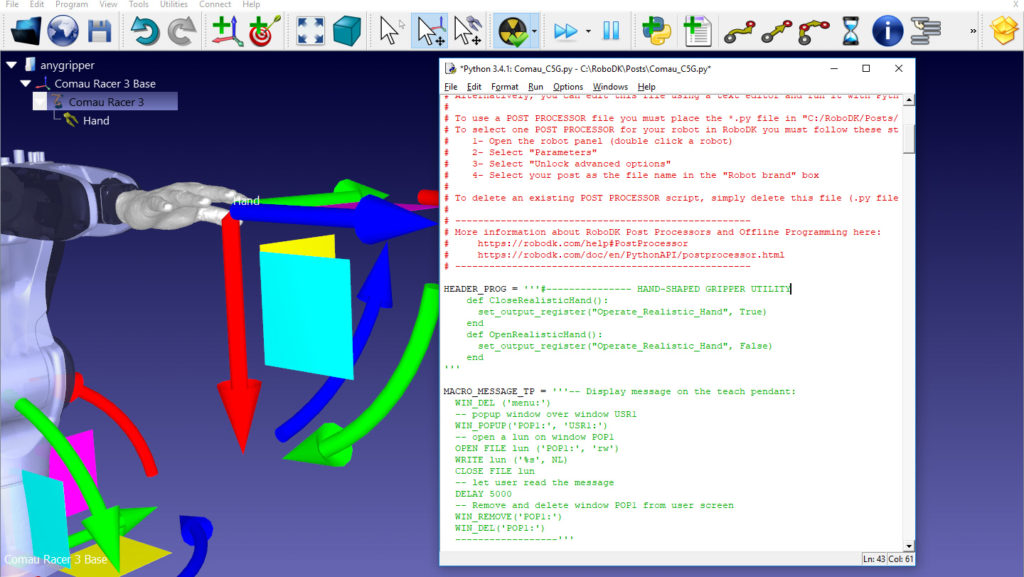
You will need to include at least two functions — one to activate the end effector, the other to deactivate it. You might also want to include other functions to access more advanced functionality of the end effector.
Step 4: Call the Functions During Your Robot Program
Next, you need to call the functions you just created from within your robot program in RoboDK.
You can program your robot two ways with RoboDK: using graphical programming or using your favorite programming language. Either way, to activate/deactivate your end effector you only have to insert your new function calls wherever you want them to be triggered within the robot program.
With graphical programming, you call a custom function by using the “Program Call Instruction” (which can be found in the “Program” menu). In the box that appears, just type the function as it should be called by the robot controller (i.e. including any necessary parentheses and/or arguments). When the robot program is generated, this line will be will be added to the program.
Step 5: Generate Robot Program
Finally, you just need to generate the robot program and you’re done!
To do this, first make sure you are using the correct post-processor by right clicking on your robot in the program tree and choosing “Select Post Processor.”
Then, right click on your robot program in the program tree and select “Generate robot program.” This will create a program file which you can run directly on your robot controller.
Simple!
What challenges have you encountered programming your end effector? Tell us in the comments below or join the discussion on LinkedIn, Twitter, Facebook, Instagram or in the RoboDK Forum.