The Raspberry Pi version is a recent (and slightly different) member of the RoboDK family, suited for small projects. Here’s how to set it up.
Our Raspberry Pi version of RoboDK is built for an amazingly adaptable tiny-computer. It’s slightly different from normal versions of RoboDK because it is aimed at small, self-contained robot programming projects.
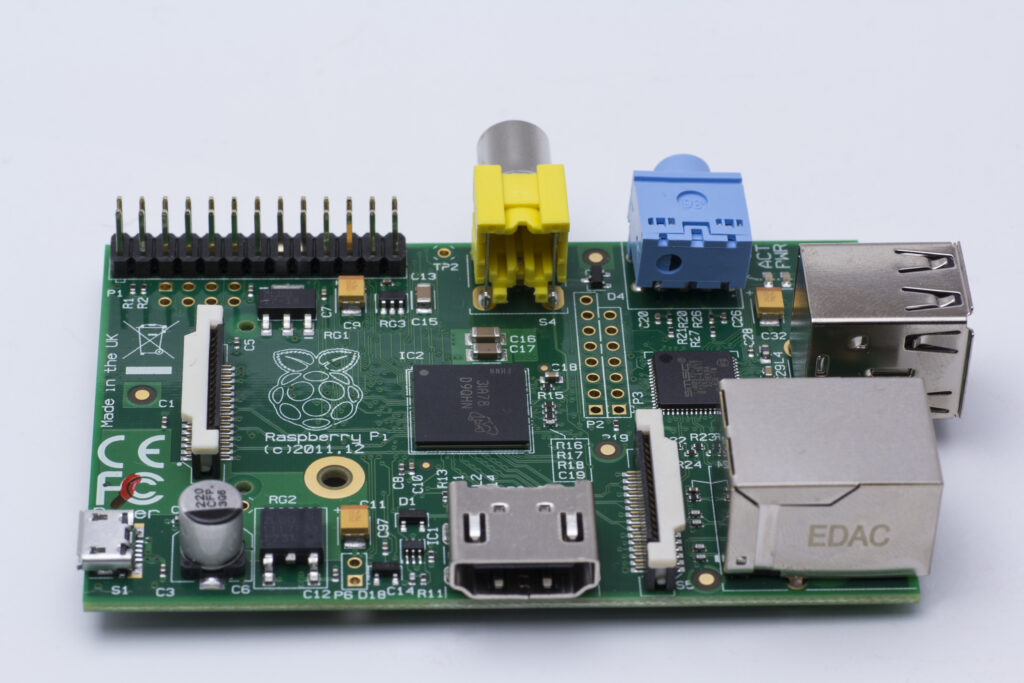
The Raspberry Pi is a Linux-based computer which is based around an ARM integrated chip (a similar chip to the one used in many mobile phones). For an introduction to the Raspberry Pi, read our previous article.
In this article, we’ll be looking at how to get RoboDK up and running on the Raspberry Pi.
Getting to Grips With Linux
If everything goes smoothly, the installation process can be very quick and easy.
On the other hand, we are dealing with Linux here. Things don’t always go as smoothly as we’d like them to. But, don’t worry — we’re here to help.
If you’ve never used the Raspberry Pi before and this is your first project, it’s a good idea to get familiar with the system before you get stuck in. If you’re totally new to Linux, here’s a quick video primer on what it is.
You will almost certainly need to use the command line if you run into any issues getting RoboDK running. If you’re new to the command line, here is a useful article.
What is Rasbpian?
We already have two versions of RoboDK for Linux — one for Ubuntu 64 bit and one for Android. However, every version is slightly different.
This version of RoboDK has been built for Raspbian, the version of Linux specifically built for the Raspberry Pi.
Raspian is what is known as a Linux “distribution” — a bunch of packages and programs which are configured to play nicely together. It is based on another distribution called Debian, which is the foundation for many modern Linux distributions.
How to Install RoboDK to a Raspberry Pi in 5 Steps
Here are the main steps to get RoboDK up and running on Raspbian. Some of these steps are more involved than others.
1. Get Your Raspberry Pi
First, get yourself a Raspberry Pi. There are various models available, depending on the needs of your project. Only two models are definitely compatible with RoboDK: the Model 3B+ and the Model 4.
2. Install Raspbian
Next, you need to get yourself a copy of the Raspbian version which matches your model. The Model 3B+ is compatible with the “Stretch” version and the Model 4 is compatible with the “Buster” version.
The easiest way to do this is by using the NOOBS installer. Just download it from the Raspbian website, copy the downloaded files to an empty SD Card (formatted as FAT32), and slot it into the Raspberry Pi. When you load up the device, it will install Raspbian and run an initial setup (note that it will install updates which can take some time to finish).
3. Download RoboDK
You can then download RoboDK via the following link.
This will arrive as a ZIP file which contains the RoboDK core files. You can extract the files by right-clicking on the file and choosing “Extract Here” or using the command line “unzip” tool.
4. Install the Dependencies
Dependencies are the root of almost every problem in Linux. A “dependency” is just a package (a collection of programs and code) that is required to run a particular program. RoboDK requires a few of them.
The problem with dependencies is that they keep changing. When one package is updated, it can cause a domino effect which causes a chain of packages to stop working properly. If you have problems, see the Troubleshooting section below.
You can install the required dependencies by running the following in command line whilst inside the RoboDK directory:
sh Install-RoboDK-Dependencies.sh
You can also install a shortcut to the desktop by running the following command:
sh Install-RoboDK.sh
5. Run RoboDK
When the dependencies are installed, you can run RoboDK using the following command:
sh RoboDK-Start.sh
If there weren’t any issues, this will load up RoboDK and you are ready to go!
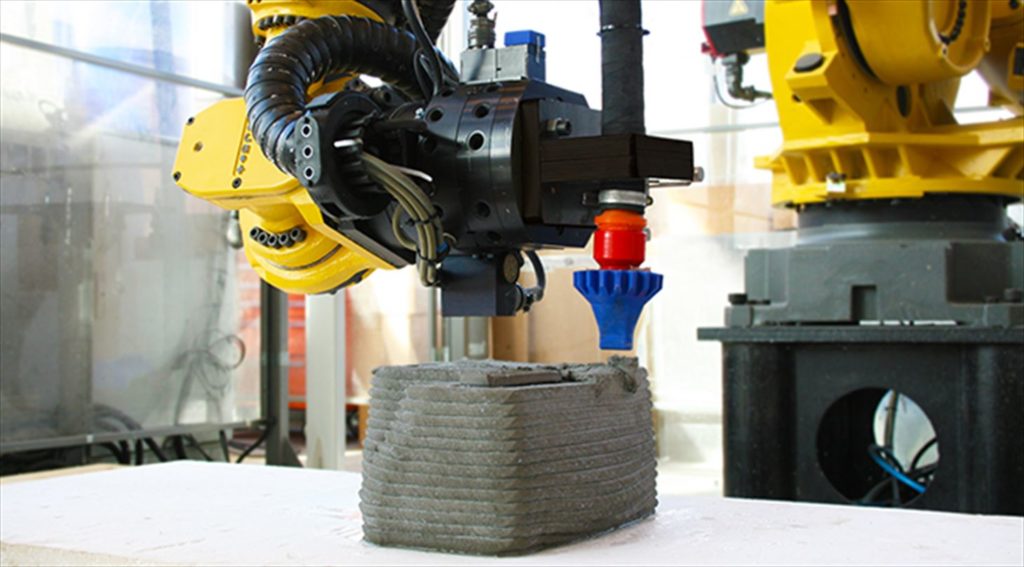
There are a bunch of different projects that you could try with RoboDK on the Raspberry Pi.
Troubleshooting
Troubleshooting is an important skill for roboticists and it will come in handy if you run into problems when trying to install RoboDK to your Raspberry Pi.
There are two main reasons that you might run into issues:
- Dependencies change — Packages are often updated in Linux and it is possible that there have been changes to the some of the dependencies since we developed this version. Solutions to these problems can involve either downgrading the relevant packages or asking us to update RoboDK.
- Other packages on your system — If you are not using a “clean” install of Raspbian (e.g. if you have used the Raspberry Pi for some previous programming projects) you may have some packages on your system which interfere with RoboDK. A simple solution to this is to reinstall Raspbian from scratch.
If you have any problems, let us know in the RoboDK forum. We will help you to sort out the problem.
You Only Need to Install Once!
Several of the most useful robotics projects for Raspberry Pi involve setting up multiple Raspberry Pis with the same setup — e.g. when using them to kit out a training room or classroom to teach robot programming.
One great thing about Raspberry Pi is that it is very easy to “clone” your entire system. Once you have set it up, you can just copy your Raspbian install (with RoboDK included) to other SD Cards and they will be ready to use with no changes. Here is a tutorial for how to do clone your RoboDK+Rasbpian install.
What could you do with the Raspberry Pi version of RoboDK? Tell us in the comments below or join the discussion on LinkedIn, Twitter, Facebook, Instagram or in the RoboDK Forum.