Building a robot arm is not just an engineering challenge… it’s a multidisciplinary project combining mechanical design, electronics, and robot programming. In this guide, you’ll learn the steps to create your own robot arm to meet your goals.
Whether you are exploring how to build a robot arm for research purposes, a startup prototype, or just for a hobby, we will walk you through the entire process.
By the end of guide, you’ll understand the core concepts necessary to build your robot arm, along with where you can go for further information on each of the steps.
Why Build a Robotic Arm?
There are many reasons you might look for how to build a robot arm. The 3 most common reasons are to learn about robots, to create a research platform, and to prototype a robotics project.
Here’s what you should focus on for each of those reasons…
To Learn About Robotics
When you’re just getting started in robotics, building an arm is a great way to learn about the core concepts of robotics.
If this is you, here’s what to focus on when building your robot arm:
- Aim for a project that centers on the specific skills you’d like to learn (e.g. programming, kinematics, electronics).
- Use a platform like Raspberry Pi that allows for easy integration.
- Experiment with different designs and concepts to expand your knowledge. For example, there are some fun designs for building a robot arm out of cardboard
To Create a Research Platform
Whether your part of a research group or conducting a personal research project, building a robotic platform is often a first step for research. A robot arm can be a useful, simple platform for your research.

If this is you, here’s what to focus on when building your robot arm:
- Decide which elements of your robotic platform will be novel — and thus contribute to the research output — and which you can copy from existing designs.
- Use a programming platform that allows you to add your own custom libraries and functionality, such as the the RoboDK API.
- Design a system that allows you to spend more time on developing your research and less time “fixing your robot.”
To Prototype Your Robotic Product
When you are looking to build a robot arm to create a new product, your top priority becomes scalability. You need to balance the — seemingly conflicting — goals of rapid prototyping and reliability.
If this is you, here’s what to focus on when building your robot arm:
- Think about how you can combine reliable robotic elements rather than reinventing the wheel. Check out our article Why Create Turnkey Robotic Solutions? 10 Great Benefits
- Consider scalability from the start. Always be thinking about how you will scale production when you move beyond prototyping.
- Test and debug continuously. A good [robot simulator][RKSIM] is a valuable tool to reduce errors and speed up the programming process.
Step 1: Plan and Decide Your Robot’s Purpose
Now you’re clear why you are building a robotic arm, the first step is to clarify the purpose of this project.
Define Your Robot’s Purpose
The purpose of your robot will affect the rest of the design process.
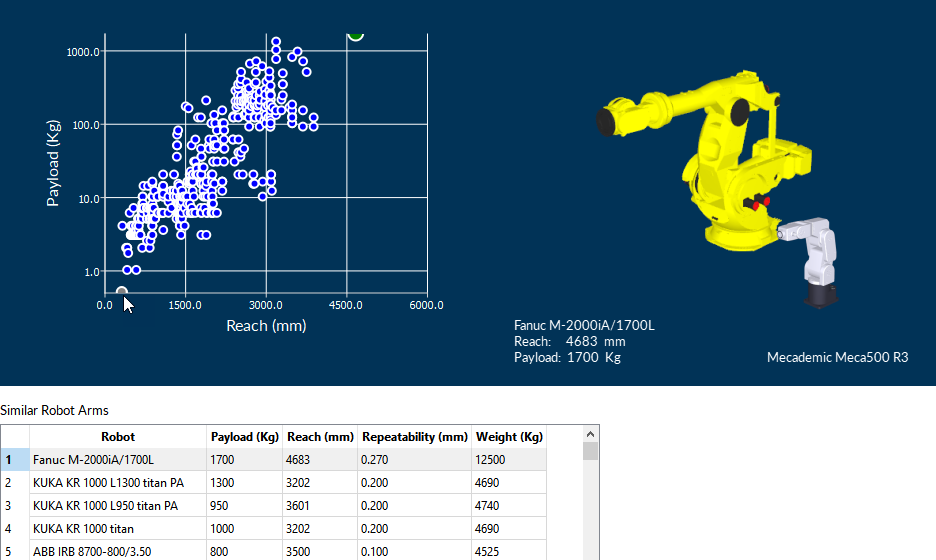
Ask yourself what specific activity the arm will perform and in what environment it will operate. For example, consider whether it will lift objects (which would affect the payload) or operating a process tool (e.g. welding or cutting tool).
Choose Design Software That’s Easy to Integrate
If you are designing your robot in a Computer Aided Design Software, choose a software workflow that allows you to easily integrate with robot programming.
For example, RoboDK has plugins for most of the popular CAD packages, allowing you to seamlessly export your 3D models to RoboDK for programming.

Decide on Your Actuation Type
An important early decision is what type of actuation your robot will have.
Common options are electric, hydraulic, or pneumatic. The most popular these days is probably electric; however, you might have a reason to choose another option. This is the time to decide.
Step 2: Design the Mechanical Structure… and Do the Math
If you are designing the mechanical structure of your robot from scratch, you will probably need to understand the mathematical, geometrical concepts of kinematics.
Plan Your Robot’s Kinematics
Kinematics is a core concept in robotics for both robot programming and arm design.
- Forward Kinematics (FK)— This involves calculating where the end effector will be for specific joint angles.
- Inverse Kinematics (IK) — This determines the required joint positions to move the end effector to a precise position and orientation. Manual IK calculations can be complex, but RoboDK’s built-in solvers make your life easier by handling the calculation for you.
You can learn more about both types of kinematics in our article Inverse Kinematics in Robotics: What You Need to Know
Weight Distribution and Link Design
Design your robot structure to meet your required performance properties, such as speed, payload capacity, and precision.
As you design your links, think about weight distribution. For example, a common rule is to place as much of the robot’s weight into the first shoulder joint so that the later joints don’t need to work extra to support the weight of the robot itself.
Step 3: Simulate, Build and Program Your Robot
After your design process it’s time to build your robot arm. This is an iterative process, starting with simulation in software, then building the physical robot. Programming should be involved throughout, not just after you’ve built the physical robot.
Here are 7 steps for iteratively building a new robot arm design:
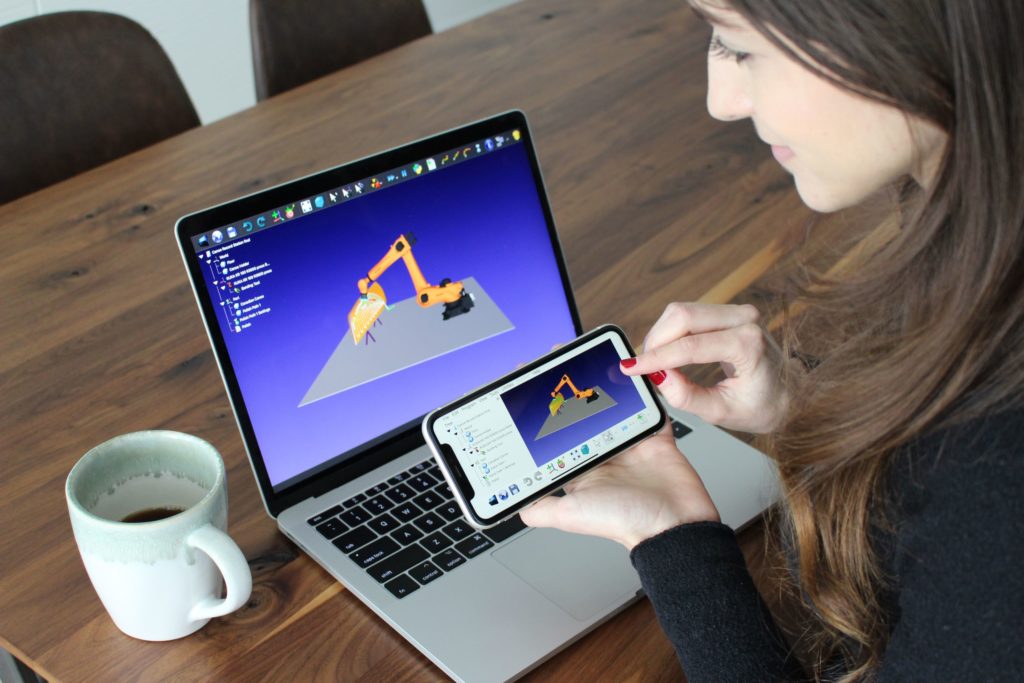
- Simulate the Robot — Before you even think about building your physical robot, use the CAD designs you created in your previous steps to create a simulation of your robot arm. In RoboDK, you can import your design as a new robot and create a simple robot program for testing.
- Improve Your Design First — During simulation, you will probably identify aspects of the physical design that can be improved. Use the simulator to iteratively improve the design before you start to build the physical robot.
- Gather Physical Components — This is the stage where you finally gather your physical control components (e.g. microcontrollers, servos, sensors) and build the physical links of the robot.
- Test Your Actuators — Good practice is to test all your actuators before you build the physical robot. This helps you identify if any actuator is broken as well as whether there are any unusual behaviors coming from your robot program.
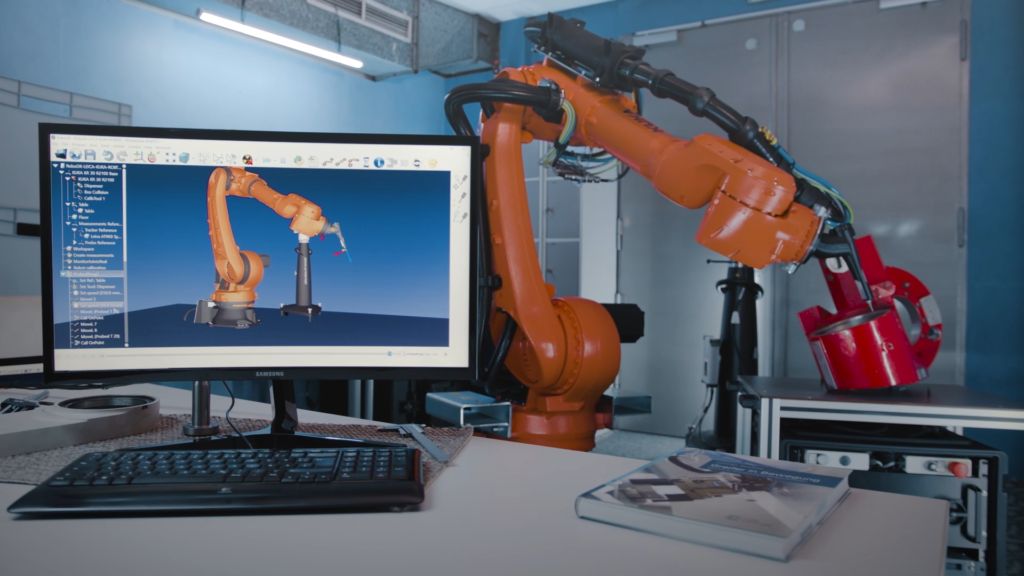
- Build the Physical Robot — Now, you can build your physical robot arm. By this stage, you know you have a working design (thanks to the simulation), working actuators, and a working robot program. This significantly reduces the chances of unexpected errors cropping up.
- Debug and Refine the Code — Even with the best tested simulation, you will probably need to debug the robot design when you move your program to the physical robot. Make iterative changes to both your physical design and robot code.
- Program and Repeat Until Happy — The process of building a robot arm is only over when you are happy that it meets your requirements. When your simple program works well on the physical robot, try programming a more complex application.
Final Tip: Test, Test, and Test Again
Building a robot arm is a great project, whatever your reasons for doing it. Whether you’re just building a simple robot arm for fun or you are building a prototype for your robotics startup, the process is similar.
A good rule to follow is “Test, Test, and Test Again”.
With RoboDK’s powerful robot simulator, you can test out different design changes quickly and easily, getting your robot up and working as efficiently as possible.
Which step do you find the most difficult? Join the discussion on LinkedIn, Twitter, Facebook, Instagram, or in the RoboDK Forum.. Also, check out our extensive video collection and subscribe to the RoboDK YouTube Channel