Which basic properties are most useful to know when you’re starting with robot programming?
Whether you are new to the world of robotics or you’re just looking to improve your programming skills, here are the top robot programming basics that are good to know.
It can sometimes feel like you need a degree in robotics to get started with robot programming. The conventional approaches to industrial robot programming look hard to grasp for new robotics programmers.
However, with a decent of the basics of robotics and good robot programming software, you can get started easily and quickly.
Here are the 11 most useful robot programming basics:
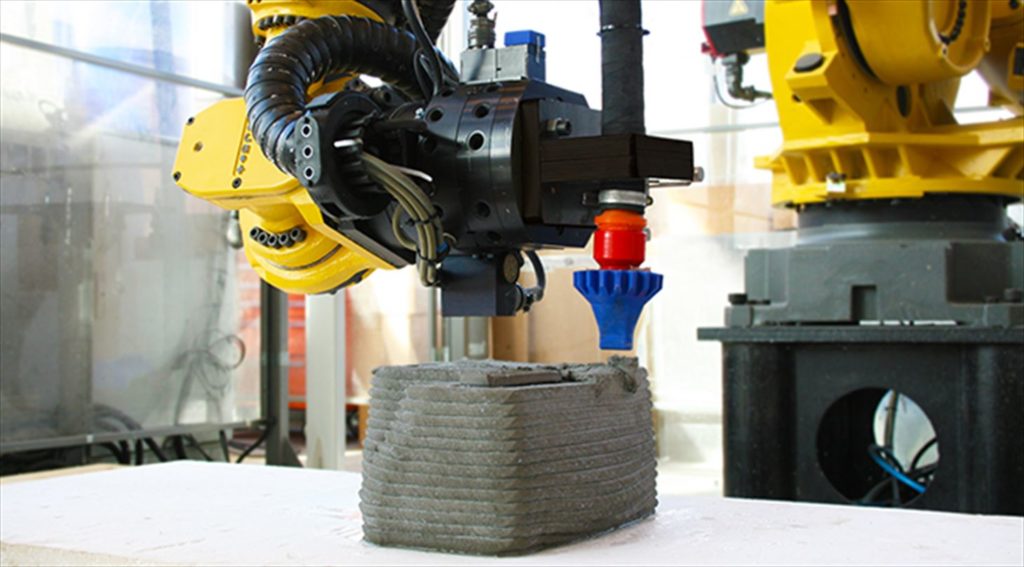
1. Basic Parts of a Robot
Before you start learning how to program a robot, it’s helpful to get a grasp of the basic parts of any industrial robot. That way, you are at least comfortable with the physical machine that you will be programming.
For example, the most basic parts of a 6 DoF industrial robot are:
- Manipulator’s arm
- End effector
- Controller
- Power source
- Sensors (if any)
The components will vary slightly depending on the type of robot.
2. Degrees of Freedom
I have already introduced a vital concept in robotics: Degrees of Freedom (DoF).
The DoF of a robot specifies how many independent axes the robot can move with. For example, a 6 DoF manipulator arm will have 6 independently controllable axes. Some DoF are “revolute” (i.e. they rotate about a point) and some are “linear” (i.e. they move along a line). It’s helpful to get familiar with the DoF of any robot before you program it.
3. Joints and End Effectors
The “business end” of a robot (i.e. the part that operates on the task) is known as the “end effector”. When you are programming, you are usually most often interested in directing the robot’s end effector to particular locations.
To move the robot, you need to send instructions with the desired positions of each of the robot’s DoF. If you are using software like RoboDK, you can instead just program the desired end effector position directly instead of sending specific joint positions.
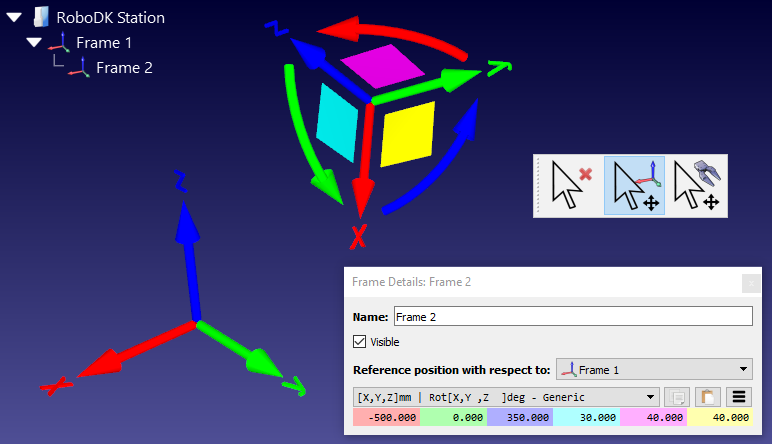
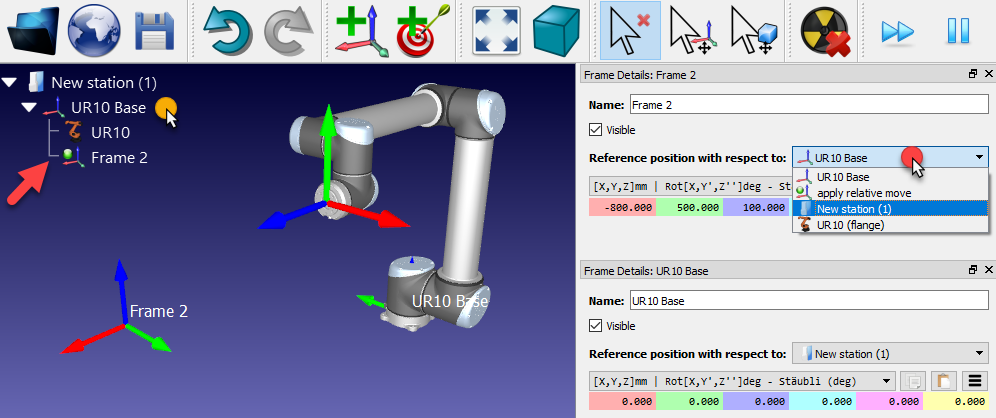
4. Pose: Position and Orientation
How do you program the end effector to tell it where to go?
The position and orientation of the robot’s end effector (or any other location that you program) are combined to form the “pose.” You need to specify the pose of any location that the robot will move to in your program. The most common method of specifying a pose in programming is through Euler Angles.
For more information, see our article Robot Euler Angles: The Essential Primer.
5. Tool Center Point (TCP)
As we are most interested in the end effector pose when we are programming a robot, we often use the term Tool Center Point to refer to the operational center of the tool.
Here are some examples for different end effectors:
- Glue gun — You might set the TCP to be at the tip of the gun.
- Gripper — The TCP might be in the center of the gripper’s fingers.
- Welding gun — The TCP might be a few millimeters from the tip of the gun, where the flame is hottest.
As the programmer, you choose where it makes the most sense to place the robot’s TCP.
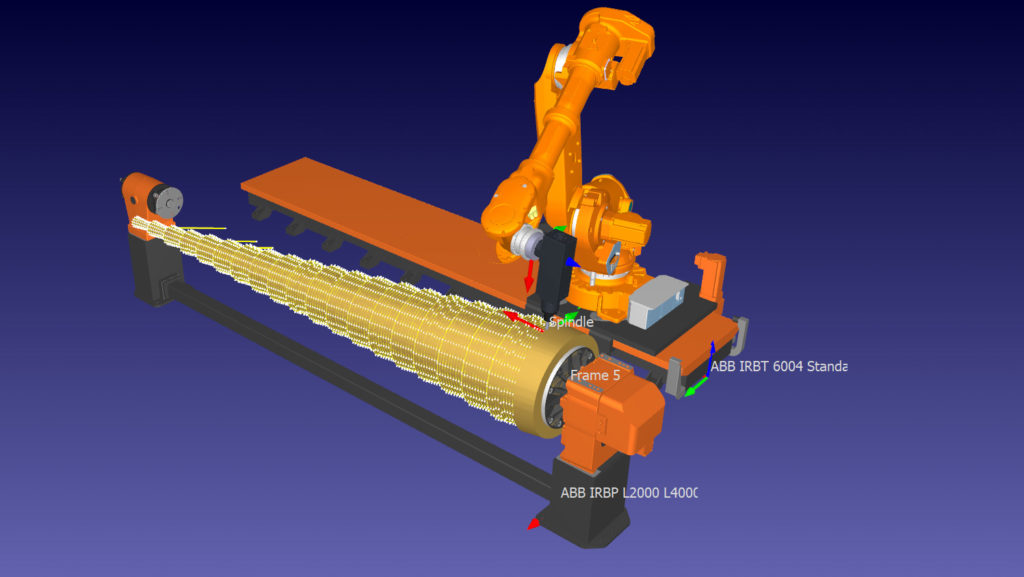
6. Kinematics
One of the more challenging aspects of robotics is kinematics. This just means the geometrical arrangement of the robot. Kinematics is represented as a rather large equation or algorithm.
The Forward Kinematic equation answers the question “If I set the robot’s joints to a particular position, where will the TCP end up?”
The Inverse Kinematic algorithm answers the opposite question “If I want the TCP to end up at this pose, what position do I need to set the joints to?”
With good robot programming software, you probably don’t need to formulate your own kinematics, but it can be helpful to understand the basic concept.
7. Joint Limits
The kinematic equations describe the robot using pure geometry and math. However, robots are physical machines. The physical robot often can’t reach every position that the geometry says it can.
We introduce joint limits into the programming to limit the movement of the robot’s joints only to positions that are physically possible. They just tell the program “This joint can’t move beyond this certain angle.”
8. Move Types
When you are programming the robot, there are different types of movement that you can get the robot to make.
The basic 3 movements are:
- Joint Move — This is a fast, rough movement where every joint try to get to its target position as quickly as possible. To avoid collisions, joint moves should only be programmed when the robot is moving in free space.
- Linear Move — This is a controlled movement along a line between two poses. The robot will necessarily move slower with a linear move but also won’t introduce any unhelpful collisions.
- Circular Move — Like a linear movement, the robot moves in a controlled line, this time along a circular path.
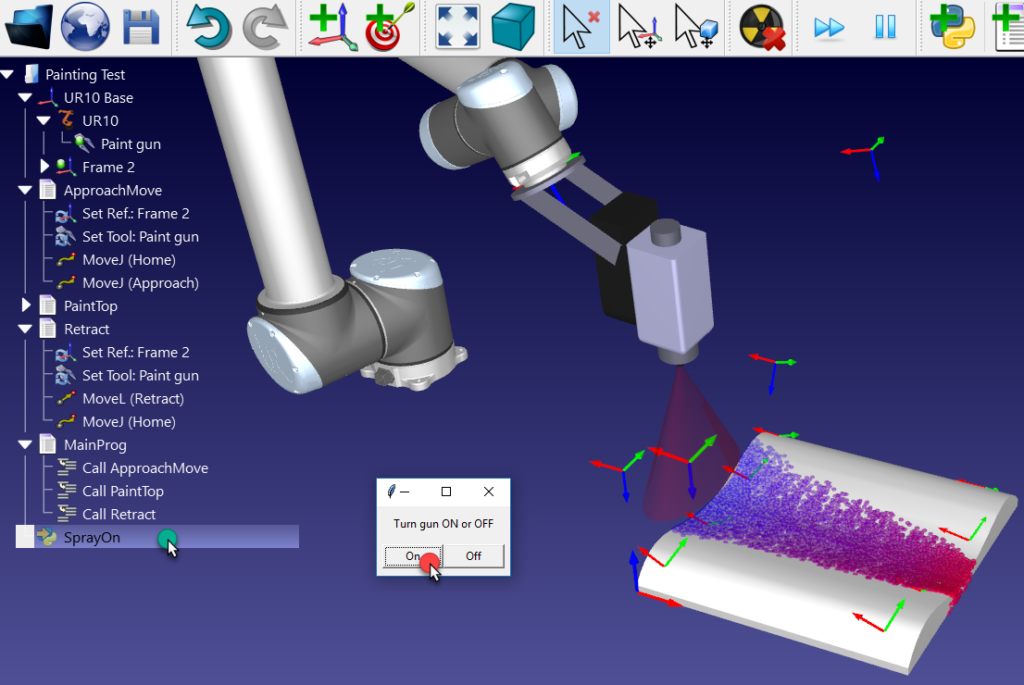
9. Simulation and Offline Programming
There are many different ways to program a robot, including “getting your hands dirty” with the (usually complex) programming language provided by the robot manufacturer.
Simulation and offline programming offer an easier programming method. Instead of programming the physical robot directly, you program a simulated model of the robot using intuitive commands. The software then converts the program into code that the physical robot can understand.
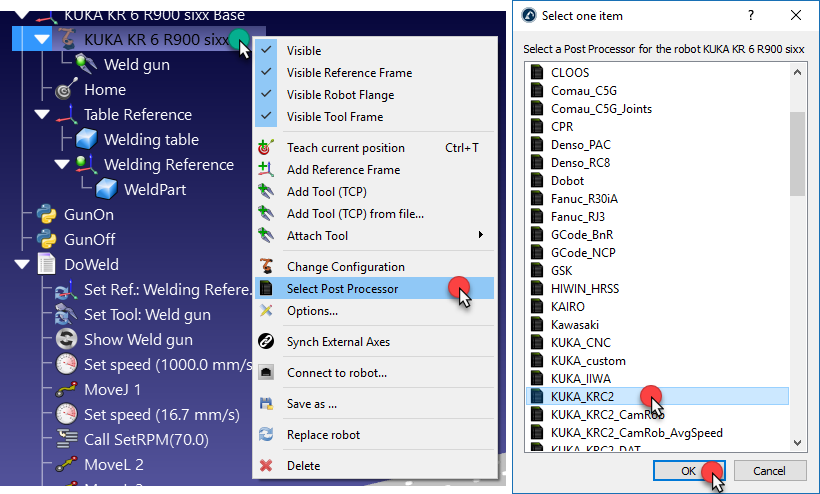
10. Post-processors
The part of an offline programming software that converts the robot program is known as a post-processor. The programming software will have a different post-processor for each robot manufacturer, sometimes more than one.
You can find out more about post-processors in our article Robot Post-Processors: Everything You Need to Know.
11. Debugging
Whatever programming method you are using, a vital basic skill is debugging. You should always debug your program to make sure that it is working as you intend it to before you set your robot running in a production environment.
Offline programming provides you an extra debugging step because you program a simulated model of the robot before you download the program to the physical robot itself, which reduces the possibility of errors.
If you’d like to get started with robot programming immediately, you can download a free trial of RoboDK here.
Which basic aspects of robot programming would you like help with? Tell us in the comments below or join the discussion on LinkedIn, Twitter, Facebook, Instagram, or in the RoboDK Forum.