Can you really achieve dust-free robot engraving? One university student used RoboDK and a custom end effector for robot milling without getting wood-chips all of the workshop. Here’s how they did it.
Engraving is an increasingly popular task in manufacturing. Customization is becoming the norm for many different products and engraving allows manufacturers to easily add custom logos and designs onto their products. Robot engraving is an easy way to increase the value of the product with very little extra work.
One student at a German university has designed a system to engrave wood using robot milling and a collaborative robot in RoboDK. What’s especially interesting about this project is that it includes a specialized end effector to avoid generating too much dust and wood chips.
Introducing… Jan Gosedopp
The project was developed a few years ago by student Jan Gosedopp as part of his Bachelor of Engineering at the University of Applied Sciences Hamm-Lippstadt in Germany.
We are writing about his project now because robot engraving looks set to become very popular in the near future. For example, someone at manufacturer Universal Robots mentioned recently that they are thinking of adding wood engraving to their ever-increasing list of collaborative robot applications.
Gosedopp’s project involved programming a Universal Robot and developing a custom engraving end effector which could remove the dust.
How Wood Engraving Is Usually Done
As is the case with many machining operations, the traditional way to achieve autonomous engraving is with a dedicated CNC machine.
These machines are easy to find and there are many competing options on the market. However, they are generally inflexible — each model is only suitable for one particular type of engraving. If you want to switch to another engraving process, you may have to buy an entirely different machine.
Programming a CNC Engraver
One of the challenges of this traditional type of engraving is with programming. As CNC expert James Hamilton says “a CNC machine is only as good as its software. And not all software is created equal.” He explains that the software you use can really restrict the abilities of your machine.
Some CNC software, for example, can only achieve 2.5D milling. This is fine for engraving, where you usually only want to mill a 2-dimensional shape into the material surface. However, it becomes restrictive if you ever want to progress to more 3-dimensional shapes.
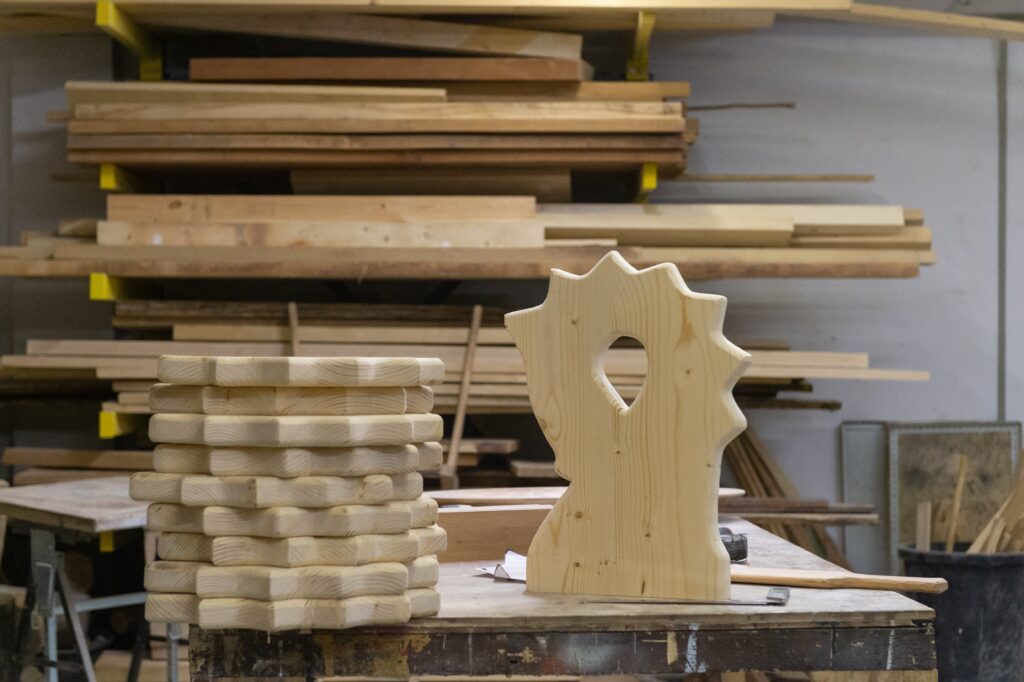
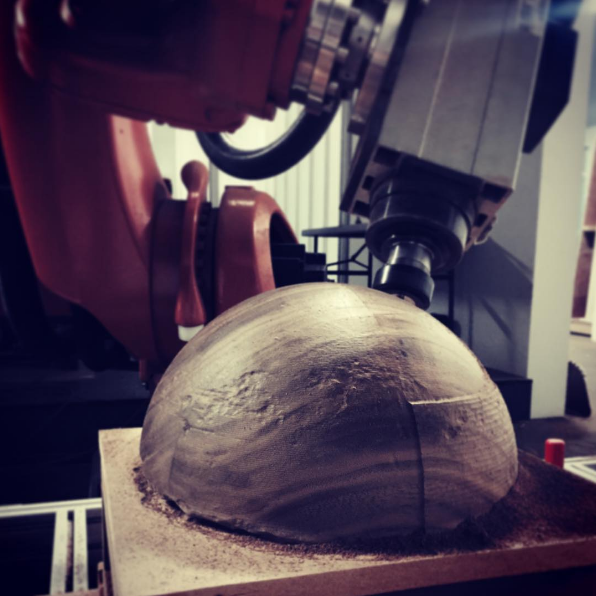
Gosedopp was using 2.5D rotary engraving, which involves using a spinning routing or milling tool to cut thin grooves into the wood.
What is Robot Engraving?
The approach that Jan Gosedopp took was to avoid using a CNC machine altogether. Instead, he chose to use a robot, specifically the UR10 from Universal Robots.
Compared to CNC machines, robots are very flexible. In fact, a single robot could be used for almost any type of engraving processes… and more tasks besides. All you have to do is give the robot a different tool, which is very easy to do with the right robot programming software.
Programming Robot Engraving
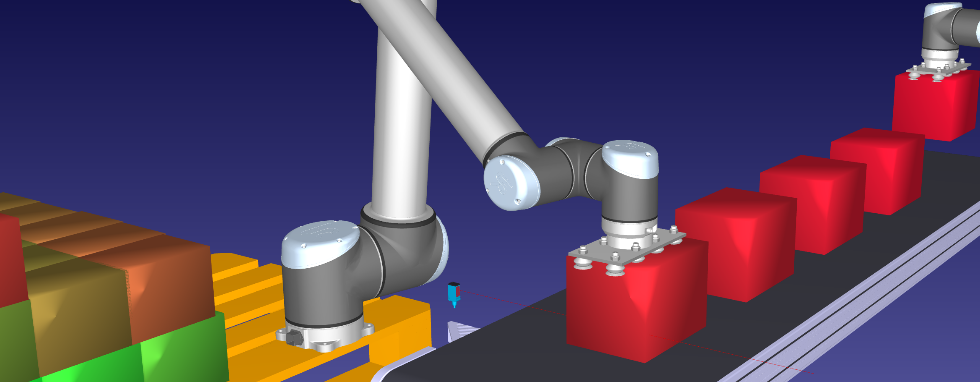
For programming, Gosedopp chose to use RoboDK. This choice helped him avoid many of the potential programming problems that occur with traditional CNC machines.
With RoboDK’s dedicated robot milling wizard, it is easy to achieve both the 2.5D engraving that he needed and gives him the option of using 3D milling with exactly the same setup if he ever needs it.
To generate the engraving path, he used Solid Works along with its free HSMXpress add-on which produces CAM paths. Back when he did this project, the RoboDK tool bar for SolidWorks that we released this year was not yet available. Therefore, the milling path was imported in RoboDK using G-code files.
The Custom Tool for Dust-Free Engraving
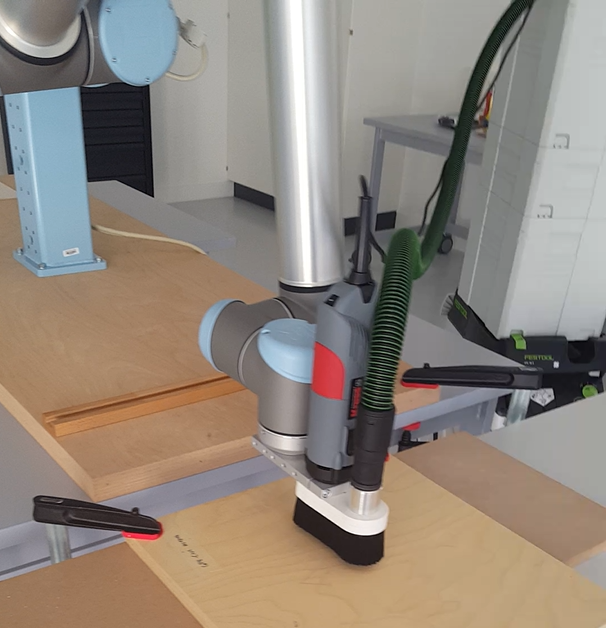
One of the core developments of Jan Gosedopp’s project was a custom-built end effector for robot engraving.
An interesting feature of this tool was that it included elements to remove dust and wood chips from the workpiece during the operation, which allowed for a clean working environment.
Important Factors for a Robot Engraving Tool
As part of his Bachelor’s thesis, he evaluated 2 different end effector designs and chose the best one based on its suitability for the task.
He assessed his two designs based on the following categories:
- Compatibility with the UR3/UR10
- Ability to clamp the milling spindle
- Compatibility with the extraction
- Accurate centering and alignment
- Milling spindle flush with robot flange
- Lateral threads for fixing
- Small tool footprint
- Low production costs
The two designs were quite similar and rated exactly the same in most of these categories. The only two differences between the designs were in the method of attachment of the milling spindle and the positioning of the tool on the robot flange.
In the end, the two factors which determined his choice of design were lower production costs and the addition of lateral threads for extra fixings.
Security
A key concern for this type of tool is security. The robot used was a collaborative robot, so it had its own safety features. However, custom tools can introduce additional safety issues.
Gosedopp focused on two aspects of security:
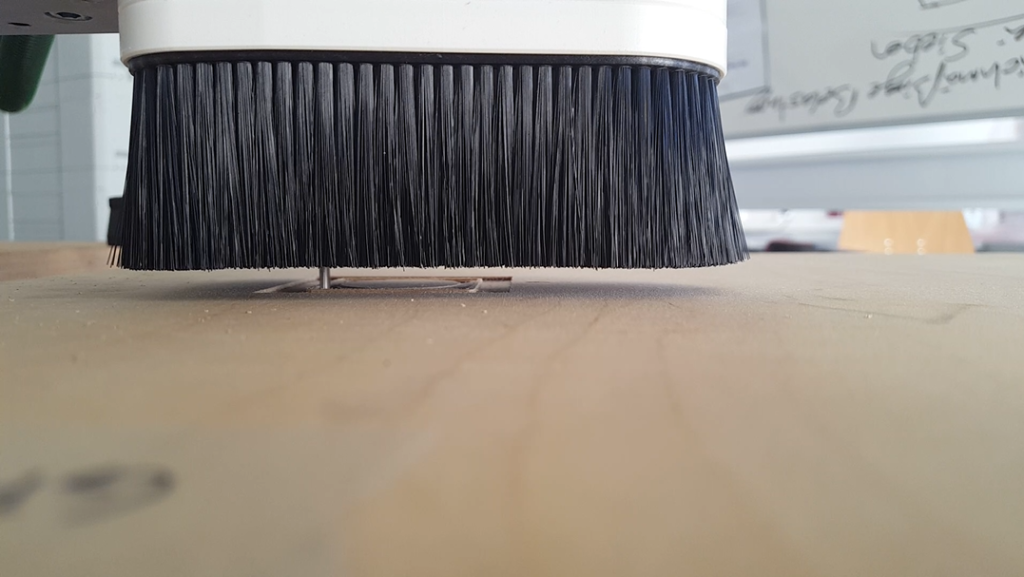
- Danger from flying objects — Wood chips and dust could easily fly away from the engraving operation and harm humans. To combat this, he introduced a brush around the tool to catch flying wood chips and a vacuum to extract the dust.
- Danger from people entering workspace of milling spindle — Although collaborative robots themselves are generally safe, this does not mean that their tools are safe. The spinning engraving tool could cause damage to a human if, for example, their hand was to get in the way. The brush around the tool would help avoid this to some extent. However, Gosedopp felt that further security was required so he added a pane of safety glass and a laser scanner.
The Final Design
After assessing the two designs, Gosedopp arrived at the final design of the robot engraving end effector. It contained the following components:
- Milling head — the “business end” of the tool for milling workpieces.
- Robot arm — the UR10 collaborative robot.
- PC — the program was generated in RoboDK and exported to a robot program.
- Controller box — performed signal processing and ran the robot program produced by RoboDK.
- Vacuum — performed extraction of the dust and chips.
- Security system — a laser scanner was used to detect if someone entered the workspace and stop the robot.
Finally, Gosedopp was able to achieve the following wood engraving application, as shown in this video:
What could you do with a dust-free engraving robot? Tell us in the comments below or join the discussion on LinkedIn, Twitter, Facebook, Instagram or in the RoboDK Forum.

I currently use a 4 axis CNC to carve stone sculpture and would like to find out more about using a robot arm (KUKA KR210 from eBay) to carve stone. Where can I go for good advice on the acquisition and installation of the arm?