End effectors are the “business end” of every robot. In this guide, we cover the essential basics of what they are and how to use them.
Robotic systems can seem quite complex when you first use them. Most robots require a whole set of accessories and add-ons before you can use them for any task in your business.
End effectors can be particularly tricky to get your head around. There are literally hundreds of different end effectors on the market from many different manufacturers.
What’s even more confusing is that many end effectors look almost exactly the same but have hugely different specifications.
In this short guide, we’ll clarify some end effector basics and advice.
What is an End Effector?
An end effector is a peripheral device that attaches to a robot’s wrist, allowing the robot to interact with its task. Most end effectors are mechanical or electromechanical and serve as grippers, process tools, or sensors. They range from simple two-fingered grippers for pick-and-place tasks to complex sensor systems for robotic inspection.
The term “End of Arm Tooling” (EOAT) may also be used.
Basically, an end effector is the “business end of the robot.”

Without an end effector, most robots are practically useless. An articulated robotic arm can be programmed to a particular location within its workspace, but without some sort of end effector, it has no way to perform any operation.
The 3 Basic Types of End Effector
There are so many different types of end effector that it would be almost impossible (or at least unhelpful) to list all of them here. However, there are 3 basic types that you are likely to come across in most situations.
These types are:
1. Grippers
The most common robot end effector is the humble gripper. It allows you to pick up and manipulate objects, which makes it best suited to tasks like pick-and-place, assembly, and machine tending.
There are possibly more different types of gripper than there are any other type of end effector. By far the most popular are fingered grippers, which come with 2, 3, 4, or 5 fingers — it is possible to use 6 fingers or more but it is rarely necessary.
Then, there are vacuum grippers, magnetic grippers, needle grippers, and there are amazing new gripper technologies being developed all the time.
2. Process Tools
A simplistic way to think of process tools is like a worker operating a power tool. While a gripper can only grasp the workpiece, a process tool actually changes the workpiece.
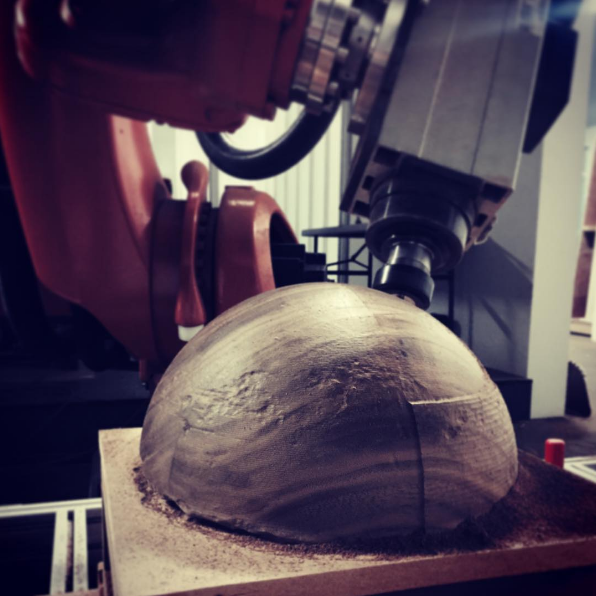
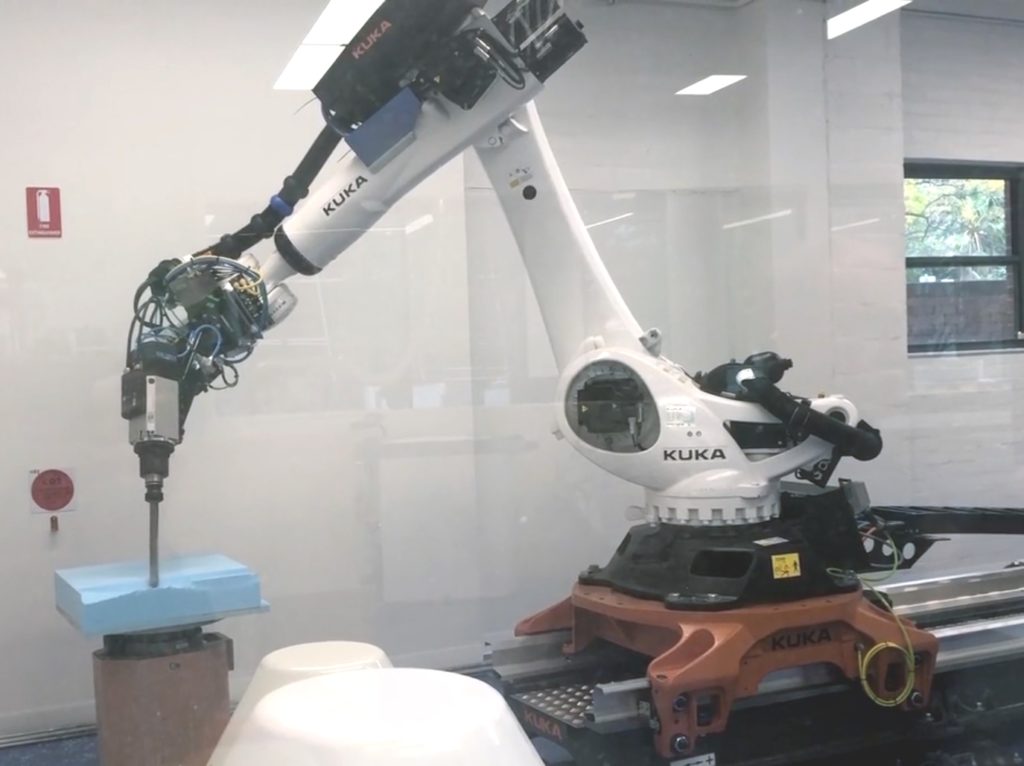
There are as many different process tools as there are different operations in manufacturing. Examples include, robot welding tools, robot machining tools, robot painting tools, 3D printing tools, and the list goes on and on.
If you can do it with a power tool, you can probably do it with a robot.

If you can do it with another automated machine, you might be able to do it with a robot.
3. Sensors
You can also attach a sensor to use the robot as a programmable sensor-orientation device. This is particularly useful for applications like robotic inspection which reduce the amount of hands-on time that inspection engineers need to spend collecting data.
Many sensors can serve as an end effector, including ultrasonic sensors, laser scanners, 2D and 3D cameras, and infrared sensors (such as those used at NASA).
Extra: Tool Changers
Though not technically classed as end effectors themselves, tool changers also attach to the end of the robot — between the wrist and the end effector. They allow the robot to autonomously change between different tools.
Which End Effector is Right for You?
There are so many different end effectors available it can be quite confusing to know which is the best for your particular application.
Should you use a gripper? If so, which type is the best and what specifications does it need? Or, would you be better picking a process tool? Which one?
Unfortunately, the answer is really… it depends.
To determine which end effector is best suited to your application, you need to take a step back and ask yourself: What are we trying to achieve with this task?
Picking the Right End Effector
When you have refocused on the purpose of the task, follow these steps:
- Determine which actions the robot has to perform to achieve the task.
- Make a shortlist of the different types of end effector that could deliver these actions.
- Assess each type for cost, complexity, and any other relevant factors.
- Finally, pick the end effector that best suits the needs of this particular task.
There may be several ways to achieve the same task using different robot end effectors.
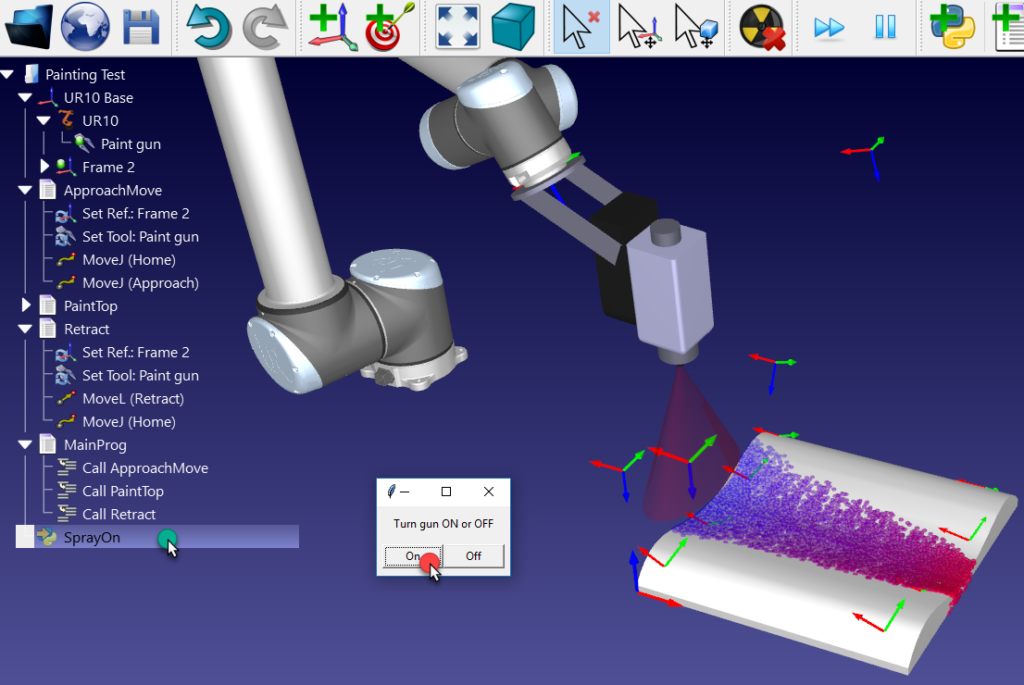
For example, think about a spray painting task.
On one hand, you could mount a spray painting end effector as a process tool onto the robot’s wrist, which would be simple to do.
On the other hand, you could use a gripper to grasp a spray gun, which would allow the robot to quickly move to another task and would not require a custom end effector.
Neither option is wrong, it just depends on what you need.
How to Use an End Effector With Your Robot
Every end effector is operated in a slightly different manner. They use different communication protocols, different programming interfaces, and require different levels of skill to get them up and running.
The basic steps for using any end effector with a robot are:
- Physically mount the end effector onto the robot’s wrist.
- Attach any power connections, e.g. electric, pneumatic, hydraulic.
- Attach any communication interfaces between the end effector and robot controller or computer.
- Incorporate the end effector programming into the robot’s program.
This last stage (programming) has often been the most challenging of these steps.
But, not any more!
Programming an end effector doesn’t need to be difficult. With the right robot programming software, you could have a version of any end effector working in only 5 minutes.
With RoboDK you can simply create a robot tool by loading the 3D model and drag and drop it to your robot within the tree. You can also self calibrate the tip of the tool by touching the same point with different orientations.
Any questions about end effectors? Tell us in the comments below or join the discussion on LinkedIn, Twitter, Facebook, Instagram or in the RoboDK Forum.